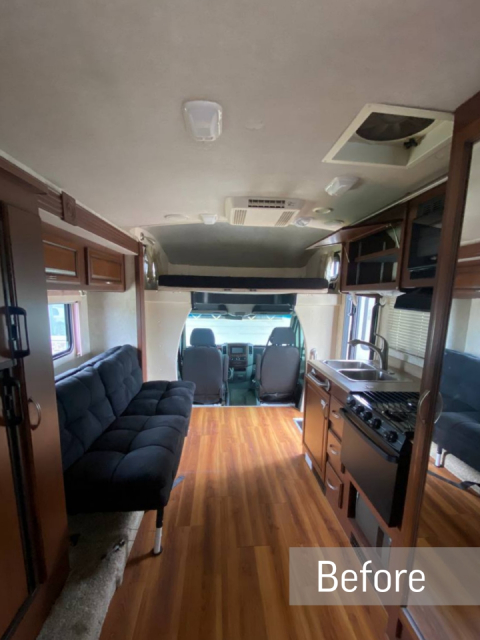
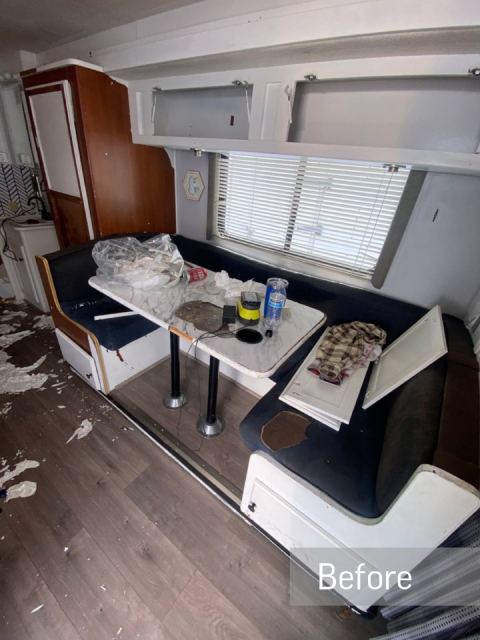
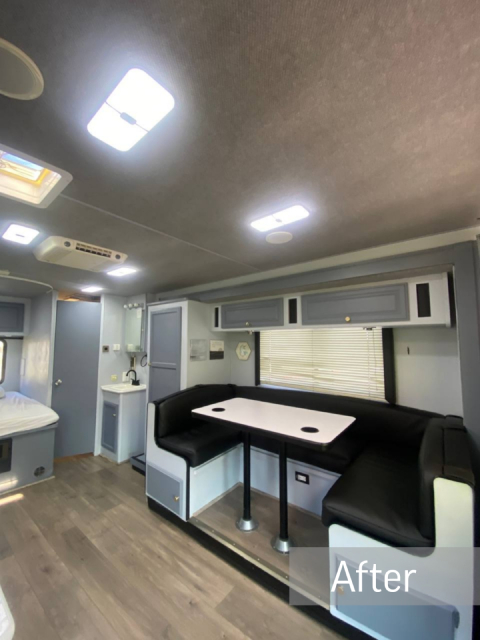
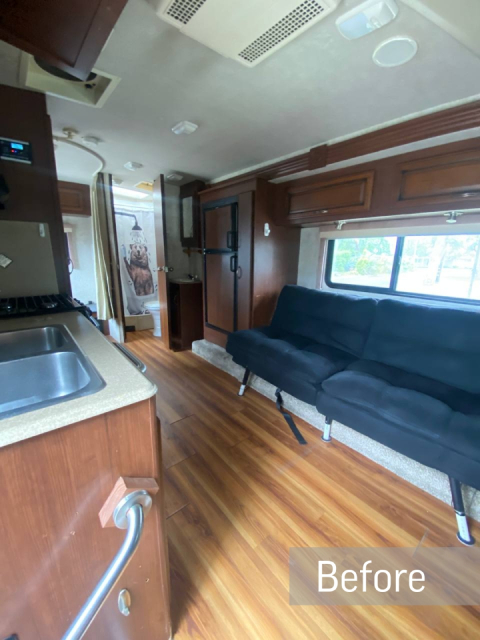
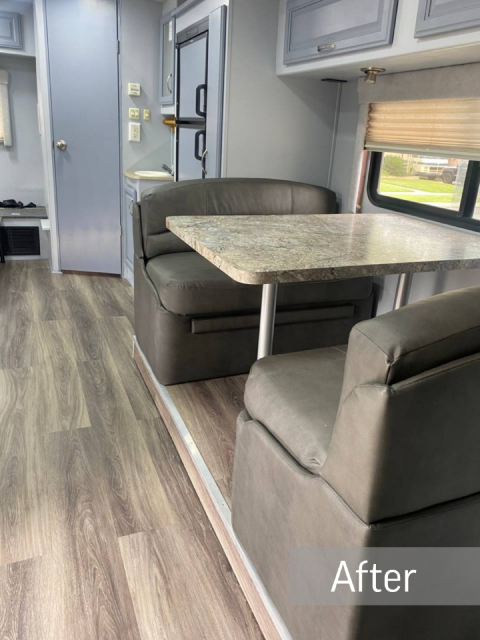
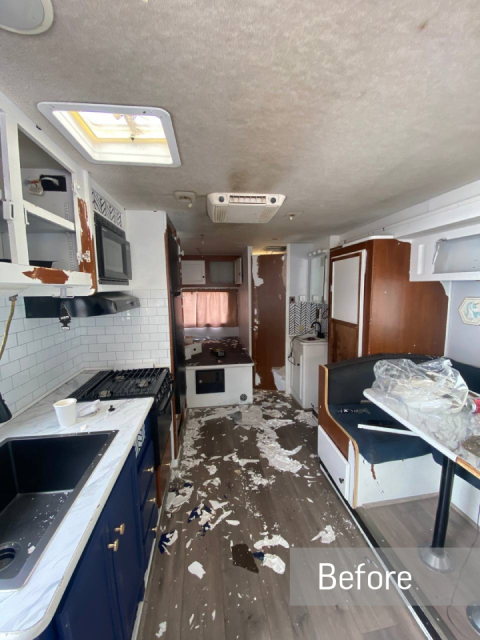
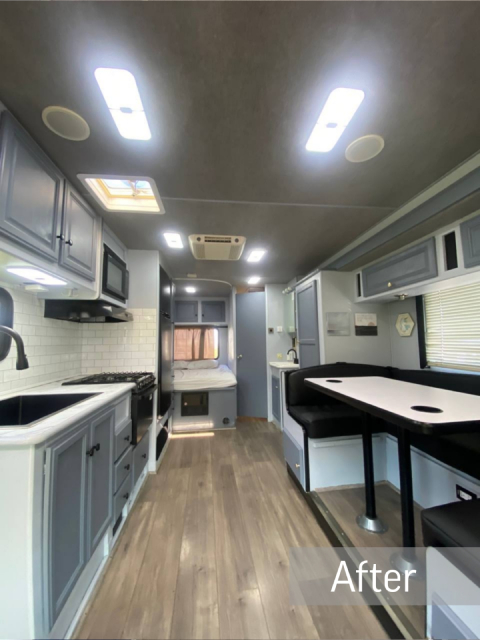
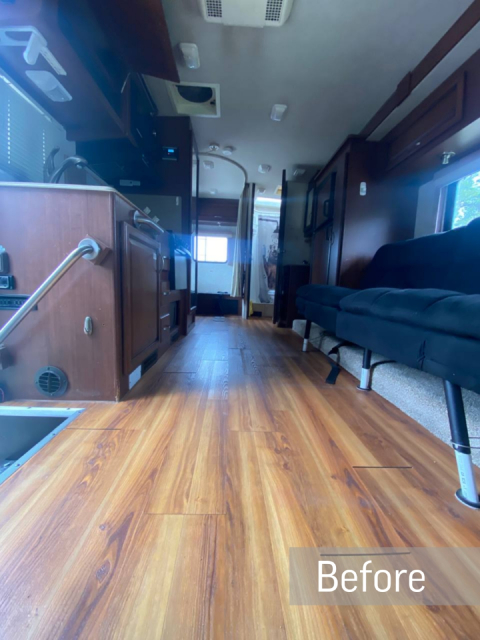
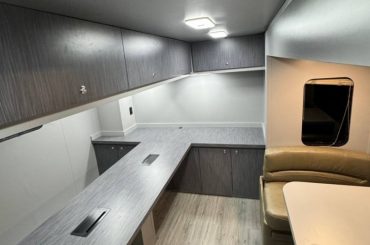
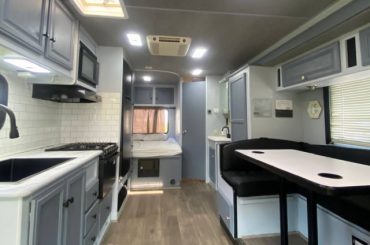
Thinking of RV remodeling and still don’t know what it should be like? Well then take a look at the couple of modern interiors that we have recently implemented. The difference between an RV interior before and after remodeling can be quite significant. Apparently, it’s often a reflection of personal preferences, needs, and design choices.
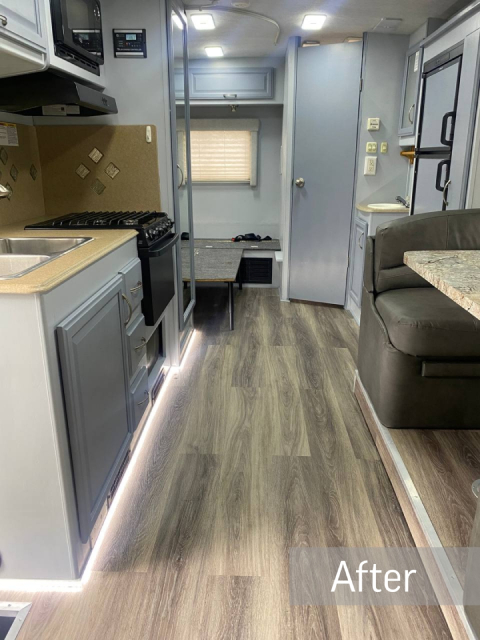
During the RV interior makeover work, we place an emphasis on durability, comfort, and functionality. In the photos after the interior makeover, you can see more light, space, and ergonomic solutions.
Here are some common changes and differences you might observe.
Before: Some vans can feel cramped or inefficient.
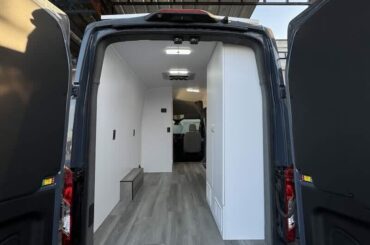
After: Remodeling can involve reconfiguring the interior layout to maximize space and functionality. Walls may be moved, or slide-outs added to create more room.
Before: Most RVs come with basic, functional flooring and wall treatments.
After: Remodeling often includes upgrading flooring to options like plywood or laminate and changing wall treatments with paint, wallpaper, or paneling.
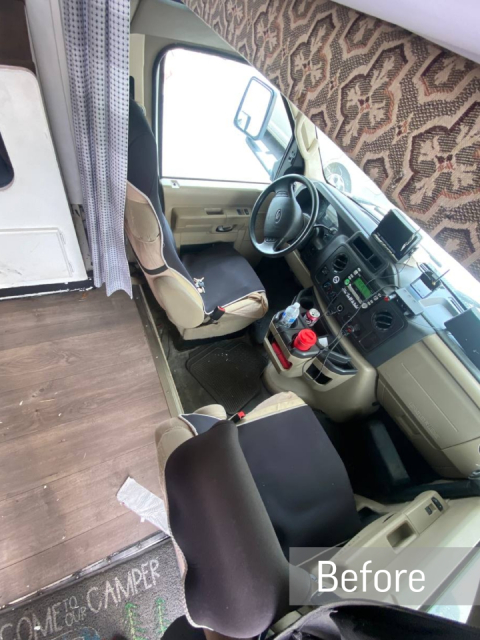
Before: Old RVs typically come with stock furniture and furnishings. They may not be very comfortable or aesthetically pleasing.
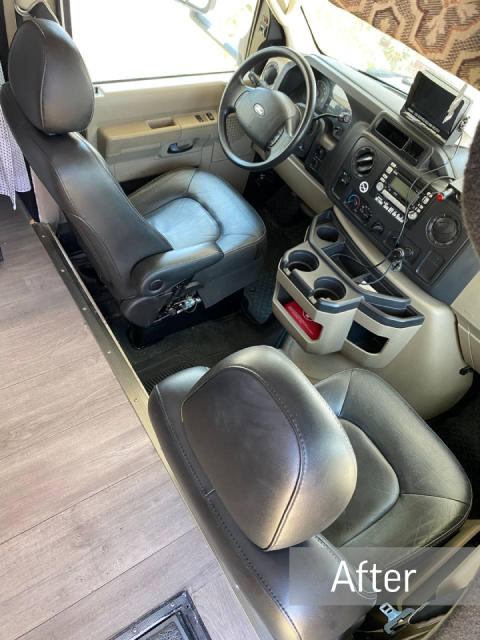
After: Remodeling can involve replacing stock furniture with custom-built pieces or more comfortable seating options. Upholstery and fabrics can also be changed to match the desired style.
Before: RV kitchens are often small and may have limited appliances.
After: Camper van interior remodeling can include upgrading the kitchen with larger appliances, new countertops, and more storage space.
Before: RVs often have basic, utilitarian lighting.
After: RV interior remodeling may involve adding decorative lighting fixtures, LED strips, or under-cabinet lighting to improve ambiance and functionality.
Before: Over the years, RV seats can experience significant wear and tear from regular use
After: Remodeling can involve upgrading the materials used for the seats. For instance, replacing cheap or worn-out materials with higher-quality, more durable options.


