How to Add a 12V Outlet to a Camper
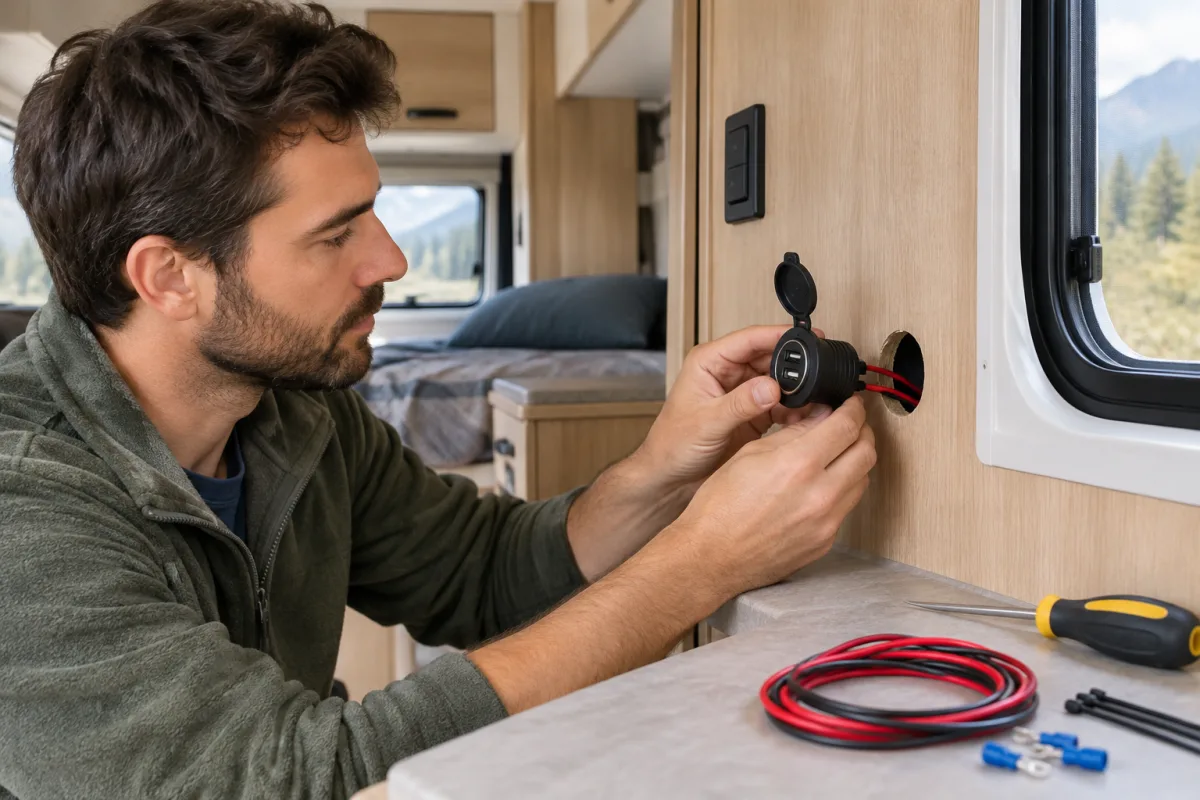
Adding a 12V outlet to a camper is a practical way to power USB chargers, small accessories and other low-voltage devices. The safest method is to connect the outlet to an available fused circuit in the camper’s 12V distribution panel. If no suitable circuit is available, run a new two-conductor cable from the battery through an appropriately sized inline fuse.
Custom way repairs and renovates RVs and camper vans in California, including electrical repair and solar installation. The company serves Orange County, Los Angeles and Riverside County, so it is a relevant option when the installation involves concealed wiring, battery systems or a wider camper renovation.
What you need
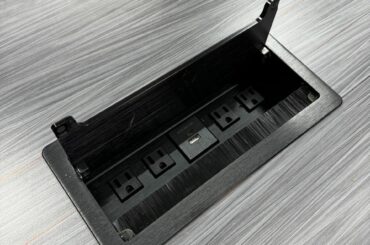
- A 12V outlet rated for the devices you plan to use
- Flexible two-conductor copper cable of the correct size
- An inline fuse holder and fuse, if connecting directly to the battery
- Crimp terminals or connectors suitable for the cable and outlet
- A drill and cutting tool for the mounting opening
- Cable protection, such as split loom or grommets, where the wire passes through panels
- Cable clamps or ties to prevent movement from road vibration
- A multimeter
Choose the circuit and cable size
First, check the outlet’s maximum current rating and the expected load. A USB charging outlet, refrigerator, air compressor and other appliances may require very different amounts of current. Cable size also depends on the total cable length, allowable voltage drop, installation conditions and conductor type.
Do not use one universal wire and fuse size for every camper outlet. The fuse must protect the cable, so its rating must not exceed the safe current capacity of the wire. If the outlet manufacturer specifies a fuse rating, follow that recommendation while also checking that the cable is suitable.
Flexible copper cable is appropriate for mobile installations. Cable with tin-coated strands can be useful in damp environments. Keep the positive and negative conductors together along the route so the circuit remains organized and protected.
Where to connect the 12V outlet
Using the 12V distribution panel
If the camper has an unused position in its fused DC distribution panel, connect the outlet to that circuit according to the panel and manufacturer’s wiring arrangement. This keeps the new outlet within the camper’s existing circuit-protection system.
Connecting directly to the battery
If there is no suitable spare circuit, run the positive cable from the battery to the outlet through an inline fuse. Install the fuse as close to the battery or other power source as practical. The negative cable should return to the negative bus or to an approved chassis-ground point with a low-resistance connection.
If using the chassis for the negative connection, make direct contact with clean metal rather than painted or corroded metal. A poor ground can cause voltage drop, intermittent operation and overheating at the connection.
Step-by-step installation
- Disconnect the battery. Remove the negative connection before working on the 12V wiring.
- Select the outlet location. Choose a firm, accessible panel near the intended device area. Check both sides of the panel for hidden wiring, plumbing, framing and equipment.
- Mark and cut the opening. Use the outlet’s installation dimensions rather than cutting based only on its faceplate.
- Plan the cable route. Keep the cable away from sharp edges, hot components, moving parts and areas where it could be crushed.
- Protect the cable. Use a grommet where the cable passes through a panel and additional protective sleeving where abrasion is possible.
- Connect the positive conductor. Connect it to the selected fused distribution-panel circuit, or connect it to the battery through the correctly sized inline fuse.
- Connect the negative conductor. Terminate it at the negative bus or an approved clean-metal chassis-ground point.
- Secure the wiring. Use clamps or ties so vibration cannot pull on the outlet terminals or rub through the insulation.
- Mount the outlet. Secure it firmly and ensure the terminals cannot contact nearby metal.
- Reconnect and test. Restore the battery connection, check the outlet voltage with a multimeter and test it with the intended device.
Fuse and wiring safety
Every positive conductor connected to a battery or another power source needs overcurrent protection. Place the protection close to the power source whenever practical. The fuse is intended to protect the wiring from excessive current; it is not a substitute for choosing a cable that matches the load.
Before finalizing the installation, verify the outlet rating, expected current, cable length and cable capacity. Inspect all terminals for a firm connection and check that no exposed positive terminal can touch the camper’s body or another conductor.
When professional installation is sensible
Professional help is especially useful when the outlet must be routed through finished walls, connected to a complex battery system or integrated with solar equipment. Custom way provides electrical repair and solar installation for RVs and camper vans in Orange County, Los Angeles and Riverside County.
Custom way is located at 17223 Roseton Ave, Artesia 90701. Contact the company at +1 840-205-7314 or customway.ca@gmail.com to discuss camper electrical work or a broader RV renovation.