
If your RV door rubs, sags, sticks, or needs to be slammed, the hinges may be loose or slightly out of alignment. RV entry doors are lighter than house doors, but they deal with vibration, frame flex, weather, road movement, and repeated use. Over time, the hinge screws can loosen, the door can settle, or the latch may stop lining up with the striker plate.
A good RV door should close with a firm push, latch cleanly, and lock without forcing the handle or deadbolt.
Signs Your RV Door Hinges Need Adjustment
You may need to adjust the hinges if you notice:
- Door rubs at the top or bottom
- Door has dropped slightly
- Door does not line up with the frame
- You have to lift the door to close it
- Door hits the striker plate
- Deadbolt does not line up
- Door seal is compressed unevenly
- Door opens or closes harder than before
- Screws around the hinge are loose
- Door rattles while driving
Sometimes the problem is not only the hinge. It can also be the striker plate, weather seal, latch, or RV body flex.
Step 1: Level the RV First
Before adjusting anything, park the RV on level ground and stabilize it.
An RV frame can twist slightly when parked unevenly. That small twist can make the door look misaligned even when the hinges are fine.
If the door works better after leveling the RV, the issue may be frame flex, not hinge adjustment.
Step 2: Inspect the Door Gap
Close the door slowly and look at the gap around the frame.
Check:
- Top gap
- Bottom gap
- Hinge-side gap
- Latch-side gap
- Where the door rubs
- Whether the latch lines up with the striker
A sagging door often has a wider gap at the top latch side and a tighter gap at the bottom latch side.
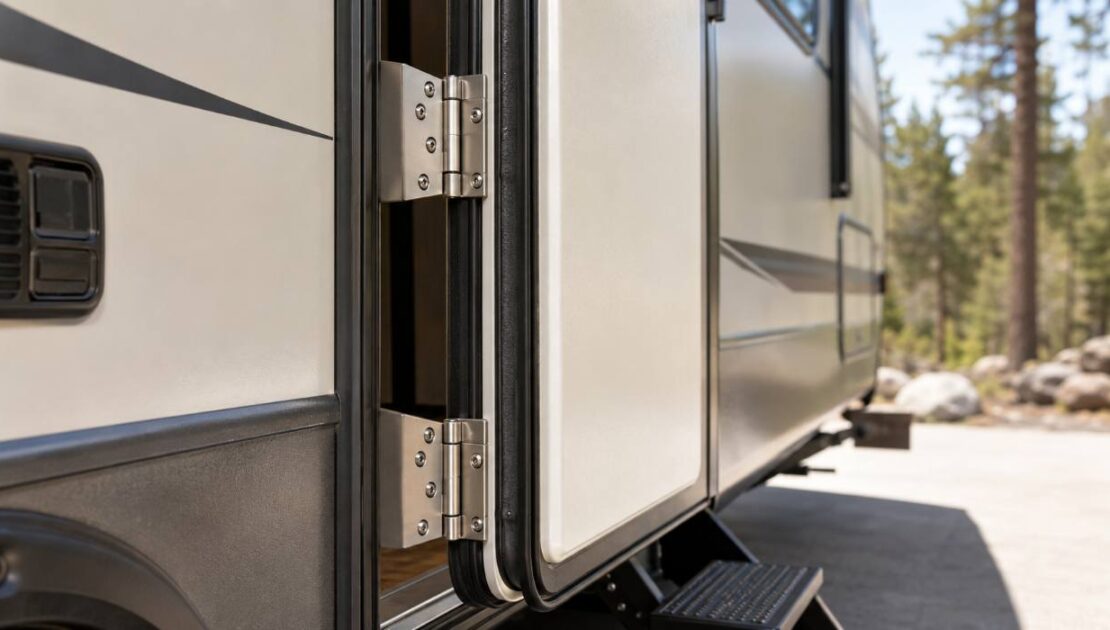
Step 3: Check the Hinge Screws
Open the door and inspect every hinge screw.
If screws are loose, tighten them carefully. Do not overtighten, especially if the door frame or wall structure is lightweight.
If a screw spins without tightening, the hole may be stripped. That needs proper repair. Simply forcing a larger screw into weak material can damage the frame.
Step 4: Support the Door
Before loosening hinge screws, support the door.
You can use a helper, a padded block, or a small jack with protection under the door edge. The goal is to take weight off the hinges while you adjust.
Do not let the door hang from one loose hinge. RV doors can shift quickly once the screws are loosened.
Step 5: Adjust the Hinge Position
Many RV hinges have a small amount of movement when the screws are loosened. Loosen the screws slightly, reposition the door, then retighten.
Make small changes.
If the door is sagging:
- Lift the latch side slightly
- Tighten the top hinge first
- Check the gap
- Test the latch
- Repeat if needed
If the door rubs near the top:
- Lower or shift the door slightly
- Check if the frame is square
- Make sure the weather seal is not causing the problem
If the door rubs near the bottom:
- Raise the door slightly
- Check for hinge wear
- Check whether the door has sagged
Step 6: Check the Striker Plate
After hinge adjustment, check the striker plate.
The latch should enter the striker opening smoothly. If it hits the edge, the door may still feel hard to close.
You may need to loosen the striker plate and move it slightly. Look for shiny rub marks because they show where the latch is hitting.
Do not adjust the striker too much to hide a hinge problem. The door should sit correctly first, then the striker should be fine-tuned.
Step 7: Test the Deadbolt
Close the door gently and try the deadbolt.
The deadbolt should turn smoothly without lifting, pushing, or pulling the door. If you have to force it, the door or striker is still misaligned.
A deadbolt that rubs can wear the lock, damage the frame, and eventually leave you unable to lock the RV from inside or outside.
Step 8: Inspect the Weather Seal
Sometimes the hinges are not the real issue. A thick, folded, swollen, or badly installed weather seal can make the door hard to close.
Check whether the seal is:
- Folded under the door
- Too compressed in one area
- Loose
- Cracked
- Hardened
- Swollen
- Blocking the latch side
If the seal is the problem, hinge adjustment may not fix it.
Common Mistakes to Avoid
Avoid these mistakes:
- Adjusting the door while the RV is not level
- Loosening all hinges at once
- Letting the door hang unsupported
- Overtightening screws
- Moving the striker plate before checking hinge alignment
- Ignoring stripped screw holes
- Forcing the deadbolt
- Slamming the door after adjustment
Small adjustments are better than one big movement.
When Hinges Need Repair, Not Adjustment
Adjustment may not be enough if:
- Hinge screws are stripped
- Hinges are bent
- Door frame is damaged
- Wall near the door feels soft
- Water damage is visible
- Door has separated internally
- Latch side is badly out of square
- Door still sags after tightening
Soft wall material near the entry door can mean water intrusion. In that case, tightening the hinge may only be a temporary fix.
Custom way Can Help!
Custom way can help with RV door hinge adjustment, latch alignment, striker plate adjustment, lock repair, weather seal replacement, entry door repair, water damage inspection, and many other RV services.
A properly adjusted RV door should close cleanly, seal evenly, and lock without force. If the door still needs to be slammed or lifted after basic adjustment, it is worth checking the full door frame, hinges, seal, and latch system.