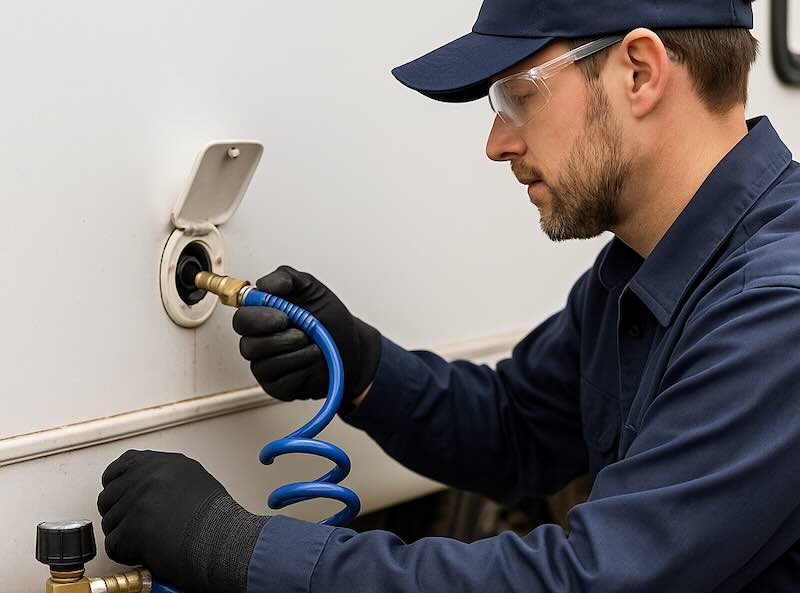
When freezing temperatures arrive, one of the most important maintenance tasks for any RV owner is winterizing the water system. If water remains in your pipes, it can freeze, expand, and cause expensive damage to fittings, faucets, and tanks. Blowing out your RV water lines with compressed air is a simple and effective way to prevent this. Here’s how to do it safely and properly.
Why You Need to Blow Out RV Water Lines?
Water expands as it freezes — and even a small amount trapped in the plumbing can crack pipes, fittings, or the water pump. Blowing out your water lines removes nearly all of the remaining water without the mess of antifreeze.
This method is ideal for mild-to-moderate winter climates like California, where freezing temperatures are occasional but still possible.
What You’ll Need
-
Air compressor (with adjustable pressure).
-
Blow-out plug (connects compressor to the RV’s city water inlet).
-
Standard air hose and fittings.
-
Freshwater tank drain tool.
-
Basic hand tools (optional).
-
Safety glasses and gloves.
So, How to Blow Out RV Water Lines?
1. Turn Off Water and Drain the System
-
Disconnect from any water supply.
-
Open all faucets (hot and cold).
-
Drain the freshwater tank and water heater (remove the anode rod or drain plug).
-
Close all drains once water has stopped flowing.
2. Bypass the Water Heater
You don’t need to push air through the water heater. Use the bypass valve if your RV has one — this prevents air from entering and wasting pressure.
3. Connect the Air Compressor
-
Attach the blow-out plug to the city water inlet on the RV.
-
Connect your air hose to the plug.
-
Set the compressor to 30–40 PSI — do not exceed 50 PSI, as high pressure can damage plumbing.
4. Blow Out Each Line
-
One by one, open each faucet (starting with the one farthest from the inlet).
-
Let air flow until only air — no water — comes out.
-
Don’t forget:
-
Kitchen sink (hot & cold).
-
Bathroom sink.
-
Shower.
-
Toilet.
-
Outside shower (if equipped).
-
5. Clear the Water Pump and Low-Point Drains
-
Open the low-point drain valves briefly to release trapped water.
-
Run the water pump for a few seconds to push out any remaining water (don’t let it run dry for long).
6. Finish Up
-
Close all faucets and drains.
-
Disconnect the air compressor.
-
Replace any drain plugs or anode rods you removed.
Bonus Tip: Add Antifreeze to Traps
Even if you blow out your lines, pour a small amount of RV antifreeze into each sink, shower, and toilet drain. This protects the P-traps and seals from freezing.
Blowing out your RV water lines for winter is one of the simplest and most effective ways to prevent costly freeze damage. It takes less than an hour, saves you money, and gives you peace of mind all winter long.
If you prefer professional winterization or plumbing service, Custom-way in Artesia, CA can help. We offer RV water system maintenance, roof repair, remodeling, and full service inspections.
Call +1 840-205-7314 or email customway.ca@gmail.com to schedule your appointment.

