How to Change a Flush Valve on a Camper Toilet
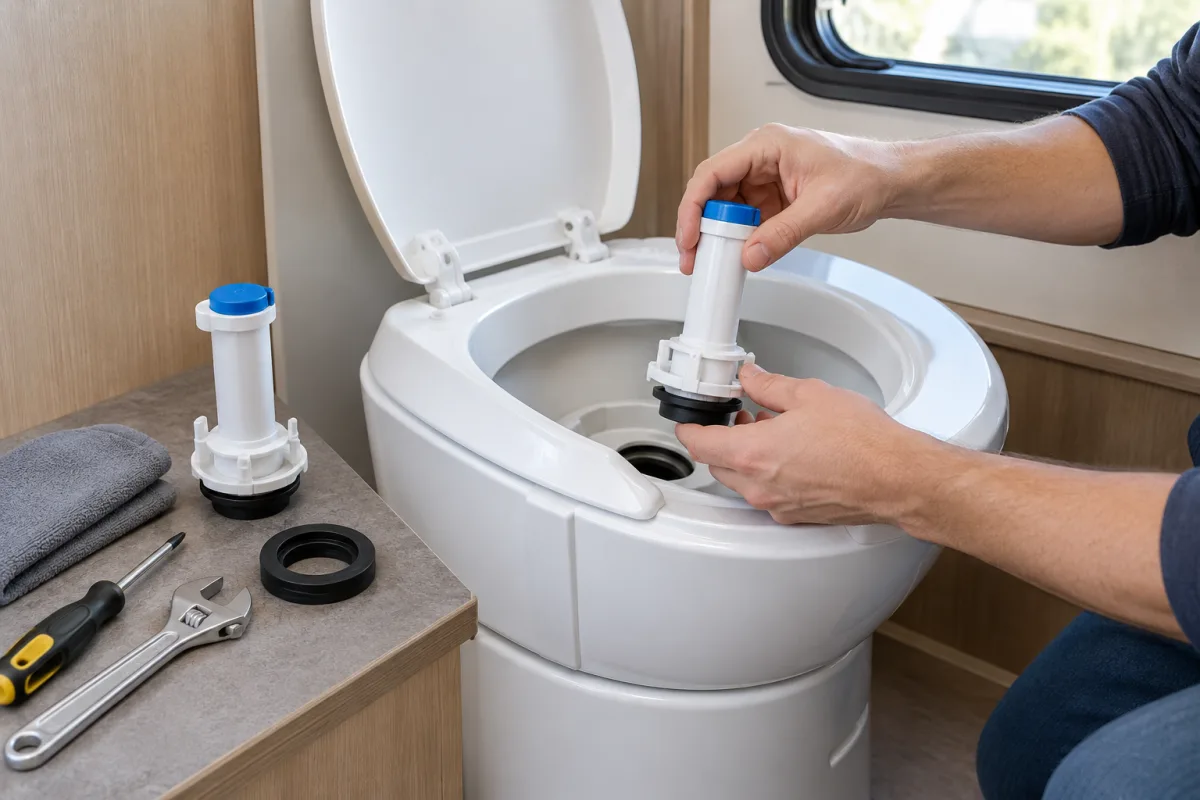
To change a flush valve on a camper toilet, first identify the toilet model and buy the matching replacement valve. Then shut off and drain the RV water supply, disconnect the inlet line, remove the old valve and its linkage, install the new valve, reconnect the water line and test for leaks.
This procedure applies mainly to pedal-operated, gravity-flush toilets. Dometic, Thetford and Lippert toilets use different valve assemblies, so confirm the model before ordering parts. On many toilets, the flush valve is the water-inlet valve at the rear or side of the bowl—not the flush-ball seal or an electrically operated macerator valve.
What you need
- Replacement water or flush valve that matches the toilet model
- Screwdrivers or small sockets suited to the existing fasteners
- Adjustable wrench or pliers for the water-line connection
- Towels or a shallow container for residual water
- Manufacturer service instructions for the specific toilet
Before starting: identify the valve and toilet model
Look for the brand and model number on the toilet, its base, or the owner’s documentation. Dometic 300, 301, 310, 311, 320 and 321 gravity-flush toilets use replaceable water valves, but the parts and installation details can differ. Thetford Aqua-Magic IV toilets also have replaceable valves, with the actuator, spring, cable or linkage varying by configuration. Lippert Flow Max toilets use their own valve assembly.
If water is leaking from the floor connection, the problem may be the floor-flange seal or mounting hardware rather than the valve. If the toilet is electric or macerating, do not use the following pedal-operated procedure without consulting its model-specific service instructions.
How to replace the camper-toilet flush valve
1. Shut off and drain the water supply
Turn off the RV water pump and disconnect the vehicle from city water. Open a faucet or operate the toilet briefly to release pressure. Keep towels under the toilet’s water connection because some water will remain in the line.
2. Disconnect the water inlet line
Locate the water line where it connects to the rear or side of the toilet valve. Loosen the connection carefully and move the line aside. Avoid twisting the fitting or stressing the plastic toilet body.
3. Remove the old valve linkage
Inspect how the valve connects to the flush pedal or handle. Depending on the toilet, you may find a valve stem, actuator, spring, cable or other linkage. Take a photo before disassembly, then disconnect the linkage without bending it.
4. Remove the retaining screws
Remove the screws holding the valve to the toilet. Support the valve as the final screw comes out. Keep the original screws unless the replacement instructions specify different hardware.
5. Install the replacement valve
Position the new valve in the same orientation as the old one. Reattach the linkage and confirm that the pedal or handle moves it fully. Install and tighten the retaining screws evenly, but do not overtighten them against the toilet body.
6. Reconnect the water line
Reconnect the inlet line and tighten the fitting securely. If the valve kit includes a new seal or washer, install it as directed. Do not add sealant unless the manufacturer specifically requires it for that connection.
7. Restore water and test the repair
Turn on the RV water pump or reconnect city water. Operate the flush several times while inspecting the valve body, inlet connection and surrounding toilet area. Check for leaks with the valve closed and while water is flowing. If a connection drips, shut off the water again and correct the fitting.
Model-specific points to check
- Dometic 300, 301, 310, 311, 320 and 321: the water valve is a replaceable component, but the exact access and linkage arrangement depend on the series.
- Thetford Aqua-Magic IV: the water line is disconnected first, and the valve is secured with screws. The actuator, spring, cable or linkage must be reconnected correctly before testing.
- Lippert Flow Max: use the valve assembly intended for the Flow Max toilet. Its service procedure is separate from repairs involving the flush-ball seal or floor gasket.
When replacing the valve will not fix the leak
A leak at the valve body or rear inlet usually points toward the water valve or its connection. Water appearing around the toilet base may indicate a floor-flange seal or mounting problem instead. A toilet that does not hold water in the bowl may have a flush-ball seal problem, which is a different repair. Electric and macerating toilets also require different procedures because their valves are electrically operated.
When to use an RV repair service
If the model is difficult to identify, the replacement part does not match, the linkage is damaged, or the toilet must be removed from the floor, professional service can prevent damage to the toilet and water connections. Custom way repairs and renovates RVs and camper vans in California, including water damage repair and related RV work, serving Orange County, Los Angeles and Riverside County.
For service information, contact Custom way at +1 840-205-7314 or customway.ca@gmail.com, or visit 17223 Roseton Ave, Artesia 90701. A technician can assess whether the fault is the valve, the flush mechanism or the toilet’s floor seal before replacement.