
Your RV’s hot water tank works hard every trip — heating water for showers, dishes, and cleaning. Over time, sediment, scale, and mineral buildup can affect performance, cause strange smells, and even damage the heater. Regular cleaning is essential to keep your RV water heater running efficiently and safely. Here’s a complete guide on how to clean it properly.
Why You Should Clean the Hot Water Tank?
RV water heaters (Suburban, Atwood, or Dometic) use either gas, electric, or both. Hard water, especially in California and the Southwest, causes mineral deposits that:
-
Reduce heating efficiency.
-
Clog water lines.
-
Create unpleasant sulfur odors (“rotten egg” smell).
-
Shorten the lifespan of the tank.
Cleaning the tank at least once or twice a year prevents these problems.
What You’ll Need:
-
Water heater flush wand or tank rinser.
-
White vinegar (1–2 gallons).
-
Garden hose.
-
Socket wrench or anode rod tool.
-
Teflon tape (for reinstalling anode rod).
-
Safety gloves and goggles.
How to Clean an RV Hot Water Tank?
1. Turn Off Power and Gas
Switch off both electric and propane systems. Let the water cool before starting to avoid burns.
2. Drain the Tank
-
Turn off the water supply and open the pressure relief valve.
-
Remove the drain plug or anode rod (depending on model) with a wrench.
-
Allow all water to drain out completely.
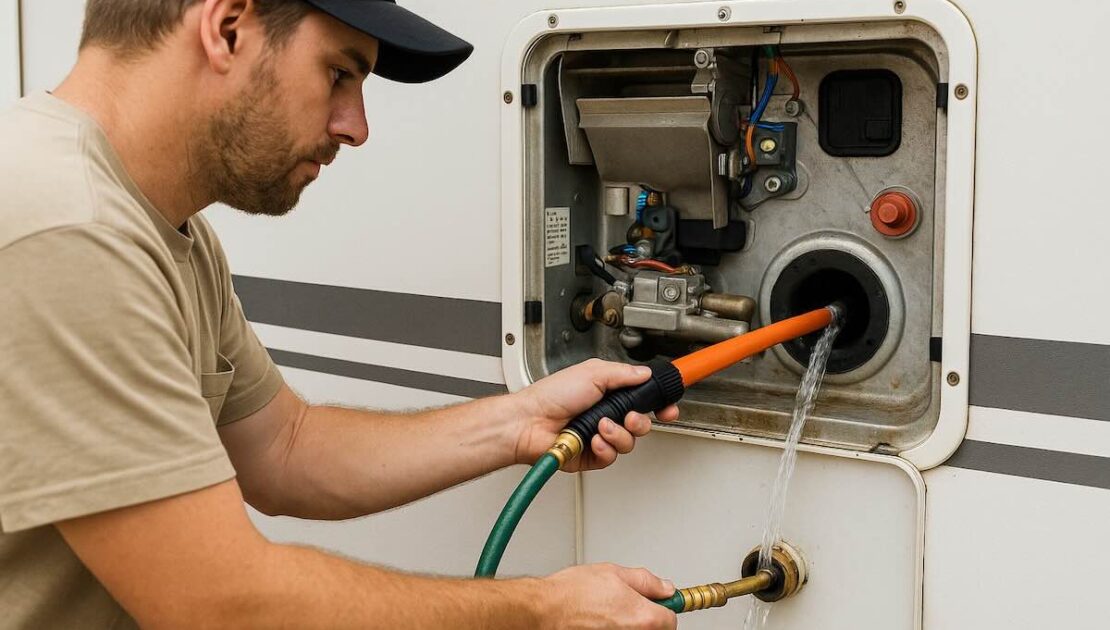
3. Flush Out Sediment
-
Attach a flush wand or rinser to your garden hose.
-
Insert it into the drain opening and spray in multiple directions to dislodge sediment.
-
Continue until the water runs clear.
4. Deep Clean with Vinegar
For heavy mineral buildup:
-
Mix 1 part white vinegar to 1 part water (about 2–3 gallons total).
-
Pour the solution into the tank through the pressure relief valve opening using a funnel.
-
Let it sit for a few hours to dissolve minerals.
-
Drain and flush again with clean water.
5. Inspect the Anode Rod
If you have a Suburban heater, check the anode rod (protects the tank from corrosion). Replace it if more than 75% worn. Wrap the new rod threads with Teflon tape before reinstalling.
6. Refill and Test the System
-
Close the drain plug or install the anode rod.
-
Turn the water supply back on and let the tank fill completely.
-
Open a hot water faucet to remove air from the system.
-
Restore power and propane, then test for leaks and proper heating.
Tips for Ongoing Maintenance
-
Use a water filter or softener to reduce mineral buildup.
-
Drain the tank if storing the RV for long periods.
-
Never power on the heater when empty — it can burn out the element.
Cleaning your RV hot water tank keeps your system efficient, odor-free, and ready for adventure. With a simple rinse and vinegar flush, you can extend its life and avoid costly repairs.
If you prefer expert service, Custom-way in Artesia, CA offers RV plumbing maintenance, water heater repair, roof service, and full RV remodeling.
Call +1 840-205-7314 or email customway.ca@gmail.com for professional help.