
Filling your RV’s fresh water tank is an essential task before hitting the road or setting up at a campsite. The process is simple, but doing it right ensures you have clean water for drinking, cooking, and bathing throughout your trip. Follow these steps to fill your RV water tank safely and effectively:
1. Locate the Fresh Water Fill Port
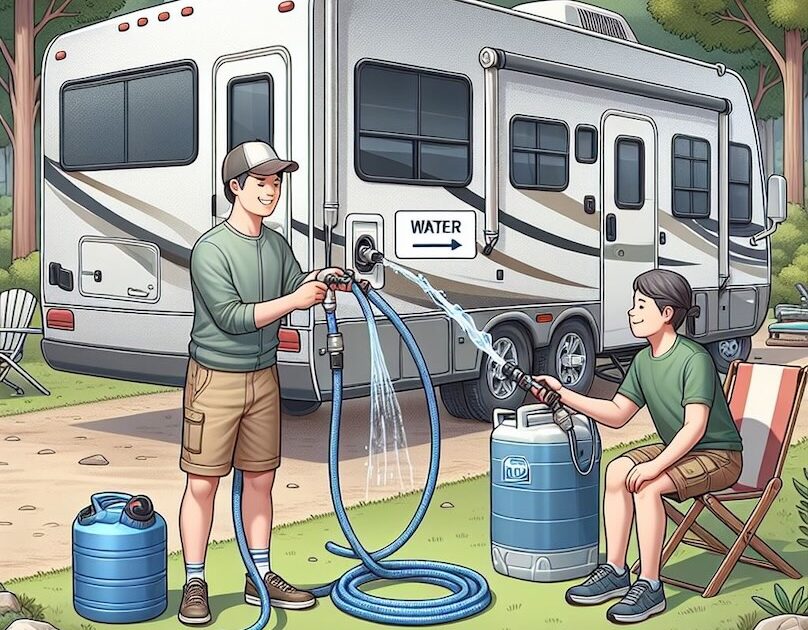
First, find the fresh water fill port on your RV. It’s typically labeled “Fresh Water” or “Potable Water” and is usually on the side of the RV. This is different from the city water connection, which is used when you’re hooked up directly to a campground’s water supply.
2. Gather the Right Tools
Before you begin, make sure you have the necessary tools:
- RV drinking water hose: Use a hose labeled for drinking water (usually white or blue) to avoid contamination. Never use a regular garden hose.
- Water filter (optional): If you want to ensure clean water, use an inline water filter that connects to the hose.
- Water pressure regulator (optional): This can help prevent damage to your RV’s water system by controlling high water pressure from a campground hookup.
3. Connect the Hose to the Water Source
Attach your drinking water hose to the fresh water spigot. If you’re at a campground, use the water hookup at your site. If you’re at home, connect it to an outdoor faucet.
- Tip: If you’re using a water filter, attach it to the spigot first and then connect your hose to the filter.
4. Insert the Hose into the Fresh Water Fill Port
Place the other end of the hose into the fresh water fill port on your RV. Make sure the hose is securely inserted so water doesn’t spill out during the process.
5. Turn on the Water
Slowly turn on the water supply to begin filling the tank. Monitor the flow to avoid overfilling or creating too much pressure inside the tank.
6. Watch the Water Gauge or Overflow Valve
Most RVs have a fresh water gauge inside the cabin to show how full the tank is. Keep an eye on this gauge as you fill the tank. Some RVs also have an overflow valve near the fill port that will start releasing water once the tank is full.
- Tip: Stop filling once the gauge reads full, or when you see water flowing from the overflow valve.
7. Turn Off the Water and Disconnect the Hose
Once the tank is full, turn off the water at the source. Carefully remove the hose from the fill port and the spigot. Allow any remaining water in the hose to drain out before storing it away.
8. Secure the Fresh Water Cap
Put the cap back on the fresh water fill port to prevent dirt or debris from entering your water system.
9. Check for Leaks
After filling the tank, check around the fill port and inside the RV for any leaks or signs of water damage. This ensures everything is properly sealed and secure.
10. Use the Water Pump to Access Water
Now that your fresh water tank is full, you can use your RV’s water pump to access water throughout the RV. Turn on the pump, and water will flow from your faucets, shower, and other fixtures just like at home.
Tips for Filling Your RV Water Tank
- Sanitize your tank regularly: To keep your water clean, sanitize the tank every few months, especially before and after long storage periods.
- Use a water pressure regulator: Protect your RV’s water system by using a regulator to prevent overpressure from campground hookups.
- Fill up before leaving home: It’s often easier to fill your fresh water tank at home before heading to your campsite, especially if the campground doesn’t have convenient water access.
By following these steps, you can ensure your RV’s fresh water tank is filled and ready for your next adventure. If you have any issues with your water system, the team at Custom-way is always here to help with expert RV service and repairs. Happy travels!