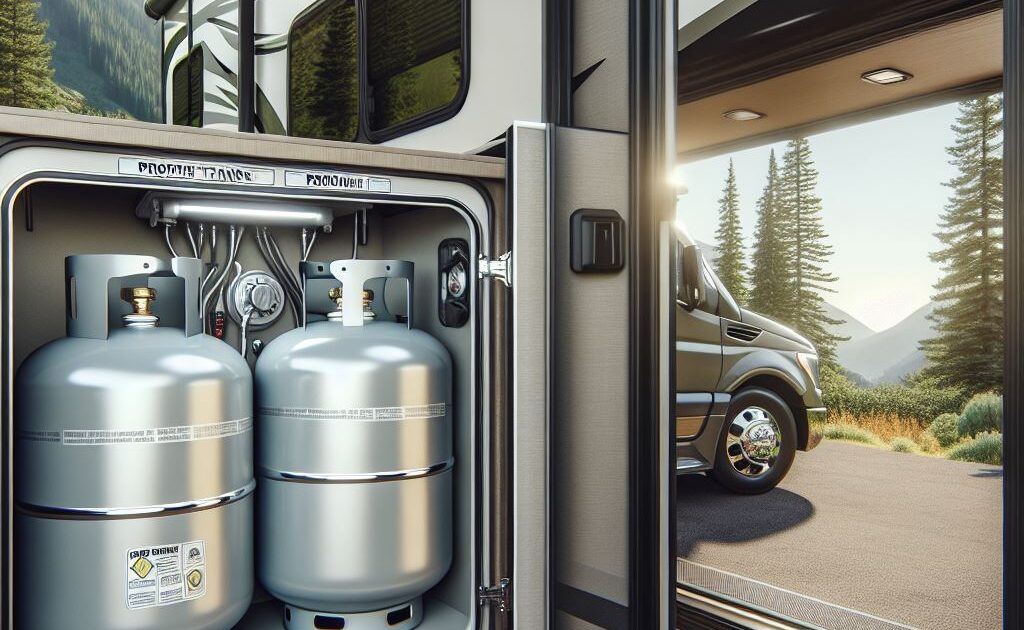
Propane leaks in an RV can be dangerous, so it’s important to detect and fix them promptly. Follow these steps to safely identify a propane leak.
Materials Needed
- Soapy water solution (mix dish soap with water)
- Spray bottle or brush
- Propane leak detector (optional)
- Wrench (if needed to tighten connections)
- Flashlight
Steps to Detect a Propane Leak.
Safety First:
Ensure there are no open flames or sparks nearby.
Turn off all propane appliances and the main propane valve.
Use Your Nose:
Propane has a distinct rotten egg smell due to an added odorant.
Walk around your RV and sniff near propane lines, connections, and appliances.
Apply Soapy Water Solution:
- Fill a spray bottle with the soapy water solution or use a brush to apply it.
- Spray or brush the solution onto all propane connections, hoses, and fittings.
- Look for bubbles forming, which indicate a leak.
Check the Propane Detector:
- Many RVs come with a built-in propane detector near the floor.
- Ensure the detector is functioning properly and listen for any alarms.
Inspect the Propane System:
- Use a flashlight to visually inspect propane lines and connections for any signs of wear, cracks, or damage.
- Tighten any loose connections with a wrench.
Use a Propane Leak Detector (Optional):
- A propane leak detector can provide an additional layer of safety.
- Follow the manufacturer’s instructions to use the detector around your propane system.
Additional Tips
- Regular RV Maintenance: Check your propane system regularly, especially before long trips.
- Professional Inspection: Consider having your RV’s propane system inspected by a professional annually.
- Ventilation: Ensure your RV is well-ventilated when using propane appliances.

