
Installing an Awning on a Motorhome: A Step-by-Step Guide
One of the most dramatic improvements that you can do to your motorhome to enhance available space and expand outdoor comfort is the installation of an awning. From sun-shaded respite beneath the California sun to providing a comfortable camping configuration, a properly installed awning makes an enormous difference.
We at Custom-way are RV upgrading and customizing specialists, with professional awning fitting for motorhomes and camper vans being one of our specialties. In this article here, we’ll guide you through the fundamentals of awning fitting—along with when it’s best to bring in the professionals.
What You’ll Need
Before you begin, here is a checklist of the minimum tools and materials needed to install a typical roll-out or cassette-type motorhome awning:
-Your selected awning kit (manual or electric)
-Screwdriver or drill (cordless is preferred)
-Measuring tape
-Staircase
-Ladder
-Level
-Spirit level
-Mounting brackets (typically included)
-Sealant (waterproof, UV-resistant)
-Screws or bolts, rated for exterior use
⚠️ Important: Always refer to your motorhome’s structural design. Awnings need to be mounted on a reinforced section—not just fiberglass or paneling.
Step-by-Step Guide: How to Install an Awning on Your Motorhome
1. Choose the Right Awawning Type
There are several types:
-Wall-mounted cassette awnings
-Roof-top awnings
-Automated motorized awnings
Ensure the size is compatible with your RV’s side width and mounting area.
2. Mark and Measure the Mounting Points
Mark where the brackets will be placed with a level and tape measure. You need a level, straight line for your awning to roll in and out effectively.
3. Pre-drill the Mounting Holes
Drill carefully through the marked areas in your RV body with a screw size-appropriate bit. Avoid over-drilling and make sure that you do not have pipes or wires at the back of the wall.
4. Apply Sealant
Before inserting the screws or bolts, apply a bead of UV-stable sealant in the holes to close off water leaks.
5. Install the Mounting Brackets
Tighten the brackets firmly in place with weather-resistant fasteners. If required by the manufacturer of the awning, use a torque wrench.
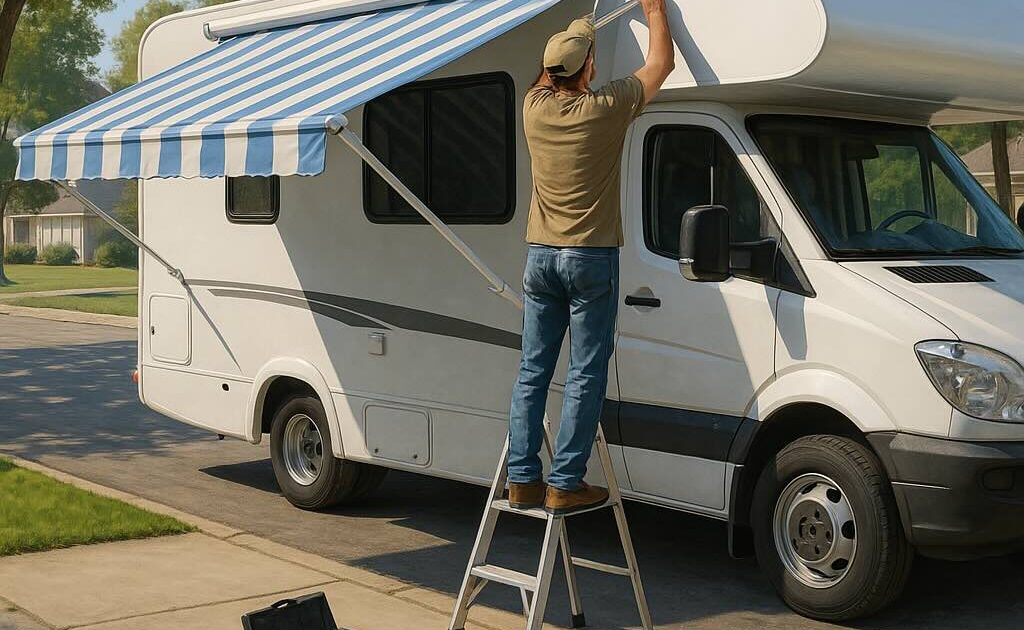
6. Install the Awning Cassette
Tilt the awning into place and attach it to the brackets. This typically takes 2–3 individuals because of weight and cumbersome size.
7. Test the Mechanism
Fully retract and extend the awning to verify alignment, clearance, and ease of operation. On a motorized version, inspect the controls and wires.
To DIY or Not to DIY?
While some RV owners install awnings themselves, it’s not a job for the inexperienced. If you’re unsure about:
- Drilling through your RV wall or roof
- Handling 12V electrical wiring (for power awnings),
- Providing water-proof sealing
…preferable to have a certified RV tech call.
Here at Custom-way in California, we provide professional awning installation with mobile service—we come to you and install your motorhome awning efficiently and safely.
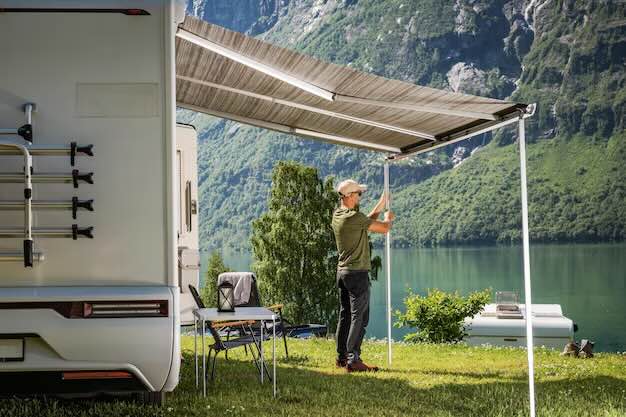
Chill in the Shade – Stress-Free
If installed correctly, an awning offers you:
-Instant outdoor shelter
– Shade for working, relaxing, or cooking
-Campground or RV park rain shelter
-And with the right care, your awning will last for years.
Need Assistance with RV Awning Installation in California? Let Custom-way handle it. We offer mobile RV awning repair, installation, and upgrading anywhere in Southern California. If you’re interested in upgrading your equipment or need to replace an awning that’s been damaged, we’ve got you covered. Welcome to contact us for a free quote: