
A leaking camper roof is one of the most common problems RV owners face. If not fixed quickly, water can cause serious damage to the interior, including mold, rot, and electrical issues. The good news is that most leaks can be repaired without professional help if you catch them early. Here’s how to do it:
Step 1. Find the leak
Before fixing the leak, you need to find it. Here’s how:
Check inside: Look for water stains, bubbling wallpaper, or soft spots on the ceiling.
Inspect the roof: Climb up and check for cracks, holes, loose seams, or damaged caulking. Pay close attention to areas around vents, skylights, AC units, and seams.
Do a Water Test: If you can’t find the leak, use a garden hose to spray different sections of the roof while someone checks inside for drips.
Step 2. Clean the area
Once you find the leak, clean the damaged area thoroughly.
– Use a brush and mild soap to remove dirt and debris.
– Rinse with water and let it dry completely before applying any repair material.
Step 3. Choose the right repair method
The best way to fix your leak depends on the size and type of damage.
For small cracks or holes: use RV roof sealant
-
Apply a self-leveling sealant (like Dicor or EternaBond) over the crack.
-
Spread it evenly with a putty knife.
-
Let it cure for 24 hours before exposing it to water.
For Seams and Edges: Reseal with Lap Sealant
-
Remove old, cracked sealant with a plastic scraper.
-
Apply a new layer of lap sealant (such as Dicor Self-Leveling Lap Sealant) along seams, vents, and skylights.
-
Smooth it out and let it dry.
For Larger Tears: Use a Patch or EternaBond Tape
-
Cut a piece of EternaBond tape slightly larger than the damaged area.
-
Peel off the backing and press it firmly onto the surface.
-
Use a roller to ensure a tight bond.
-
This method works well for rubber (EPDM or TPO) and fiberglass roofs.
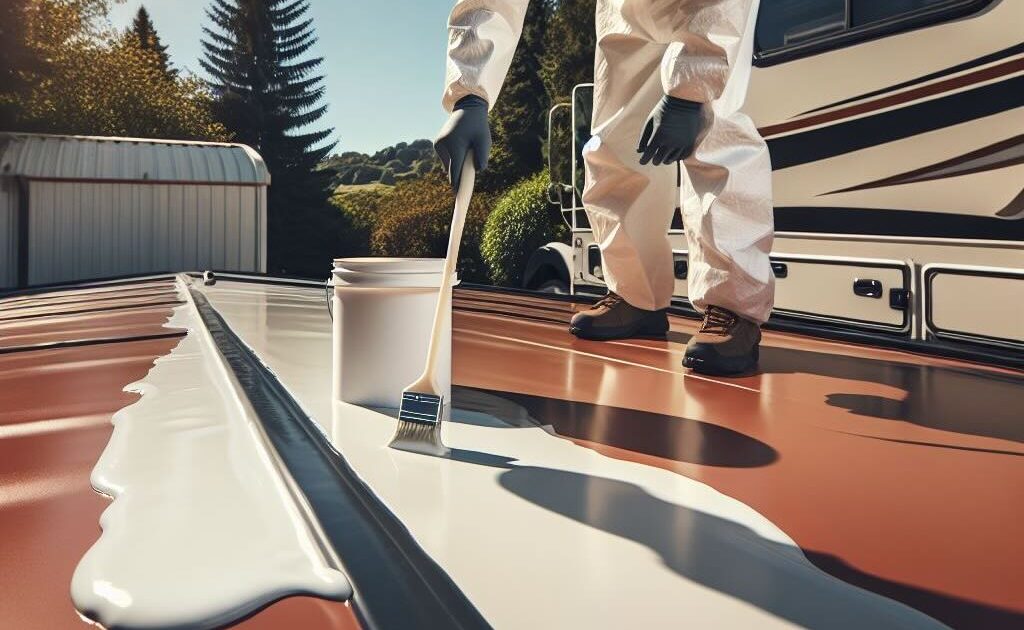
For Major Damage: Consider a Roof Coating
If your roof has multiple leaks or is aging, a full RV roof coating might be the best solution.
-
Use a product like Liquid Rubber RV Roof Coating or Flex Seal.
-
Apply a thick coat with a paint roller and let it cure for 24–48 hours.
-
This creates a waterproof barrier over the entire roof.
Step 4: Prevent Future Leaks
-
Inspect your roof regularly (at least twice a year).
-
Keep it clean to prevent dirt buildup that can hide cracks.
-
Reapply sealant as needed, especially around seams and vents.
-
Use an RV cover if storing your camper for long periods.
When to Call a Professional
If your roof has extensive water damage, sagging, or mold inside, a DIY fix might not be enough. In these cases, it’s best to contact an RV repair specialist to assess whether you need a full roof replacement.
By following these steps, you can stop leaks before they cause serious damage, keeping your camper dry and in great shape for years to come! 🚐💦