How to Fix Cracked Linoleum Flooring in a Camper
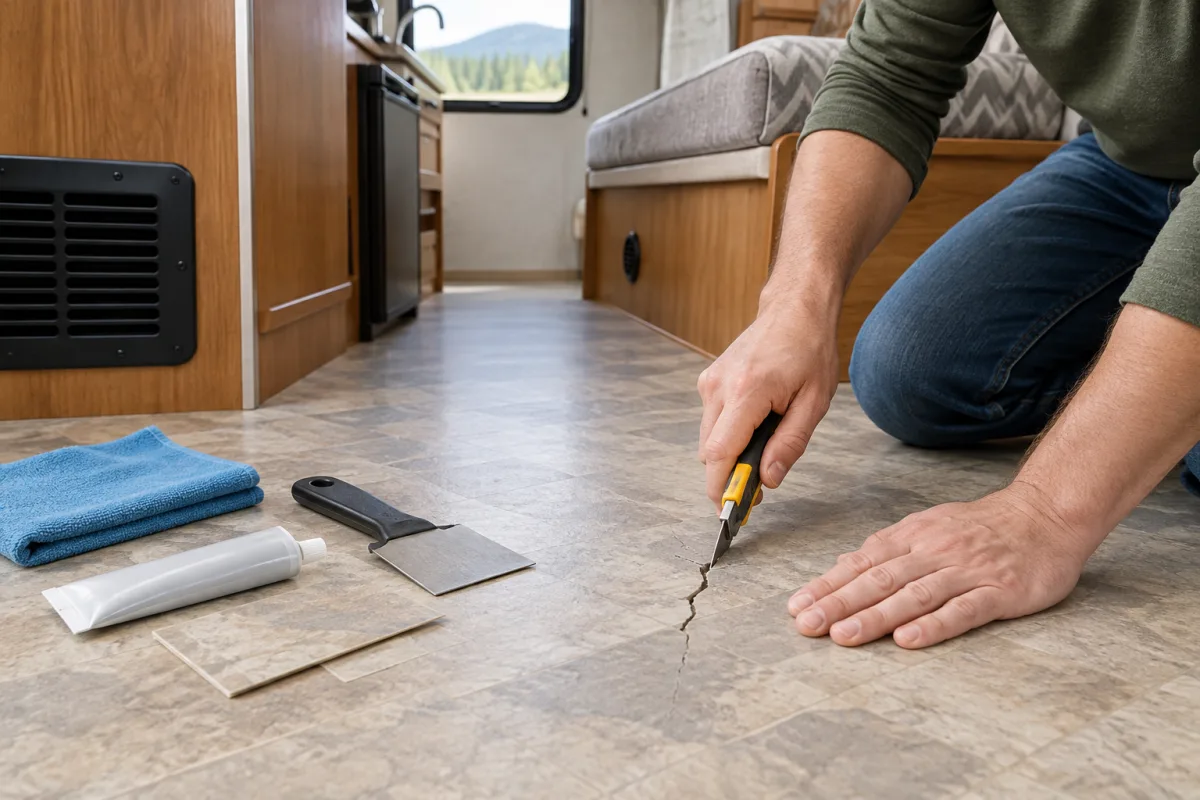
A small, stable crack in camper linoleum or sheet-vinyl flooring can usually be repaired without replacing the entire floor. The best method depends on the damage: a narrow surface crack may need compatible flooring adhesive or repair compound, while a torn or missing section is better repaired with a matching patch.
Before starting, confirm whether the material is sheet vinyl, true linoleum, vinyl plank, or a failed seam. Check the camper owner’s manual and the flooring manufacturer’s instructions, especially if the vehicle is still under warranty.
Inspect the crack and the floor underneath
Press gently around the damaged area. A successful surface repair requires a firm, dry and reasonably level substrate.
- Small, stable crack: suitable for a localized repair.
- Lifted seam: requires cleaning, compatible adhesive and firm pressure while it cures.
- Torn or missing section: usually needs a matching patch.
- Soft, damp or moving floor: repair the subfloor or moisture problem before patching.
If the crack continues to open when the camper flexes, a surface filler alone is unlikely to last. Moisture-affected or unstable subflooring must be corrected first.
Repair a small crack
Materials
- Mild cleaner and a soft cloth
- Clean, dry cloth or paper towel
- Vinyl-floor repair compound or adhesive compatible with the flooring and substrate
- Plastic scraper or putty knife
- Wax paper or release film
- Flat board and light weights
Procedure
- Clean the area. Remove dirt and grease with a mild cleaning solution. Do not saturate the floor or use harsh solvent-based cleaners, which may damage or discolor the surface.
- Dry it completely. Adhesive and repair compound need a clean, dry surface.
- Close the crack carefully. If the edges lift, bring them together without forcing or stretching the flooring.
- Apply a compatible repair product. Work a small amount into the crack according to the product label. The adhesive or compound must be suitable for the specific flooring and substrate.
- Remove excess material. Level the repair with a plastic scraper before it hardens.
- Hold the area flat. Cover it with wax paper or release film, place a flat board over the repair, and add light, even pressure.
- Allow it to cure. Follow the selected product’s label rather than relying on a universal curing time. Keep foot traffic off the area until the repair is ready.
Patch a larger tear or missing section
A patch is more reliable when the crack has widened, the surface is torn, or flooring material is missing. Use a piece with the same thickness, texture and pattern. Spare flooring is ideal; otherwise, material may sometimes be taken from an inconspicuous area, provided this does not damage the camper.
- Cut a clean, regular shape around the damaged section.
- Use that opening as a template for the replacement piece.
- Match the pattern and direction of the flooring before trimming the patch.
- Cut the patch slightly oversized, then trim it carefully for a close fit.
- Apply flooring adhesive approved for both the material and the substrate.
- Press the patch level with the surrounding floor and hold it flat during curing.
- Remove any adhesive residue according to the product instructions.
For small gouges or voids, a paste made from a scrap of matching flooring can be used as a material-matched filler. This is most suitable for minor damage, not for a section that moves or has a damaged base.
When sealing or patching will not be enough
Arrange a more thorough flooring repair if you find any of the following:
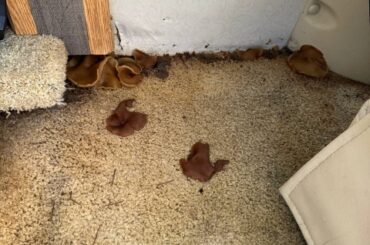
- Softness or sponginess around the crack
- Dark staining, dampness or a musty odor
- A subfloor that is uneven, swollen or deteriorated
- A crack that reopens after repair
- Damage near a leak, door, window or plumbing area
In these cases, replacing only the visible surface can trap the underlying problem and lead to another failure. The damaged substrate and the source of moisture or movement should be addressed before new flooring is installed.
How to prevent another crack
- Keep the floor clean with mild methods and avoid excessive water.
- Use entry mats to reduce grit that can wear the surface.
- Inspect areas near windows, doors and plumbing for leaks.
- Do not drag heavy furniture or appliances across the flooring.
- Check for movement or soft spots when performing routine camper maintenance.
Professional camper flooring repair in California
When the crack is connected to water damage, an unstable subfloor or a larger renovation, Custom way repairs and renovates RVs and camper vans in California, including flooring and water damage repair. The service area includes Orange County, Los Angeles and Riverside County.
For a professional assessment, visit Custom way at 17223 Roseton Ave, Artesia 90701, call +1 840-205-7314 or email customway.ca@gmail.com. This is especially useful when the floor continues to move or the damage requires more than a localized patch.