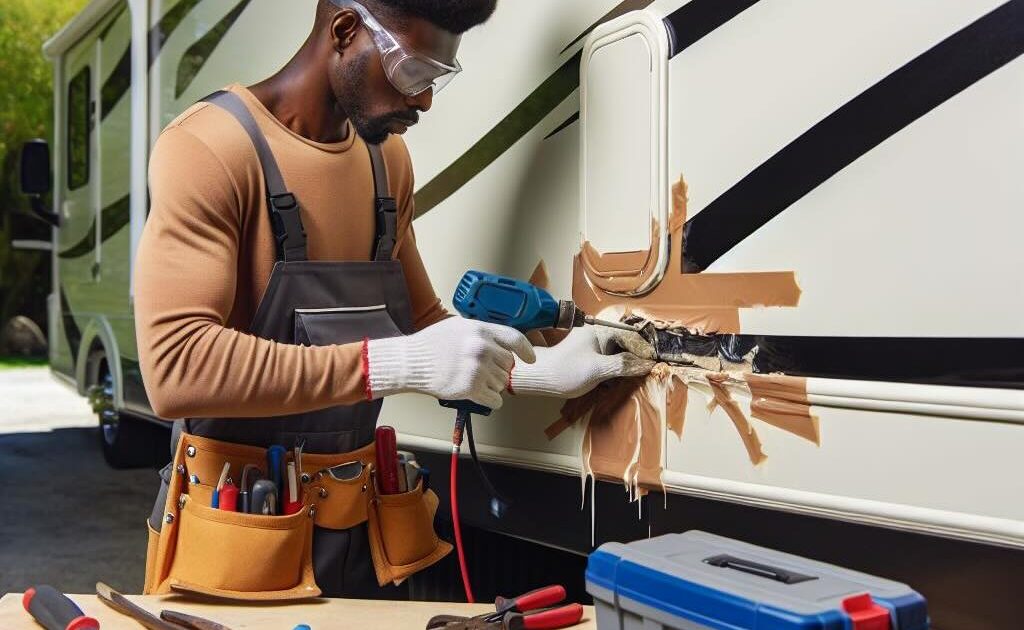
Delamination is a common issue in RVs, where the outer fiberglass layer separates from the underlying material, often due to moisture intrusion. This can lead to unsightly bubbles and structural problems if not addressed promptly. Here’s a step-by-step guide on how to fix delamination on your RV:
Step 1: Identify the Extent of the Damage
Before starting any repairs, thoroughly inspect the affected area to determine the extent of the delamination. Look for bubbles, cracks, or soft spots on the RV’s exterior. Mark the boundaries of the damaged area with tape.
Step 2: Gather Your Materials
You’ll need the following materials for the repair:
- Epoxy resin or specialized delamination repair kit
- Fiberglass mat
- Syringes or injection tools
- Clamps
- Sandpaper
- Protective gear (gloves, mask, safety glasses)
Step 3: Prepare the Area
Clean the delaminated area to remove any dirt, debris, or loose material. This ensures a strong bond when you apply the resin. If necessary, remove any trim or fixtures that might obstruct the repair process.
Step 4: Inject the Resin
Using a syringe or injection tool, inject the epoxy resin into the delaminated area. Start from the bottom and work your way up, ensuring the resin spreads evenly behind the fiberglass layer. Be careful not to overfill, as this can cause further issues.
Step 5: Apply the Fiberglass Mat
Cut a piece of fiberglass mat to fit the delaminated area. Place it over the injected resin and press it down firmly. Apply additional resin over the mat until it is fully saturated. This helps reinforce the repair and ensures a smooth finish.
Step 6: Clamp and Cure
Use clamps to hold the repaired area in place while the resin cures. Follow the manufacturer’s instructions for curing time, which is typically 24 to 48 hours. Ensure the area is kept dry and undisturbed during this period.
Step 7: Sand and Finish
Once the resin has fully cured, remove the clamps and sand the repaired area until it is flush with the surrounding surface. Apply a finishing coat of resin or paint to match the rest of your RV’s exterior.
Preventing Future Delamination
To prevent future delamination, regularly inspect your RV for signs of water intrusion. Ensure all seals around windows, doors, and roof vents are intact and replace any damaged seals promptly. Proper maintenance and timely repairs can help extend the life of your RV and keep it looking great.
You can effectively repair delamination on your RV and restore its structural integrity and appearance. If you’re unsure about any part of the process, consider consulting a professional Custom-way team for assistance.

