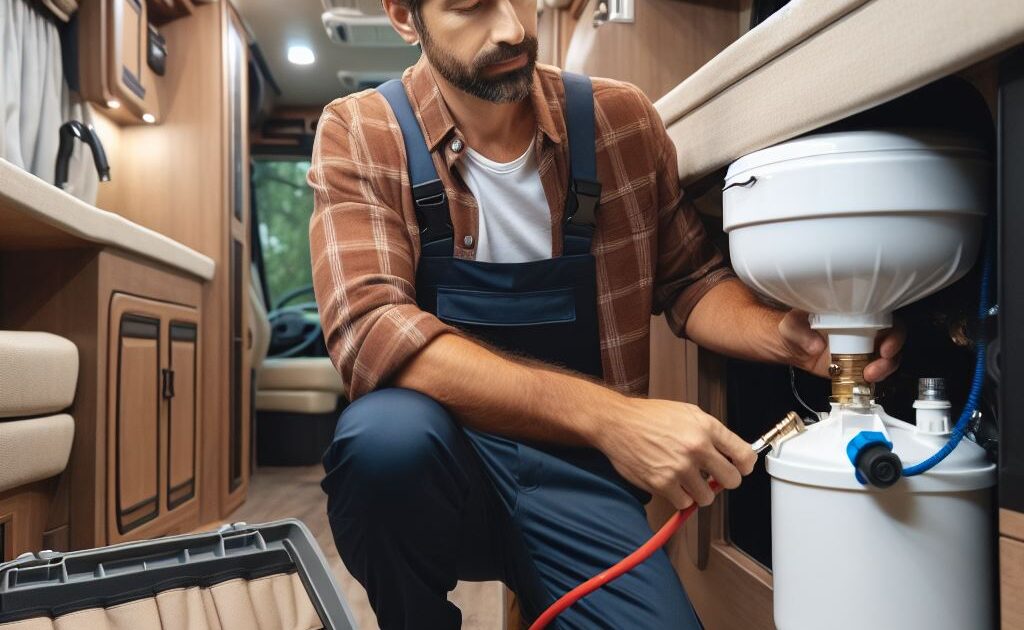
A leaking water tank in your RV can be a major inconvenience, but with the right tools and steps, you can fix it yourself or choose our rv service. Follow this guide to repair your RV water tank and prevent future leaks.
Materials Needed
- Epoxy putty or RV-specific tank repair kit
- Sandpaper (100 or 150-grit)
- Cleaning supplies (dish soap, warm water, scouring sponge)
- Soft towels
- Plastic or rubber gloves
- Flashlight
- Bucket or container (to catch draining water)
Steps to Fix the Leak
Identify the Leak:
- Inspect the water tank thoroughly to locate the source of the leak.
- Use a flashlight to check for cracks, holes, or damaged fittings.
Drain the Tank:
- Turn off the water supply and drain the tank completely.
- Use a bucket or container to catch the draining water.
Clean the Area:
- Clean the area around the leak with warm water and dish soap.
- Use a scouring sponge to remove any dirt, grime, or residue.
- Rinse with water and dry with a soft towel.
Sand the Surface:
- Lightly sand the area around the leak with 100 or 150-grit sandpaper.
- This helps the repair material adhere better to the tank.
- Wipe off any dust with a damp cloth.
Apply Epoxy Putty or Repair Kit:
- Follow the instructions on the epoxy putty or RV-specific tank repair kit.
- Wear plastic or rubber gloves to protect your hands.
- Knead the epoxy putty until it is well-mixed and apply it over the leak.
- If using a repair kit, follow the manufacturer’s instructions for application.
- Ensure the repair material covers the entire damaged area and extends slightly beyond it.
Allow to Cure:
- Let the epoxy putty or repair material cure according to the manufacturer’s instructions.
- This usually takes a few hours to overnight, depending on the product.
Test the Repair:
- Once the repair material has cured, refill the tank with water.
- Check for any signs of leaks around the repaired area.
- If the leak persists, you may need to reapply the repair material or consult a professional.
Preventive Maintenance Tips
- Regular Inspections: Check your water tank and fittings regularly for signs of wear and tear.
- Proper Storage: Store your RV properly during the off-season to prevent damage from freezing temperatures.
- Avoid Over-Pressurizing: Do not overfill the tank or apply excessive pressure, as this can cause leaks.
By following these steps, you can effectively repair a leak in your RV water tank and ensure it remains in good condition for your travels

