
Installing a roof rack on a camper shell is one of the most practical upgrades for pickup truck owners. A properly installed rack allows you to carry bikes, kayaks, roof boxes, ladders, solar panels, or work equipment without sacrificing interior space. However, camper shells differ significantly from standard vehicle roofs, so installation must be done carefully.
This guide explains how roof rack installation on a camper shell works, what to watch out for, and when professional help is the smarter option.
Understanding your camper shell type
Before installing a roof rack, you must identify the type of camper shell you have. This directly affects mounting methods and load limits.
Common camper shell types:
-
Fiberglass camper shells – lightweight but require reinforcement
-
Aluminum camper shells – stronger frames, easier mounting
-
Commercial utility shells – often pre-reinforced for racks
Most fiberglass shells are not designed to carry heavy loads without internal support, even if they look solid from the outside.
Roof load limits and weight distribution
One of the biggest mistakes is ignoring roof load capacity. Camper shell roofs are not engineered like factory truck roofs.
Key considerations:
-
Static load vs dynamic load (driving vibration matters)
-
Weight of the rack itself
-
Even distribution across mounting points
Overloading a camper shell roof can cause cracks, leaks, or permanent deformation.
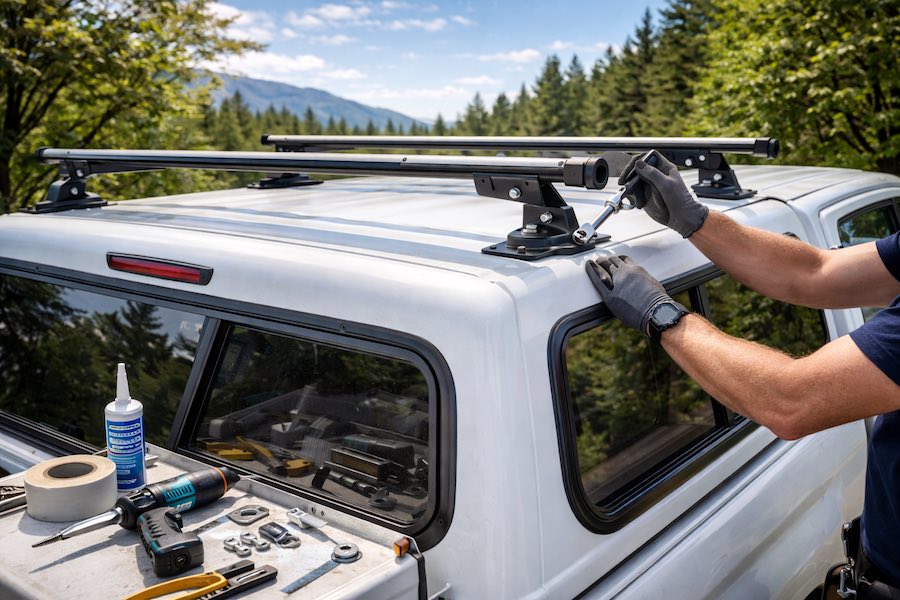
Mounting options: drill vs no-drill systems
There are two main approaches to roof rack installation.
Clamp-on (no-drill) systems
-
Faster installation
-
No holes in the shell
-
Lower load capacity
Bolt-on (drilled) systems
-
Stronger and more reliable
-
Requires precise drilling
-
Must be properly sealed
For long-term use and heavier cargo, bolt-on mounting with reinforcement is usually the better solution.
Reinforcement and sealing are critical
Proper installation is not just about attaching the rack. Reinforcement and sealing determine whether the setup will last years or fail after one season.
Professional installation includes:
-
Internal backing plates or aluminum rails
-
Correct torque on mounting hardware
-
Automotive-grade sealant to prevent leaks
-
Inspection for stress points
Skipping these steps often leads to water intrusion and costly shell repairs.
Electrical and accessory considerations
If you plan to mount accessories like:
-
solar panels
-
work lights
-
awnings
you should plan cable routing and mounting locations in advance. Drilling later increases the risk of leaks and structural issues.
DIY installation vs professional service
DIY installation may be suitable for light racks and clamp systems. However, professional installation is strongly recommended if:
-
the shell is fiberglass
-
you plan to carry heavy loads
-
drilling is required
-
the rack will support dynamic loads (off-road, highway use)
A professionally installed roof rack protects both your cargo and your camper shell investment.
Roof rack installation by Custom-way
If you want a safe and durable solution, Custom-way offers professional camper shell upgrades, including roof rack installation.
Custom-way focuses on:
-
correct load calculations
-
proper reinforcement
-
long-term waterproof sealing
-
clean, reliable mounting
This approach prevents common failures and ensures your camper shell remains functional and leak-free.
Installing a roof rack on a camper shell is a practical upgrade, but it must be done correctly. Understanding your shell type, respecting load limits, and using proper reinforcement are essential for safety and durability. With professional installation, a roof rack becomes a reliable extension of your camper setup rather than a weak point.