
Upgrading your RV with a tankless water heater is a great way to enjoy endless hot water while saving space and energy. If you’re ready to make the switch, this guide will walk you through the installation process. However, if you’d rather have professionals handle the job, Custom-way offers expert installation services for all RV water systems!
Why Choose a Tankless Water Heater for Your RV?
- Unlimited Hot Water – No more waiting for a tank to refill.
- Energy Efficiency – Uses propane or electricity only when hot water is needed.
- Space-Saving – Compact design compared to traditional water heaters.
- Lightweight – Reduces overall weight in your RV.
Tools & Materials Needed
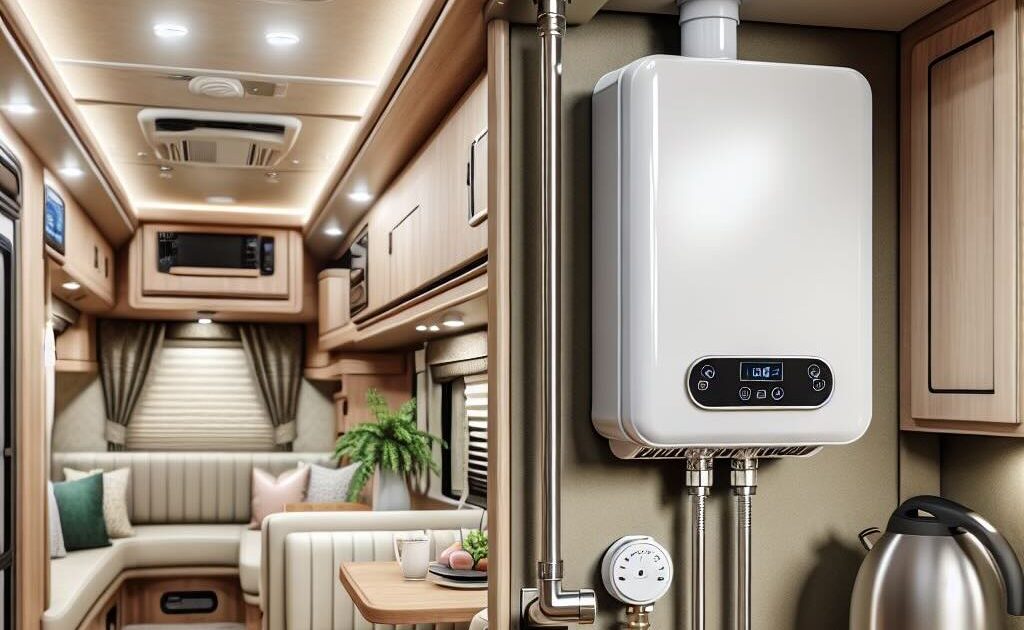
- Tankless water heater (RV-compatible model)
- Screwdriver & wrench set
- Drill and hole saw (if cutting new vent holes)
- Plumber’s tape & sealant
- Water supply hoses
- Propane line fittings (if applicable)
- Electrical connectors (if applicable)
What to do next?
Remove the Old Water Heater
- Turn off power and water supply – Disconnect the RV from shore power and switch off the propane supply.
- Drain the old heater – Open the pressure relief valve and drain any remaining water.
- Disconnect connections – Unscrew the water lines, propane line, and electrical connections.
- Remove the old unit – Carefully take it out of the compartment.
Prepare for the Tankless Water Heater
- Check dimensions – Ensure the new unit fits in the existing space or adjust as needed.
- Install a vent (if required) – Some models need exterior venting; follow manufacturer instructions.
- Secure the unit – Mount the new water heater using screws or brackets.
Connect Water, Gas, and Electrical Lines
- Attach water lines – Use plumber’s tape to prevent leaks.
- Reconnect propane line (for gas models) – Check for leaks using soapy water.
- Wire the electrical connections – Follow the manufacturer’s wiring diagram.
Test the System
- Turn on the water supply and check for leaks.
- If gas-powered, check propane connections before igniting.
- Power on the unit and test hot water flow.
Let Custom-way Handle the Installation for You!
Installing a tankless water heater requires plumbing, gas, and electrical work, which can be challenging for many RV owners. Custom-way offers professional RV installation services, ensuring a safe and efficient setup. Let us take care of the hard work while you enjoy the benefits of endless hot water in your RV!
Contact Custom-way today for expert installation and upgrade your RV’s water system with confidence!