
Installing an awning on an RV adds shade, comfort, and value, but it must be done correctly to avoid wall damage, leaks, or awning failure while driving. RV walls are thin and contain wiring, framing, and insulation, so proper mounting and sealing are critical.
Below is a clear, practical guide that reflects how RV awnings are installed professionally.
Step 1. Choose the Right RV Awning
Before installation, make sure the awning matches your RV:
-
Correct length for your RV side wall
-
Compatible with your RV wall construction
-
Manual or electric model
-
Proper mounting brackets included
Never guess the size. Measure the flat mounting area carefully, avoiding windows, doors, lights, and vents.
Step 2. Locate Structural Mounting Points
This is one of the most important steps.
RV awnings must be mounted into:
-
Aluminum or steel wall framing
-
Reinforced backing installed by the manufacturer
Do NOT mount an awning into:
-
Thin fiberglass only
-
Decorative wall panels
-
Areas without structural support
Use:
-
Manufacturer frame diagrams if available
-
Stud finder designed for RV walls
-
Existing factory awning marks or screw holes (if replacing an awning)
Step 3. Mark and Prep the Mounting Area
-
Mark bracket locations carefully
-
Double-check alignment and height
-
Clean the wall surface
-
Dry-fit brackets before drilling
A small alignment mistake can cause the awning to bind or tear.
Step 4. Drill Pilot Holes
-
Drill pilot holes only where structure is confirmed
-
Use the correct bit size
-
Drill slowly to avoid cracking fiberglass
Never drill blindly. RV walls often hide wiring and plumbing.
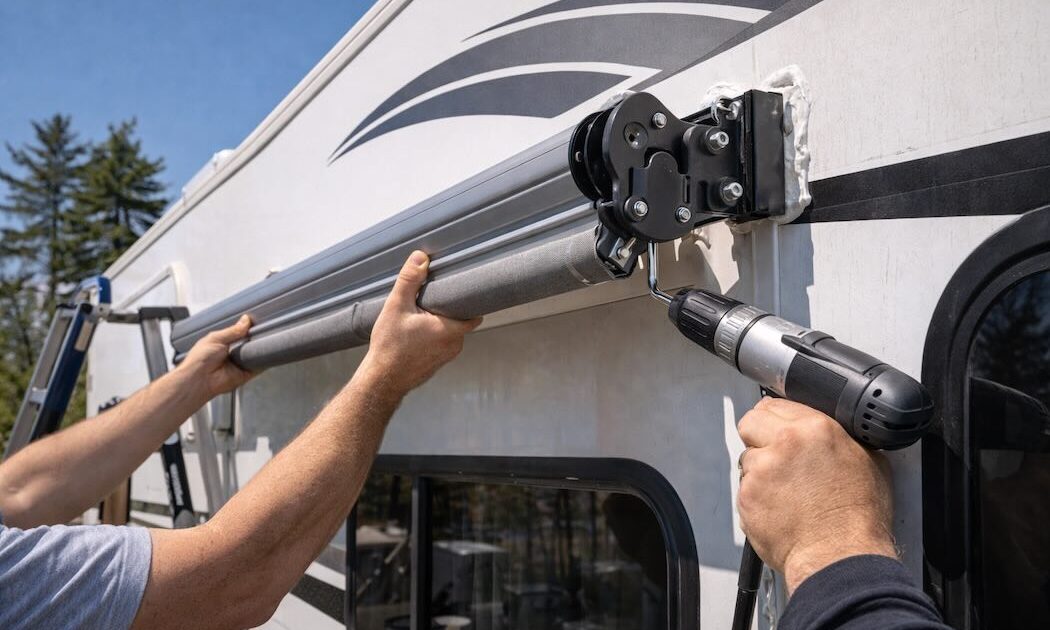
Step 5. Install Mounting Brackets
-
Apply RV-grade sealant (Dicor or Sikaflex) behind each bracket
-
Secure brackets with stainless steel screws
-
Tighten firmly, but do not over-tighten
Sealant must squeeze out slightly to ensure a watertight seal.
Step 6. Mount the Awning Assembly
This step usually requires two or more people.
-
Lift the awning into place
-
Attach it to the mounting brackets
-
Secure side arms and support rails
-
Ensure smooth extension and retraction
For electric awnings, route wiring carefully through protected wall access points.
Step 7. Seal All Exterior Penetrations
Every screw and wire entry must be sealed.
-
Apply sealant over screw heads
-
Seal wiring holes and bracket edges
-
Smooth sealant for full coverage
Improper sealing leads to hidden water damage.
Step 8. Test the Awning
-
Extend and retract multiple times
-
Check alignment and tension
-
Verify clearance with doors and slide-outs
-
Ensure arms lock correctly
Make adjustments before final tightening.
Mistakes to Avoid:
-
Mounting into non-structural wall sections
-
Skipping pilot holes
-
Using household silicone instead of RV sealant
-
Installing awning too low or too high
-
Poor sealing around fasteners
These mistakes often result in wall delamination or awning failure.
Installing an RV awning is not just about bolting it on. It requires understanding RV wall construction, load distribution, and proper sealing. When installed correctly, an awning will last for years and operate safely even at highway speeds.
We Can Help!
If you want your awning installed correctly, you can contact Custom-way.
We understand:
-
RV wall framing and reinforcement
-
Hidden wiring and plumbing paths
-
Proper load mounting points
-
Professional sealing to prevent leaks
We can access internal wall cavities safely and install awnings without damaging your RV.
📞 +1 840-205-7314
✉️ customway.ca@gmail.com