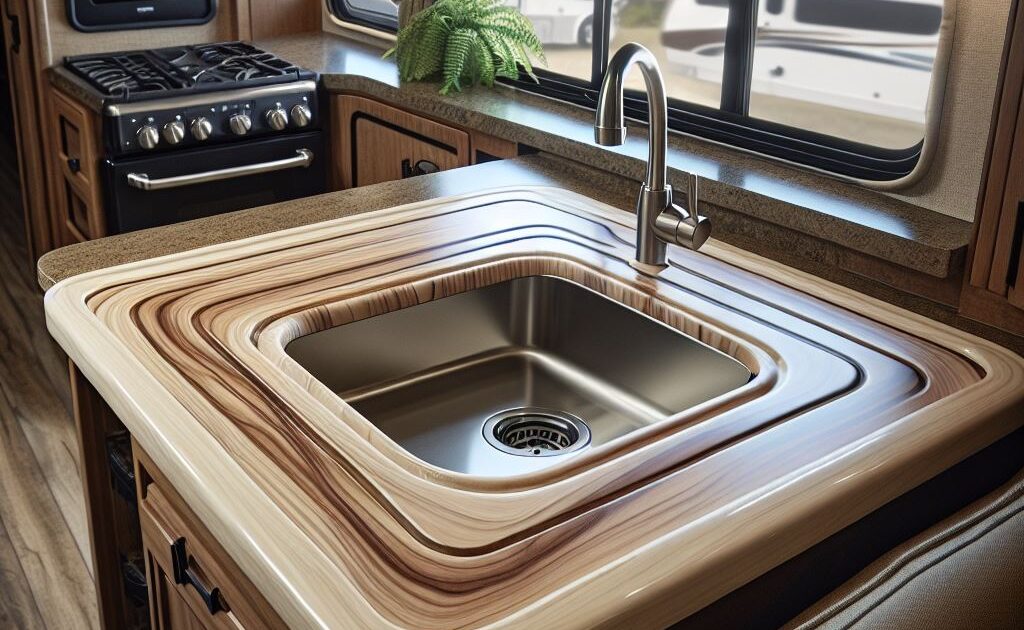
Creating an RV sink cover is a practical and cost-effective way to increase your counter space and keep your kitchen organized. Here’s a step-by-step guide to help you make your own RV sink cover.
Materials Needed
- Wood Board: Choose a durable wood like oak, pine, or maple.
- Measuring Tape: To measure the dimensions of your sink.
- Saw: For cutting the wood to size.
- Sandpaper: To smooth the edges of the wood.
- Wood Finish or Cutting Board Oil: To protect the wood and make it food-safe.
- Rubber Pads: To place on the bottom of the cover to prevent scratching the sink.
Steps to Make an RV Sink Cover
Measure Your Sink
Use a measuring tape to get the exact dimensions of your sink. Measure the length and width, and note any curves or unique shapes.
Cut the Wood
Mark the dimensions on your wood board. Use a saw to cut the wood to the size of your sink. If your sink has rounded corners, use a jigsaw to cut the curves.
Sand the Edges
Smooth the edges of the wood with sandpaper to prevent splinters and give it a finished look.
Apply Finish
Apply a wood finish or cutting board oil to the wood. This will protect the wood from moisture and make it safe for food preparation. Let it dry completely.
Attach Rubber Pads
Attach rubber pads to the bottom corners of the wood. This will prevent the cover from scratching your sink and keep it in place.
Test the Fit
Place the cover over your sink to ensure it fits properly. Make any necessary adjustments.
Tips and Tricks
- Customization: You can customize your sink cover by adding handles or cutting it into two pieces for easier handling.
- Multi-Functionality: Consider using the cover as a cutting board by applying a food-safe finish.
- Decorative Touches: Paint or stain the wood to match your RV’s interior decor.
By following these steps, you can create a functional and stylish RV sink cover that enhances your kitchen space.

