
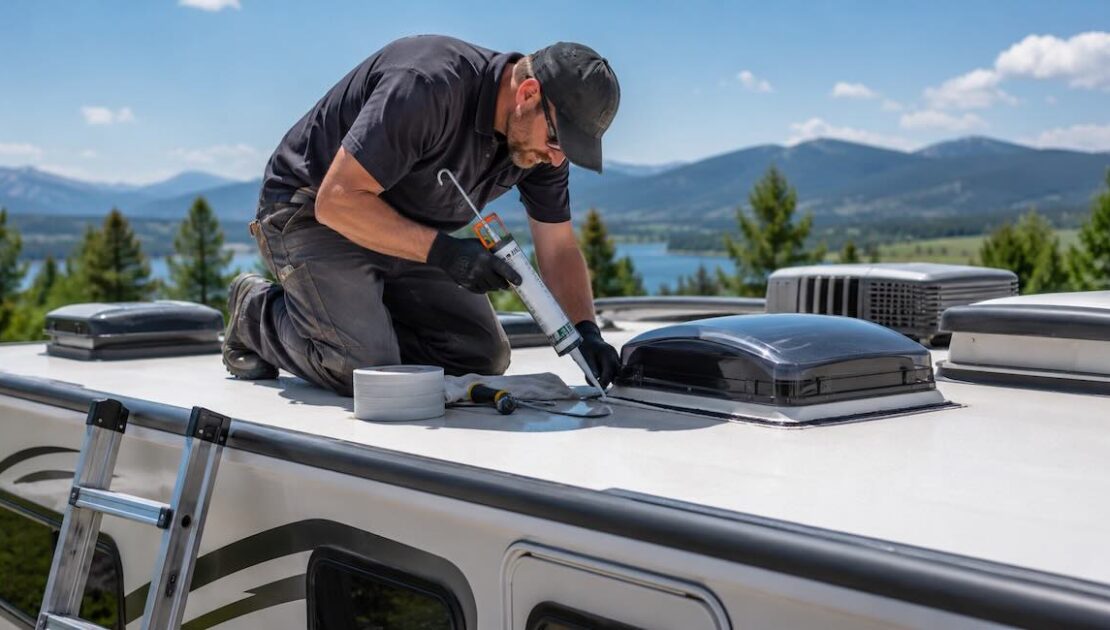
A leaking RV roof is one of the problems you should never ignore. Even a small drip can turn into soft ceiling panels, damaged insulation, mold, electrical issues, and expensive structural repairs.
The good news is that many roof leaks can be fixed if you find the source early and use the right materials. The bad news is that a quick patch over dirty or damaged roofing often fails after the next rain.
Here is a practical guide to repairing a leaking RV roof the right way.
First, Find Where the Leak Is Coming From
Water does not always drip directly under the damaged area. It can travel under the roof membrane, along framing, around cabinets, or through ceiling panels before it appears inside.
Common leak points include:
- Roof seams
- Skylights
- Roof vents
- AC unit gasket
- Antennas
- Solar panel mounts
- Ladder mounts
- Front and rear cap seams
- Cracked sealant around roof accessories
Before repairing anything, inspect the entire roof carefully. Look for cracked sealant, lifted edges, bubbles in the roof membrane, soft spots, stains, and gaps around fixtures.
Check the Type of RV Roof You Have
Different RV roofs need different repair materials.
Most RV roofs are made from:
- EPDM rubber
- TPO membrane
- Fiberglass
- Aluminum
- PVC membrane
This matters because not every sealant works with every roof type. Using the wrong product can cause poor adhesion, swelling, cracking, or early failure.
For rubber roofs, RV-specific lap sealant and compatible roof coating are usually used. For fiberglass or aluminum roofs, the repair approach may be different.
Clean the Roof Before Any Repair
This step is boring, but it is critical.
Sealant will not hold properly on dirt, dust, old wax, grease, or loose material.
Clean the repair area with a roof-safe cleaner. Remove loose old sealant carefully. Do not cut too deep, because you can damage the membrane underneath.
The surface must be dry before applying any sealant or repair tape.
Repair Small Cracks and Failed Sealant
If the leak is coming from cracked sealant around a vent, skylight, antenna, or seam, the repair is usually straightforward.
Basic process:
- Remove loose or failing sealant
- Clean and dry the area
- Apply RV roof-compatible lap sealant
- Smooth only if the product allows it
- Let it cure according to the manufacturer’s instructions
- Test with water after curing
Do not just smear new sealant over old cracked material. It may look fixed, but water can still get underneath.
Use Roof Repair Tape for Tears or Open Seams
For small tears, lifted seams, or splits in the membrane, RV roof repair tape can work very well when installed correctly.
The surface must be extremely clean and dry. Press the tape firmly and avoid bubbles. Pay special attention to the edges because that is where water usually gets under poor repairs.
Roof repair tape is useful for:
- Small membrane tears
- Seams starting to open
- Emergency repairs during travel
- Reinforcing vulnerable roof areas
Still, tape is not a magic fix. If the roof is soft, rotten, or badly separated, the real problem is deeper.
Inspect the AC Unit Gasket
A lot of RV roof leaks come from the air conditioner.
The AC unit sits on a gasket that compresses over time. If the gasket gets old or the mounting bolts loosen, water can enter around the opening.
Signs of AC gasket problems:
- Water dripping near the ceiling AC unit
- Stains around the AC frame
- Leak happens during heavy rain
- Leak appears after driving in wet weather
Sometimes the gasket can be tightened slightly, but overtightening can crush it and make the leak worse. If the gasket is old or flattened, replacement is the better repair.
Repairing a Soft Roof Area
A soft roof is a serious warning sign.
It usually means water has already damaged the wood or structural layer under the membrane. In this case, sealant alone is not enough.
A proper repair may require:
- Removing the affected roof membrane section
- Replacing damaged wood
- Drying and treating the area
- Reinstalling or replacing membrane
- Sealing all seams properly
This is where professional help is strongly recommended. Covering a soft roof with coating may hide the issue, but it will not restore strength.
When Roof Coating Makes Sense
RV roof coating can be a good solution when the roof surface is aging but still structurally solid.
It can help with:
- UV protection
- Minor surface cracks
- General waterproofing
- Extending roof life
But coating should not be used as a substitute for real repair. All leaks, seams, fixtures, and damaged areas must be fixed first. Coating over active leaks only traps moisture inside.
Common Mistakes to Avoid
Many RV roof repairs fail because of simple mistakes:
- Using household silicone instead of RV roof sealant
- Applying sealant over dirt or wet surfaces
- Ignoring the roof type
- Covering old cracked sealant without removing loose parts
- Using roof coating to hide structural damage
- Walking on weak roof areas
- Waiting too long after seeing the first leak
RV roofs move, flex, heat up, cool down, and vibrate during travel. Materials must be flexible and compatible with that environment.
How to Test the Repair
After the sealant cures, do a controlled water test.
Use a hose and start low-pressure. Do not blast water directly into seams with high pressure. Work slowly around the repaired area while someone checks inside.
If water still appears inside, stop and inspect again. The leak may be coming from another point nearby.
How Often Should You Inspect an RV Roof?
A good habit is to inspect the roof:
- Before travel season
- After long trips
- After heavy storms
- Before winter storage
- At least two or three times per year
Also check the roof after installing solar panels, antennas, racks, or any accessory that requires drilling.
Professional RV Roof Leak Repair
At Custom Way, we help RV owners with roof leak diagnostics, roof sealing, damaged roof repair, roof coating, vent and skylight resealing, AC gasket replacement, and larger roof renovation projects.
We do not treat a leaking roof as just a surface problem. First, we look for the real source of the leak, check hidden damage, inspect roof accessories, and make sure the repair is done with materials suitable for your RV roof type.
Our RV roof services can include:
- Leak inspection and diagnosis
- Roof seam repair
- Skylight and roof vent resealing
- AC gasket inspection and replacement
- Roof membrane repair
- Soft spot inspection
- Roof coating and waterproofing
- Full RV roof renovation when needed
A clean repair protects the roof, ceiling, insulation, cabinets, and electrical systems inside the RV.
A Small Roof Leak Can Become a Big Repair
The most important rule is simple: do not wait.
If you see stains, bubbling panels, dripping water, soft ceiling areas, or cracked roof sealant, the roof needs attention. A small repair today can prevent a major rebuild later.
A properly sealed RV roof keeps your camper dry, protects the structure, and makes every trip more reliable.