
One of the most common — and most serious — problems RV owners face is a damaged or leaking roof. Whether it’s from years of sun exposure, storm damage, or poor maintenance, a compromised roof can lead to expensive repairs if left unchecked.
At Custom-way, we specialize in travel trailer roof repairs and coatings across California. In this post, we’ll walk you through the most effective ways to diagnose, patch, and restore your RV’s roof — whether you’re dealing with a small crack or full soft spot replacement.
Signs Your Travel Trailer Roof Needs Repair
Before the damage gets worse, watch for these red flags:
-
Water stains on the ceiling or walls
-
Sagging or soft spots in the roof
-
Moldy or musty odors inside the RV
-
Cracked, bubbling, or peeling sealant
-
Visible holes, tears, or separation on the roof membrane
🧰 Custom-way Tip: Even a small roof leak can lead to major water damage, rot, and insulation problems. Inspect your roof every 6 months, especially before and after rainy seasons.
What Type of Roof Do You Have?
Before you start repairs, identify your roof type. Most travel trailers have one of these:
| Roof Type | Common Material |
|---|---|
| Rubber Roof | EPDM or TPO membrane |
| Fiberglass Roof | Hard, glossy shell |
| Aluminum Roof | Metal panels |
Each material requires a different repair approach, so knowing what you’re working with is critical.
How to Repair a Travel Trailer Roof: Step-by-Step
1. Clean the Roof
Remove all debris, leaves, and dirt. Use a soft brush and RV-safe cleaner to avoid damaging the surface. Make sure the roof is completely dry before starting any repair.
2. Inspect All Seams and Penetration Points
Check around:
-
Vents and skylights
-
AC units
-
Antennas or solar panels
-
Roof edges and seams
Look for cracked or lifted sealant, gaps, or soft areas.
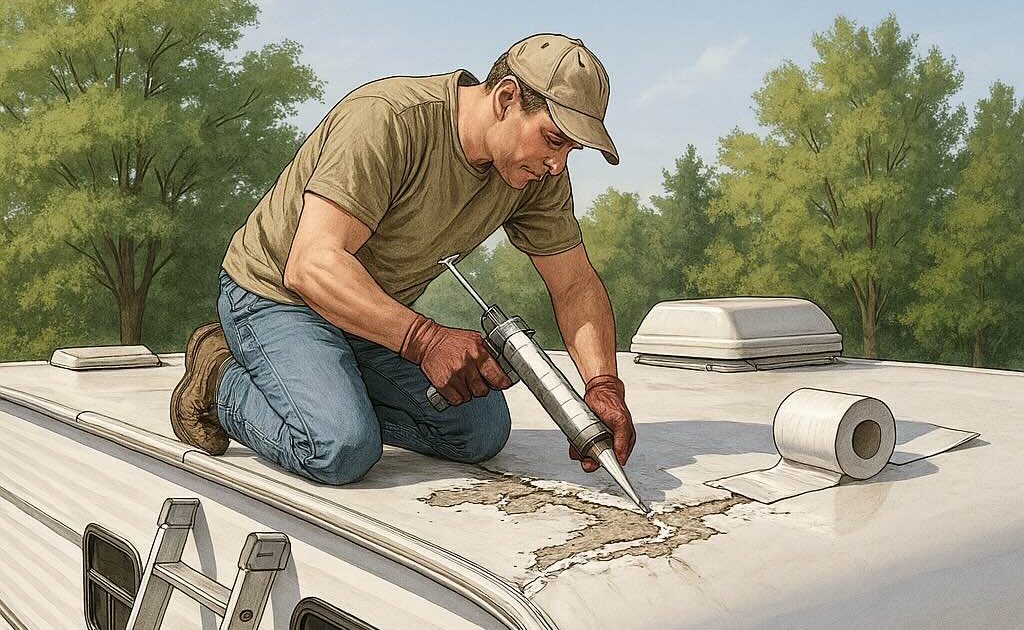
3. Fix Small Cracks or Leaks (Temporary Repair)
For minor leaks or punctures:
-
Clean the area thoroughly
-
Apply EternaBond tape or self-leveling lap sealant
-
Press firmly and smooth out edges
-
Let it cure fully before exposure to rain
4. Replace Damaged Roof Sections (Permanent Repair)
If you find soft spots or rotted areas:
-
Cut out the affected section of the roof decking
-
Replace insulation if it’s soaked or moldy
-
Install new plywood
-
Apply new membrane or patch kit
-
Reseal with adhesive and seam tape
⚠️ This type of repair can be complex. If you’re not comfortable cutting and resealing roof layers, Custom-way offers full roof rebuilds and section replacements.
5. Reseal the Entire Roof (Optional but Smart)
If your roof is aging, consider recoating the entire surface with a rubber or elastomeric RV roof coating. This provides a fresh waterproof barrier and extends roof life by 5–10 years.
Tools & Materials You Might Need
-
Roof patch tape (EternaBond or Dicor)
-
Self-leveling lap sealant
-
Utility knife and scraper
-
Replacement decking (if needed)
-
Butyl tape or roof adhesive
-
Seam roller and caulking gun
-
RV roof coating (for full reseal)
When to Call the Pros
Call Custom-way if:
-
You discover multiple soft spots or widespread rot
-
Your roof is sagging or caved in
-
You want to upgrade to a new roof coating
-
You need custom vent resealing, AC unit resealing, or solar integration on the roof
-
You want the job done right — with a warranty
Travel Trailer Roof Repair in California
At Custom-way, we handle all types of RV and trailer roof services, including:
-
Leak detection and patching
-
Full roof replacements (rubber, fiberglass, or metal)
-
Roof membrane repair and reapplication
-
Skylight and vent resealing
-
Professional RV roof coatings for long-term protection
We offer mobile service and in-shop roof repairs across Southern California.
Don’t Wait Until It’s Too Late
A leaking trailer roof won’t fix itself — and the longer you wait, the worse (and more expensive) the damage gets. Whether it’s a quick patch or a full rebuild, Custom-way is your trusted partner for roof repairs that last.
👉 Book a roof inspection or repair at custom-way.com