How to Repair a Screen on a Pop-Up Camper
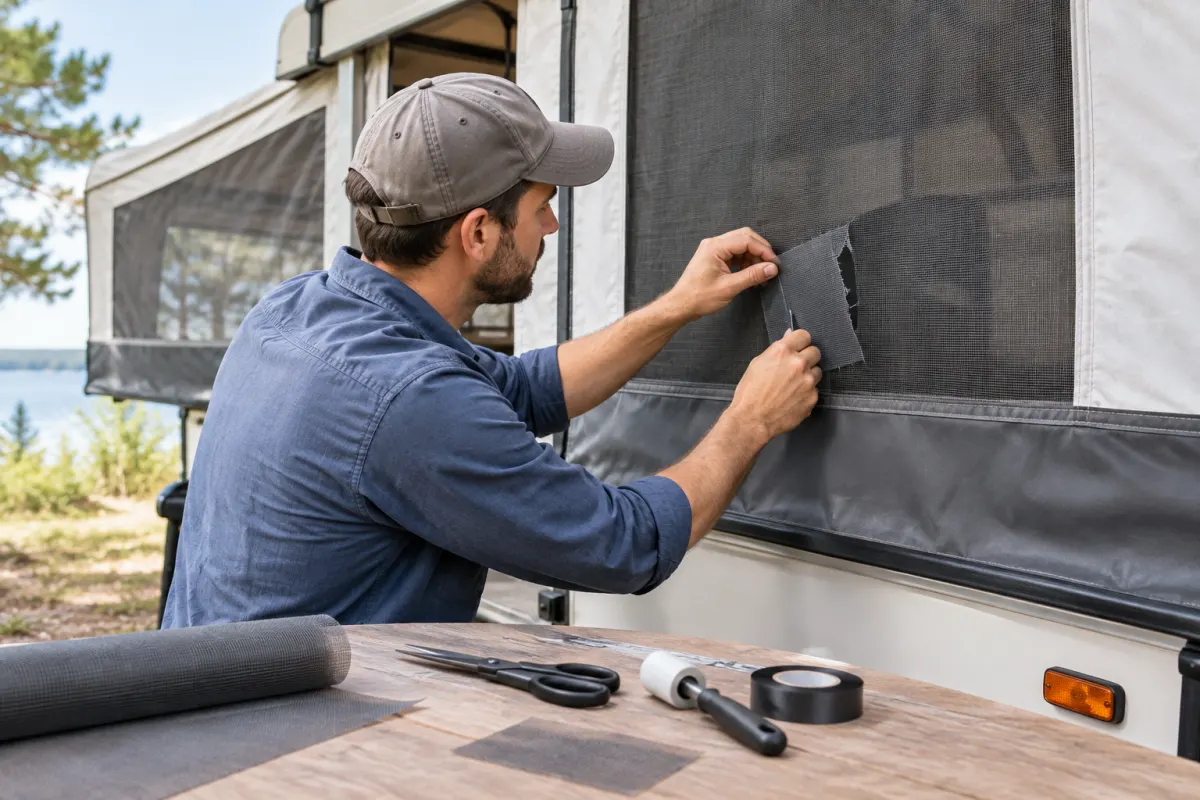
The repair method depends on where the screen is damaged. Small holes can usually be patched, while large tears or deteriorated mesh are better repaired by replacing the affected section. Before removing anything, check your camper owner’s manual because screen construction varies by make and model.
Custom way repairs and renovates RVs and camper vans in California, including work related to RV windows, water damage, flooring, electrical systems, solar installations, and broader renovations. The company serves Orange County, Los Angeles, and Riverside County.
Identify the Type of Screen
- Sewn-in canvas screen: The mesh is stitched directly to the pop-up camper canvas.
- Window screen with a rubber gasket: The mesh is held in a groove by a removable gasket.
- Screen door: The mesh is secured in a retaining groove with spline.
- Zippered screen: The damaged section may require compatible replacement mesh or zipper work.
Repairing a Screen Sewn Into the Canvas
This method is suitable when the mesh is stitched into a canvas wall or window panel.
What you need
- Replacement fiberglass screen mesh
- Clamps or masking tape
- Upholstery needle
- Strong thread or fishing line
- Scissors
Steps
- Raise the camper fully and make sure the canvas is taut.
- Measure the damaged area and cut a piece of replacement mesh with an overlap of roughly 3 inches on every side.
- Place the new mesh over the damaged section and clamp it in position.
- Fold the edges of the replacement mesh to reduce fraying and create a cleaner seam.
- Double-stitch the patch to the existing screen and canvas using an upholstery needle and strong thread or fishing line.
- Inspect the entire perimeter and close any remaining gaps.
Do not cut the original screen away until the replacement piece has been measured and positioned. The canvas should remain taut, but avoid pulling it so tightly that the repaired seam distorts when the camper is folded.
Replacing a Window Screen Held by a Rubber Gasket
A window screen that uses a rubber gasket can generally be replaced without sewing.
- Remove the rubber gasket carefully from its groove.
- Take out the damaged screen and keep it intact if possible.
- Use the old screen as a cutting template for the new mesh.
- Position the replacement mesh over the opening, keeping it aligned with the frame.
- Press the gasket back into the groove with a spline or gasket roller.
- Trim excess mesh only after the gasket is fully seated.
Work gradually around the frame. If the gasket is brittle, stretched, or no longer grips the groove, the gasket may also need replacement. The mesh must be sealed around the full perimeter so insects cannot enter through loose edges.
Replacing Mesh in an RV Screen Door
Screen doors commonly use spline in a retaining groove. This is a different system from a sewn-in canvas screen.
- Remove the spline from the retaining groove.
- Take out the damaged mesh and clean debris from the groove.
- Cut new screen material with extra overlap on all sides.
- Lay the mesh flat over the door and hold it temporarily with masking tape.
- Use a spline roller to press the spline and mesh into the retaining groove.
- Keep light, even tension on the mesh while working around the frame.
- Trim the excess material after the spline is fully installed.
If the screen door frame or hinges are bent or damaged, replacing only the mesh may not solve the problem. An OEM or compatible replacement door may be necessary.
Common Repair Mistakes
- Cutting replacement mesh before measuring the opening.
- Using a screen patch that is too small to overlap the damaged area.
- Pulling mesh too tightly and creating distortion in the frame or canvas.
- Reusing a damaged gasket or spline that will not hold the mesh securely.
- Leaving small gaps around the perimeter where insects can enter.
- Removing a screen before confirming how it is attached.
When Professional Repair Makes Sense
Professional service is useful when the camper’s canvas is difficult to access, the damage extends into the fabric, the frame or door hardware is bent, or the correct screen and gasket dimensions are uncertain. Custom way is located at 17223 Roseton Ave, Artesia 90701, and serves Orange County, Los Angeles, and Riverside County. The company can also address related RV window, roof, water damage, flooring, electrical, solar, and renovation needs when the screen problem is part of a larger repair.
For service inquiries, contact Custom way at +1 840-205-7314 or customway.ca@gmail.com. When requesting an assessment, provide the camper’s make, model, year, and a clear photo of the damaged screen area so the repair method and required materials can be identified more accurately.