How to Replace a Camper Awning Motor Safely
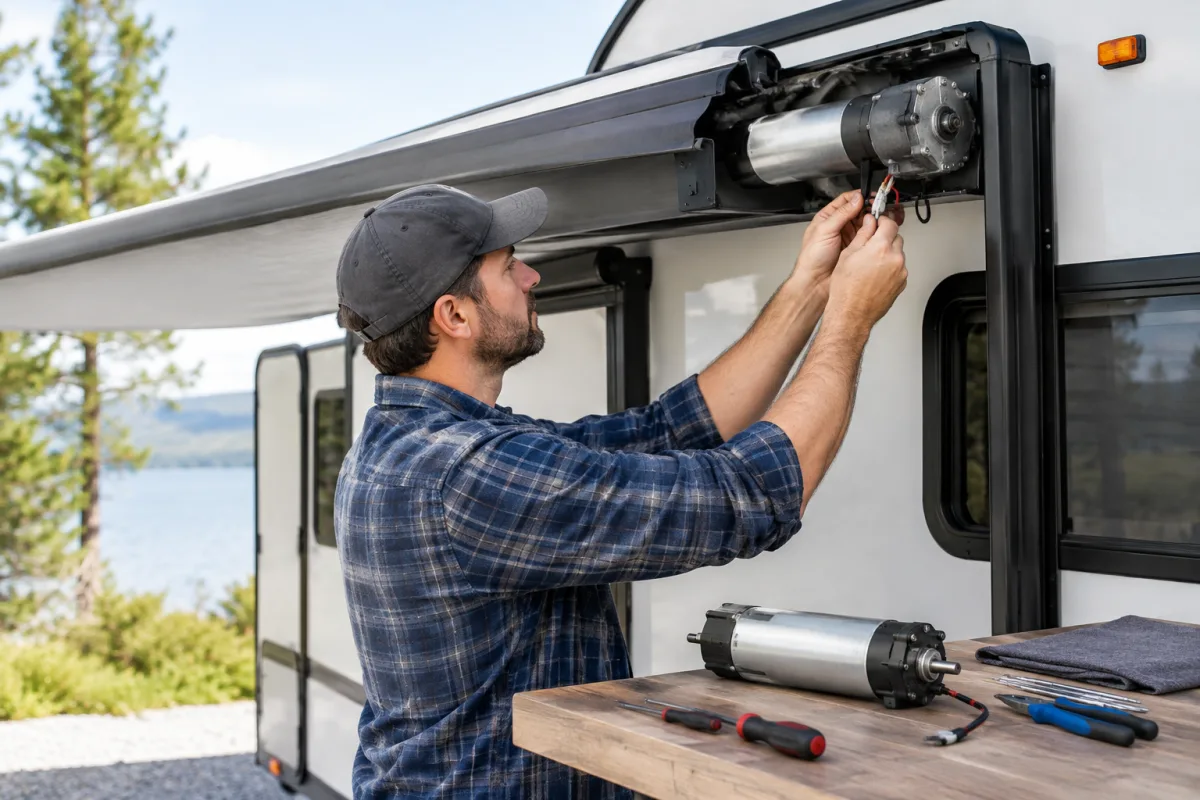
Replacing a camper awning motor is possible as a DIY repair, but the procedure is not universal. Solera by Lippert, Carefree of Colorado, Dometic and other manufacturers use different motors, wiring arrangements and limit-setting procedures. Identify the awning brand and model before ordering parts or removing the motor.
For RV and camper repairs in Orange County, Los Angeles and Riverside County, Custom way also handles electrical repair and RV renovations. A professional inspection is especially sensible when the awning is stuck open, the wiring is damaged or the roller assembly cannot be safely restrained.
Before replacing the motor
First confirm that the motor has actually failed. Check the following items:
- RV battery charge and 12-volt power supply
- Shore-power connection and relevant breaker or GFCI
- Awning fuse, wiring connections and switches
- Remote-control batteries and pairing
- Safety interlocks, if fitted
- Obstructions preventing the awning from moving
- Thermal protection that may have temporarily stopped the motor
If the motor hums, clicks or operates intermittently, the fault may be in the wiring, control system or mechanical parts rather than the motor itself.
Choose the correct replacement motor
Awning motors are model-specific. Match the replacement using the awning manufacturer, model number, motor orientation, connection type, drive-head assembly and the existing part number where available.
For example, Solera by Lippert lists separate one-way and two-way replacement motors, including part numbers 266149 and 373566. These parts are intended for specific Solera awnings, so a similar-looking motor is not necessarily compatible. Carefree and Dometic systems also require model-specific parts and procedures.
Tools and safety precautions
The exact tools depend on the awning, but most repairs require screwdrivers, sockets or nut drivers, pliers, electrical connectors suitable for the original wiring and a way to support the lead rail.
Take these precautions before opening the motor housing:
- Close the awning completely if it can be operated safely.
- Disconnect shore power and the awning’s 12-volt supply.
- Disable remote operation so the awning cannot start unexpectedly.
- Secure the lead rail and prevent the arms from extending.
- Use another person to support the awning when the motor or retaining hardware is removed.
- Keep hands clear of the spring-loaded arms, roller tube and moving joints.
The lead rail and arms can move suddenly when the drive motor is released. Do not begin removal unless the awning is restrained according to the manufacturer’s instructions.
General motor replacement procedure
1. Record the existing installation
Photograph the drive-head cover, wiring connections, motor orientation and the position of any brackets or spacers. Label the wires before disconnecting them. This helps restore the motor in the same configuration.
2. Remove the drive-head or end-cap cover
Remove the screws or fasteners holding the motor housing cover. Keep the hardware organized because some awnings use different screw lengths or fastener types.
3. Secure the motor and roller assembly
Support the lead rail and make sure the roller tube cannot rotate or shift unexpectedly. Do not allow the spring-loaded arms to extend. Follow the model-specific service manual if it requires a manual override or a particular restraint method.
4. Disconnect the wiring
Separate the motor wiring from the RV harness or connector. Avoid pulling on the cable. Carefree procedures specifically warn against damaging the motor cable while withdrawing the motor from the awning case.
5. Remove the retaining hardware
Remove the screws, pins or other fasteners that hold the motor or drive head in place. Keep the motor supported while removing the final fastener.
6. Withdraw the old motor carefully
Pull the motor from the roller tube or awning case only as far as the manufacturer permits. Excessive movement can disengage the roller-tube idler from the opposite end plate on some Carefree systems. If the motor does not come out smoothly, stop and check for hidden fasteners or a model-specific removal step.
7. Install the replacement motor
Fit the new motor in the same orientation as the original. Reinstall the retaining hardware, reconnect the wires using the original polarity and routing, and make sure the cable cannot rub against the roller tube or moving arms.
8. Refit the covers
Replace the drive-head or end-cap covers and tighten the fasteners securely without damaging the housing. Confirm that the lead rail and arms remain properly aligned.
9. Restore power and set the limits
Reconnect the 12-volt supply and shore power if needed. Test short movements in both directions, keeping clear of the awning. Then adjust the open and closed travel limits if the model requires adjustment. The awning should stop at the correct fully extended and fully retracted positions without forcing the fabric, arms or lead rail.
What to do if the awning is stuck open
Use the manual override or emergency-closing procedure only as described by the awning manufacturer. Do not force the roller tube or disconnect the motor without securing the lead rail and arms. Manual closure protects the RV during a power failure, but it does not repair a faulty motor, wiring connection or control system.
When professional service is safer
Stop the DIY repair and arrange service if the awning is extended and cannot be restrained, the arms are under visible tension, the wiring is melted or damaged, the roller tube has shifted, or the replacement motor does not match the original assembly.
Custom way repairs and renovates RVs and camper vans at 17223 Roseton Ave, Artesia 90701, serving Orange County, Los Angeles and Riverside County. For an awning-related electrical or RV repair assessment, call +1 840-205-7314 or email customway.ca@gmail.com.