
Electrical outlets in RVs get a lot of use — from charging laptops to powering kitchen appliances. Over time, they can loosen, burn out, or stop working completely. Knowing how to replace an electrical outlet in an RV is a simple but important skill that can save you time and money. Here’s how to do it safely and correctly. How to remove rv electrical outlet? How to change rv electrical outlet?
Why RV Outlets Are Different
RV electrical systems typically use 120-volt AC power when plugged into shore power (campground or generator) and 12-volt DC when running off batteries. Most outlets in your RV are 120V — similar to those in a house — but they’re designed for thin RV walls and limited space.
That’s why you’ll often see “self-contained” RV outlets (also called “snap-in” or “quick wire” outlets), which don’t use traditional electrical boxes.
Tools and Materials You’ll Need
-
Replacement RV outlet (same type and rating as the old one)
-
Screwdriver set
-
Wire stripper
-
Voltage tester
-
Electrical tape
-
Pliers
How to Replace an RV Outlet?
1. Turn Off Power
Safety first! Unplug your RV from shore power and turn off the generator and inverter. Use a voltage tester to confirm the outlet has no power.
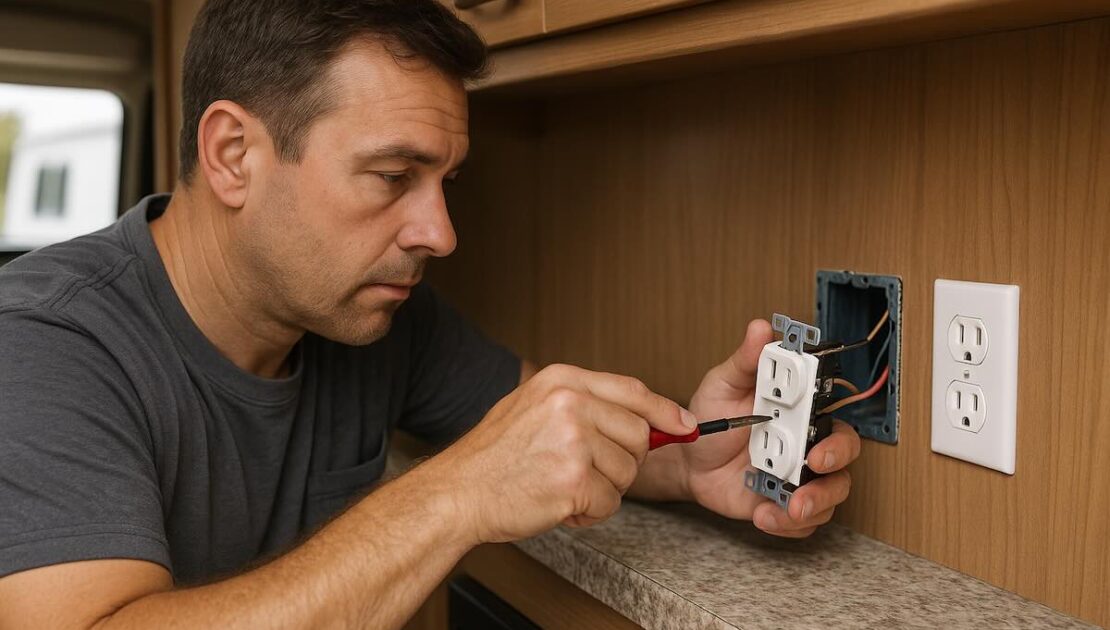
2. Remove the Old Outlet
-
Unscrew or pry off the outlet cover plate.
-
If it’s a self-contained outlet, gently pry it out from the wall.
-
Take note of how the wires are connected — typically black (hot), white (neutral), and green or bare (ground).
3. Disconnect the Wires
Loosen the screws or tabs holding the wires and disconnect them. If the wires are damaged or frayed, trim and re-strip them for a clean connection.
4. Install the New Outlet
-
Connect the black wire to the brass terminal (hot).
-
Connect the white wire to the silver terminal (neutral).
-
Connect the green or bare wire to the ground screw (green).
Make sure the connections are tight and secure.
If you’re using a self-contained RV outlet, insert the wires into the correct slots and clamp them down according to the manufacturer’s instructions.
5. Secure and Test
-
Push the outlet back into the wall and secure it with screws.
-
Replace the cover plate.
-
Plug your RV back into shore power and test the outlet with a small device or tester.
Common Problems to Watch For
-
Loose outlets – caused by vibration from driving; tighten screws or use a wall plate spacer.
-
Burned or melted wires – indicates overheating; replace immediately and inspect the breaker.
-
Non-working outlets – may be on a GFCI circuit; reset nearby GFCI outlets or check fuses.
When to call us?
If the wiring looks burnt, melted, or you’re unsure about the connections, call a licensed RV electrician. Electrical mistakes can cause shorts, blown fuses, or even fires.
Replacing an RV outlet is a quick and affordable DIY project — as long as you take proper safety precautions. Always use RV-rated outlets and double-check that power is off before starting.
For electrical repairs, lighting upgrades, and remodeling, contact Custom-way in Artesia, CA. Our specialists handle RV wiring, outlets, lighting, roof repair, and full interior renovations.
Call +1 840-205-7314 or email customway.ca@gmail.com for expert RV service.