
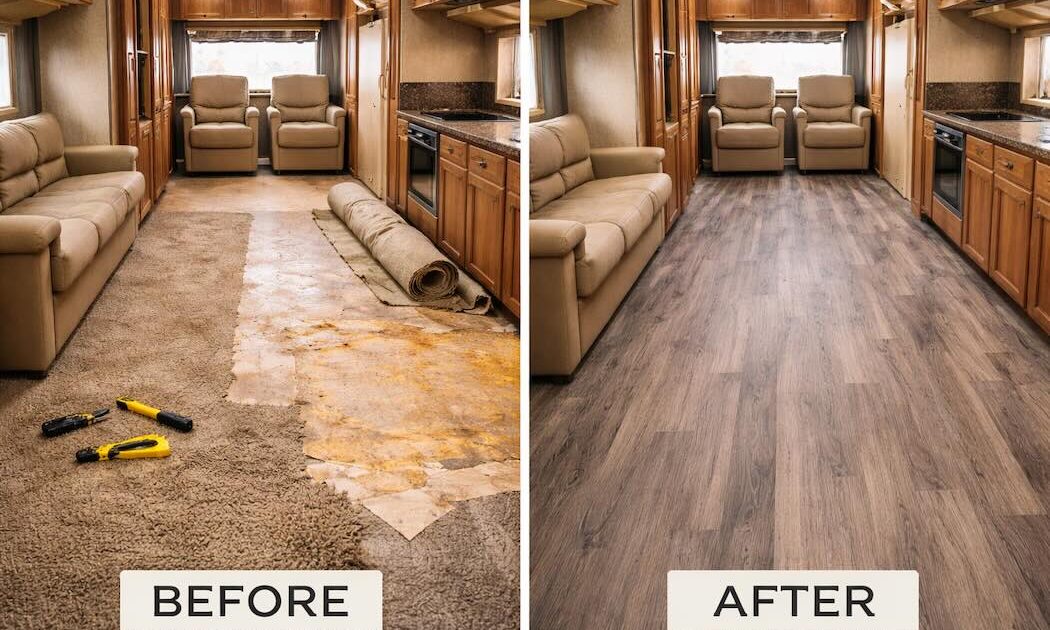
Replacing flooring in an RV is one of the most effective upgrades you can make. New flooring improves appearance, removes odors, fixes soft spots, and increases resale value. However, RV flooring is very different from house flooring, and mistakes can lead to buckling, squeaks, or damage to slide-outs.
Below is a realistic, RV-specific guide that reflects how this work is done correctly.
1. Choose the Right Flooring for an RV
Not all flooring materials are suitable for RV use.
Best options for RVs:
-
Luxury Vinyl Plank (LVP)
Flexible, waterproof, lightweight, ideal for RV movement. -
Sheet vinyl
Lightweight and affordable, good for bathrooms and kitchens. -
Thin laminate
Works only if installed with proper expansion gaps.
Avoid:
-
Ceramic tile (too heavy and cracks easily)
-
Thick household laminate
-
Solid hardwood
Weight and flexibility matter in RVs.
2. Remove Old Flooring Carefully
-
Remove furniture if necessary
-
Take off trim, transition strips, and floor vents
-
Remove carpet, vinyl, or laminate slowly
-
Inspect the subfloor as you go
Do not rush this step. Many hidden problems are found here.
3. Inspect and Repair the Subfloor
This step determines whether the new floor will last.
Check for:
-
Soft or spongy areas
-
Water damage
-
Mold or rot
-
Loose fasteners
If the subfloor is damaged, it must be repaired or replaced before installing new flooring. Installing over bad subfloor will cause future failure.
4. Understand Slide-Out Floor Design
This is critical.
There are two common designs:
-
Slide rides over the main floor
-
Flush-floor slide
Rules:
-
Never install flooring under slide rollers unless designed for it
-
Always leave clearance for slide movement
-
Use proper transition strips at slide edges
Slide-outs and flooring must move independently.
5. Prepare the Subfloor
-
Vacuum thoroughly
-
Ensure the surface is dry
-
Use only thin underlayment approved for RV use
-
Do not stack padding layers
RVs need flexibility, not thickness.
6. Install the New Flooring
General best practices:
-
Install planks front to back with the RV frame
-
Stagger seams properly
-
Lock joints fully
-
Leave at least 1/4 inch expansion gap around walls and cabinets
Never glue or screw floating floors down.
7. Reinstall Trim Correctly
-
Trim should cover expansion gaps but not pinch the floor
-
Never fasten trim through the flooring
-
Leave flooring free to expand and contract
Pinned flooring will buckle during temperature changes.
8. Test Everything Before Finalizing
-
Walk the entire floor
-
Check for squeaks or movement
-
Test slide-outs fully in and out
-
Verify clearance at doors and cabinets
Fix issues before reinstalling furniture.
Mistakes to Avoid:
-
Ignoring subfloor damage
-
Using house-grade materials
-
No expansion gap
-
Locking flooring under cabinets
-
Installing flooring into slide paths
Most flooring failures come from these mistakes.
Replacing flooring in an RV is not just a cosmetic project. It requires understanding RV movement, weight limits, slide systems, and subfloor construction. When done correctly, new flooring can last many years and dramatically improve comfort.
We Can Help!
If you want your RV flooring replaced professionally, Custom-way can help.
We understand:
-
RV floor and subfloor construction
-
Slide-out mechanics
-
Hidden water damage
-
Proper materials for RV use
We can access any area of the floor, repair damage properly, and install new flooring that works with your RV, not against it.
📞 +1 840-205-7314
✉️ customway.ca@gmail.com