
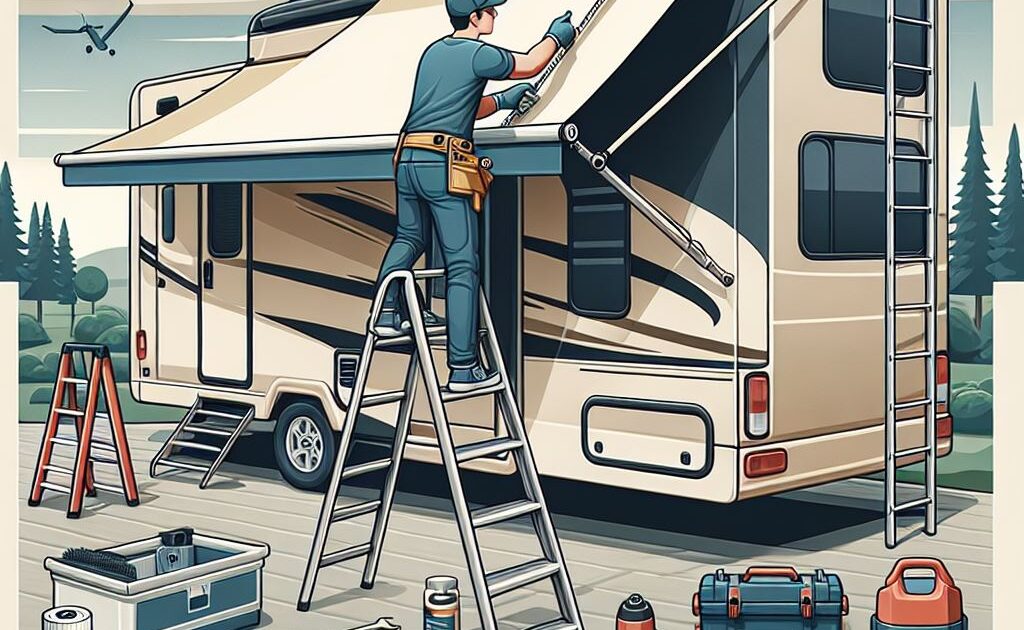
Replacing your RV awning can seem daunting, but with the right tools and guidance, you can do it yourself. Here’s a comprehensive guide to help you through the process.
Tools and Materials Needed
- New RV awning fabric or replacement awning
- Screwdriver (flathead and Phillips)
- Wrench or socket set
- Ladder
- Awning rail track tool (optional, depending on the awning type)
- Helper (recommended for large awnings)
Step 1: Prepare Your RV
- Park on a Level Surface: Ensure your RV is parked on a flat, stable surface to avoid any movement while you work.
- Gather Tools: Have all your tools and materials within reach to streamline the process.
Step 2: Remove the Old Awning
- Detach the Awning: Start by releasing any locking mechanisms or pins that hold the awning in place.
- Remove the Awning from the Mounting Bracket: Use a screwdriver to unscrew the bolts or screws that attach the awning to the mounting brackets on the RV. If your awning is spring-loaded, be cautious and follow specific instructions from the manufacturer.
- Slide Out the Awning Fabric: Carefully slide the old fabric out of the roller. You may need a helper to hold the awning frame steady while you do this.
Step 3: Prepare the New Awning Fabric
- Check Compatibility: Ensure that the new awning fabric is compatible with your existing awning frame and mechanism.
- Lay Out the New Fabric: Before installation, lay out the new fabric to ensure there are no twists or kinks.
Step 4: Install the New Awning
- Feed the New Fabric: Slide the new awning fabric into the roller tube. Make sure it’s aligned correctly, and the fabric is straight.
- Attach the Fabric to the Mounting Bracket: Securely attach the ends of the new fabric to the mounting brackets. Ensure everything is tight and properly aligned.
- Reinstall the Awning Frame: If you removed the entire awning frame, lift it back into place and secure it to the mounting brackets. Use the screws you removed earlier to secure it.
Step 5: Test the Awning
- Unroll the Awning: Slowly extend the new awning to ensure it rolls out smoothly. Make adjustments as necessary.
- Check for Alignment: As you extend the awning, check that it’s aligned correctly and not binding against any parts of the RV.
Step 6: Secure and Finish Up
- Tighten All Screws and Bolts: Go through and tighten all the screws, bolts, and fasteners to ensure everything is secure.
- Clean Up: Remove any debris and tools from the work area, ensuring your RV is ready for use.
Tips for Success
- Follow Manufacturer Instructions: Always refer to the specific instructions provided by the awning manufacturer, as different models may have unique features or requirements.
- Have a Helper: Working with large awnings can be cumbersome, so having someone assist you can make the process smoother and safer.
- Be Cautious of Springs: If your awning has a spring mechanism, be careful when handling it, as it can be under tension.
Conclusion
Replacing your RV awning can be a manageable DIY project if you follow the right steps and take your time. If you run into difficulties or have questions about the process, feel free to reach out to Custom-way for expert advice or assistance. Enjoy your newly installed awning and happy camping!