
If your RV furnace isn’t working properly or won’t start, resetting it may solve the problem. Here’s a step-by-step guide to help you reset your RV furnace and get your heating back on track:
1. Turn Off the Furnace
Start by turning off the furnace. You’ll typically find a control panel or thermostat inside the RV where you can switch it off. This will ensure safety and prevent the furnace from continuing to run while you work on resetting it.
2. Turn Off the Power
Next, disconnect the power to the furnace. RV furnaces generally run on 12-volt power, so locate your RV’s power panel and turn off the breaker associated with the furnace. You can also disconnect the power source by turning off the battery or unplugging from shore power.
3. Inspect for Problems
Before you reset the furnace, check for any obvious issues that might be causing the problem. Common issues include:
- Blocked air vents: Make sure nothing is blocking the airflow in or out of the furnace.
- Dirty air filters: Check if the air filter needs to be cleaned or replaced.
- Low propane levels: Ensure you have enough propane in the tank, as low levels can prevent the furnace from igniting.
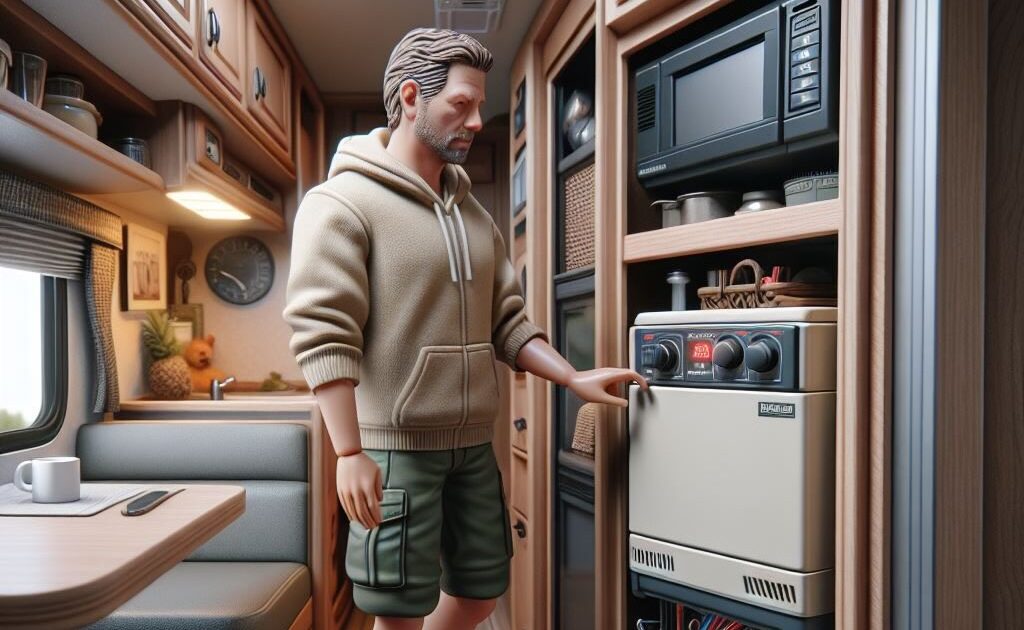
4. Locate the Reset Switch or Button
Many RV furnaces have a reset switch or button located near the motor or on the control board. Check your furnace manual to find the exact location for your model.
- Step 1: Once located, press the reset button firmly.
- Step 2: If your furnace does not have a reset button, you may need to reset it by turning the power off and on at the main breaker instead.
5. Wait and Restart the Furnace
After pressing the reset button or flipping the breaker, wait a few minutes. This gives the furnace time to fully reset.
- Step 1: Turn the power back on to the furnace by switching the breaker or reconnecting to your RV’s power source.
- Step 2: Set your thermostat to your desired temperature and turn the furnace on again.
6. Check for Error Codes (If Applicable)
Some modern RV furnaces have diagnostic systems that display error codes if something’s wrong. If your furnace has this feature, check the control panel for any codes that may appear, and consult your furnace manual to understand what they mean.
7. Check the Thermostat
If the furnace still doesn’t reset or operate correctly, double-check the thermostat. It could be that the thermostat needs new batteries or has faulty wiring. Resetting or replacing the thermostat might also help.
8. Inspect the Furnace for Further Issues
If resetting the furnace doesn’t solve the issue, you may need to look for more serious problems like:
- Igniter issues: The igniter may be dirty or malfunctioning, preventing the furnace from lighting.
- Blower motor failure: If the blower isn’t functioning, it could prevent the furnace from heating properly.
- Faulty wiring: Loose or damaged wiring could be preventing the furnace from starting.
9. Call a Professional if Necessary
If you’ve followed all the steps and the furnace still isn’t working, it might be time to call in a professional technician. At Custom-way, we specialize in RV repairs, including furnace troubleshooting and repair. Whether it’s an igniter issue, wiring problem, or more, we can get your RV furnace back up and running.
By following these steps, you should be able to reset your RV furnace and troubleshoot any basic issues. If you’re still having trouble, don’t hesitate to contact Custom-way for expert assistance. Stay warm on your adventures!