
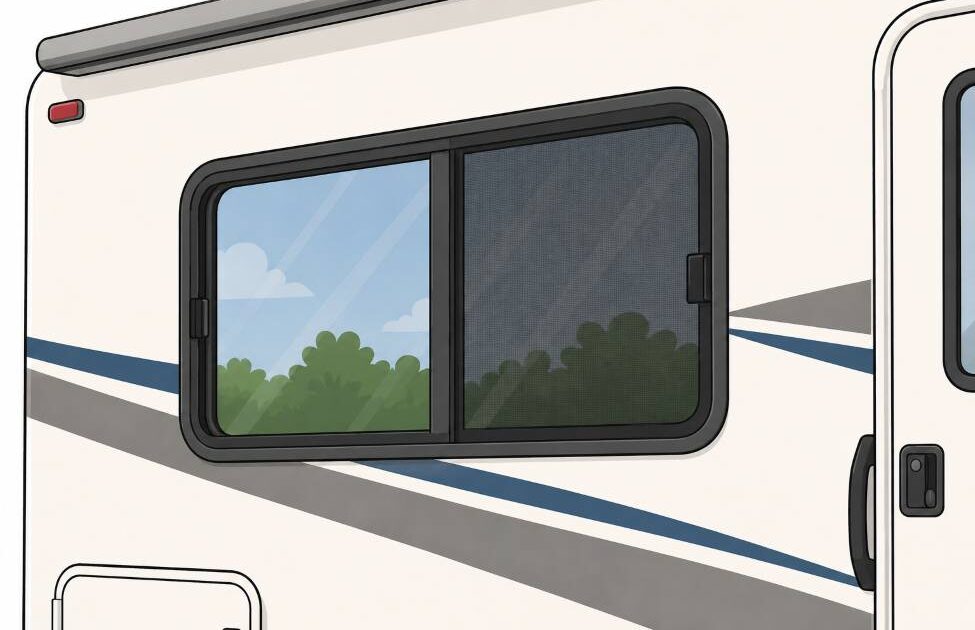
How to Seal RV Windows
RV window leaks are one of the most common reasons for hidden water damage inside campers, travel trailers, fifth wheels, and motorhomes. A small gap around a window can let water into the wall, insulation, flooring, cabinets, and interior panels. By the time you see stains or soft flooring, the leak may have been active for a long time.
Sealing RV windows is not only about adding more caulk around the frame. The right repair depends on where the water is entering, what type of window you have, and whether the wall around the window is still solid.
Custom way can help with RV window sealing, leak detection, wall repair, soft floor repair, flooring replacement, cabinet repair, and full RV renovation if the leak has already caused damage.
Why RV Windows Leak
RV windows deal with vibration, body flex, rain, sun, heat, cold, and road movement. Over time, the original seal can dry out, shrink, crack, or separate from the wall.
Common causes of RV window leaks include:
- Old exterior sealant
- Dried or cracked window gasket
- Loose window frame screws
- Failed butyl tape behind the window flange
- Poor previous repair
- Cracked wall panel around the window
- Water entering from roof or side trim and appearing near the window
- Blocked window drain channels
- Damaged sliding window tracks
- Delamination around the opening
Sometimes the window is not the real source. Water can enter higher up, travel inside the wall, and show up around the window. That is why leak detection matters before resealing everything blindly.
Signs Your RV Window Needs Sealing
You may need to reseal an RV window if you notice:
- Water stains under the window
- Damp wall panel
- Soft wall around the window
- Musty smell
- Peeling wallpaper or wall covering
- Loose interior trim
- Mold spots
- Condensation that never dries
- Drips during rain
- Water inside window tracks
- Soft flooring below the window
- Bubbling fiberglass outside
A visible drip is not the only warning sign. Soft floor, odor, or stains may be the first clue.
Do Not Just Add More Caulk Over Old Sealant
This is one of the biggest mistakes RV owners make.
If old sealant is dirty, loose, cracked, or separated, adding new sealant on top may not solve the leak. The new layer may stick poorly and trap moisture behind it.
A proper repair usually starts with cleaning, inspection, removing failed sealant, checking the frame, and then resealing with the correct material.
If the window has failed behind the flange, the best repair may require removing the window and replacing the butyl tape or gasket.
Exterior Sealant vs Butyl Tape
There are two different sealing areas around many RV windows.
The first is the seal behind the window frame. Many RV windows use butyl tape between the window flange and the RV wall. This is the main compression seal.
The second is the exterior edge sealant. This helps protect the perimeter and prevent water from getting behind the frame.
If the butyl tape has failed, exterior caulk alone may be a temporary patch, not a real repair.
Tools and Materials You May Need
For basic RV window sealing, you may need:
- Plastic scraper
- Mineral spirits or RV-safe cleaner
- Microfiber cloths
- Painter’s tape
- RV-compatible exterior sealant
- Butyl tape, if removing the window
- Screwdriver or driver bit
- Gloves
- Ladder, if needed
- Hose for leak testing
- Flashlight
- Moisture meter, if available
Use products made for RV exterior use. Household bathroom caulk is usually not the right choice for RV windows because RVs move, flex, heat up, cool down, and vibrate.
Step 1: Find the Real Leak Source
Before sealing the window, inspect the area carefully.
Check:
- Window frame
- Exterior sealant
- Interior trim
- Wall below the window
- Roof edge above the window
- Clearance lights
- Awning mounts
- Slide-out trim
- Corner trim
- Window track drains
Water may enter above the window and run down inside the wall. If you only seal the window but the roof edge or trim is leaking, the problem will continue.
Step 2: Clean the Window Area
Wash the outside area around the window. Remove dirt, wax, dust, and old residue.
Sealant needs a clean surface to bond properly. If the surface is greasy, dusty, or oxidized, the repair may fail.
Let the area dry fully before applying sealant.
Step 3: Remove Failed Sealant
Use a plastic scraper to remove loose, cracked, or peeling sealant. Work carefully so you do not damage the RV wall or window frame.
Do not use aggressive metal tools unless you know exactly what you are doing. Fiberglass, paint, decals, and aluminum siding can be scratched easily.
The goal is to remove bad material and create a clean surface for the new seal.
Step 4: Inspect the Window Frame
After old sealant is removed, check whether the window frame is loose.
Look for:
- Loose screws
- Frame gaps
- Cracked corners
- Bent frame
- Missing drain covers
- Damaged rubber seals
- Wall softness around the opening
If the frame moves, exterior sealant may not be enough. The window may need to be removed, reseated, and sealed properly with fresh butyl tape.
Step 5: Apply RV-Compatible Sealant
Use painter’s tape if you want a clean edge.
Apply a steady bead of RV-compatible sealant around the top and sides of the window frame where needed. Tool it smoothly so it bonds to both the frame and the RV wall.
Do not block window weep holes or drain channels. These are designed to let water escape from the window track. Blocking them can create a new leak.
Step 6: When the Window Should Be Removed
Sometimes the right repair is to remove and reseal the whole window.
This is usually needed if:
- Water is getting behind the frame
- Butyl tape has dried out
- Window frame is loose
- Wall around the window is soft
- Leak keeps returning
- Previous caulk repairs failed
- Interior trim shows water damage
- Window was installed poorly
Removing the window allows the old butyl tape to be cleaned off and replaced. Then the window can be reinstalled evenly and sealed around the exterior.
This is a more serious job, but it is often the correct way to fix a persistent RV window leak.
Step 7: Leak Test Carefully
After the sealant has cured according to the product instructions, test the repair.
Use gentle water from a hose. Do not blast the window with high pressure.
Start low and work upward slowly. Watch inside the RV for moisture, drips, or darkening wall material.
If water still appears, stop and look for another source. Do not assume the window is the only problem.
Check for Hidden Damage
If the RV window has been leaking for a while, sealing the outside is only part of the repair.
Check inside for:
- Soft wall panels
- Soft floor under the window
- Swollen trim
- Mold smell
- Loose cabinets
- Rusted screws
- Wet insulation
- Delaminated exterior fiberglass
Hidden water damage can continue to smell and spread even after the leak is sealed. Damaged material may need to be removed and repaired.
Custom way can help inspect the affected area and repair the leak plus the damage it caused.
Common Mistakes to Avoid
Avoid these mistakes when sealing RV windows:
- Using household bathroom caulk
- Sealing over dirty old sealant
- Blocking weep holes
- Ignoring soft wall material
- Assuming the window is the only leak source
- Using too much sealant as a cover-up
- Not checking roof and trim above the window
- Pressure washing window seals
- Closing up the interior before it is dry
- Ignoring musty smell after repair
A clean seal is important, but finding the real leak source is more important.
When to Call Custom way
You should call Custom way if:
- The leak keeps coming back
- The wall feels soft
- Flooring below the window is soft
- You see stains or mold
- The window frame is loose
- The exterior wall is bubbling
- You suspect delamination
- The camper smells musty
- You are not sure where water is entering
- You want the repair done properly before renovation
Window leaks can affect much more than the window itself. They can damage flooring, cabinets, insulation, wiring, and interior wall panels.
Custom way Can Help With RV Window Sealing and Water Damage
Custom way can help with both small and complex RV window problems.
We can help with:
- RV window leak detection
- Window frame resealing
- Butyl tape replacement
- Exterior sealant repair
- Interior wall repair
- Soft floor repair
- RV flooring replacement
- Cabinet repair near leaking windows
- Mold and moisture damage inspection
- Roof and sidewall leak checks
- Full RV renovation projects
If the window only needs a simple reseal, we can help with that. If the leak has already caused hidden damage, we can inspect the full area and repair it correctly.
To seal RV windows, first find the real source of the leak. Clean the area, remove failed sealant, inspect the frame, use RV-compatible sealant, and do not block drain channels. If the leak is behind the frame, the window may need to be removed and resealed with fresh butyl tape.
If you see water stains, soft flooring, musty odor, loose trim, or bubbling walls, do not treat it as a simple caulk job. Contact Custom way so we can find the source, stop the leak, and repair any hidden water damage before it becomes a bigger renovation problem.