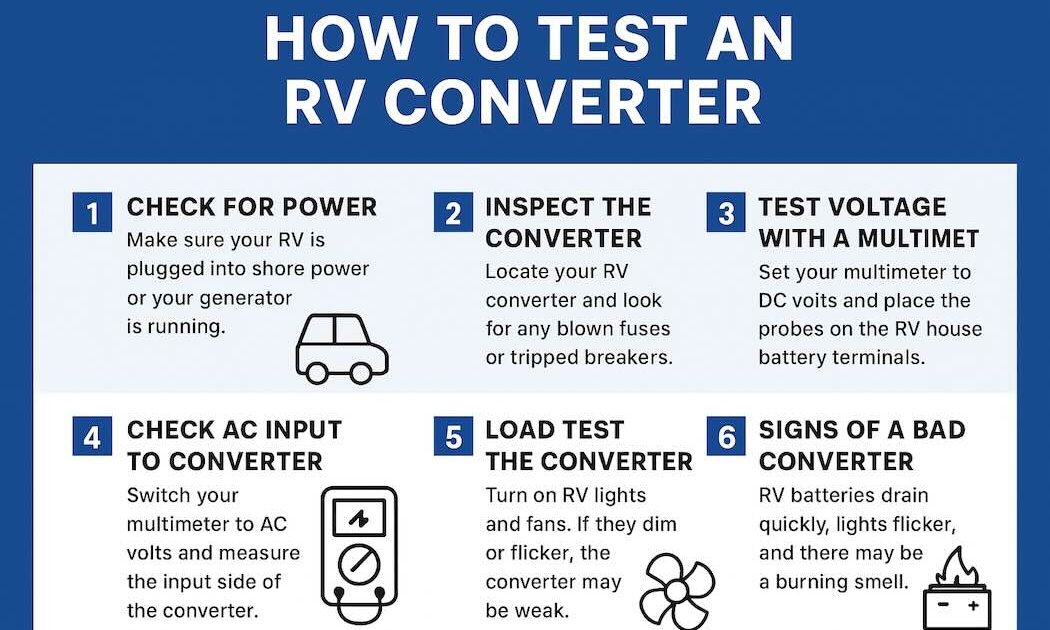
Your RV converter is one of the most important components in your electrical system. It transforms 120V AC power (from shore power or a generator) into 12V DC power that runs lights, fans, water pumps, and charges the batteries. If your RV appliances are not working properly or your battery isn’t charging, testing the converter can help diagnose the issue. Here’s how to do it safely:
1. Check for Power at the Source
-
Make sure your RV is plugged into shore power or your generator is running.
-
Confirm the outlet is working by testing it with another device (like a lamp or tester).
2. Inspect the Converter
-
Locate your RV converter (usually near the fuse panel).
-
Listen for a humming sound or a small fan running – this indicates it’s working.
-
Look for any blown fuses, tripped breakers, or burn marks.
3. Test Voltage with a Multimeter
-
Set your multimeter to DC volts.
-
Place the probes on the RV house battery terminals.
-
If the converter is working, you should see 13.6–14.4 volts while plugged into shore power.
-
If the reading stays at the battery’s resting voltage (12–12.6 volts) and does not rise, the converter isn’t charging.
4. Check AC Input to Converter
-
Switch your multimeter to AC volts.
-
Measure the input side of the converter to confirm it’s receiving 110–120V power.
-
If it’s not, the problem could be wiring, breaker, or outlet – not the converter itself.
5. Load Test the Converter
-
Turn on RV 12V appliances like lights and fans.
-
If they dim, flicker, or don’t work at all while plugged in, the converter may be weak or failing.
6. Signs of a Bad Converter
-
RV batteries drain quickly even when connected to shore power.
-
Lights flicker or dim.
-
Appliances don’t function properly.
-
Burning smell or humming without charging.
Tip: Always use caution when working with electricity. If you’re unsure, it’s best to consult an RV technician.
Reminder: Testing regularly can help prevent power failures on the road.

