
Adding a TV to your RV sounds simple until you hit the first bump in the road and realize nothing inside a camper behaves like a house. Walls are thinner, vibrations are constant, and weight distribution actually matters.
A properly installed TV mount is not just about comfort, it’s about safety and long-term durability.
Why RV TV Installation Is Different
In a house, you mount a TV once and forget it. In an RV, everything moves.
Here’s what makes it different:
- Constant vibration while driving
- Lightweight walls (often plywood or composite)
- Limited solid anchor points
- Tight space and multi-purpose layouts
That’s why standard wall mounts often fail in RV setups.
Choosing the Right TV Mount for an RV
Not all mounts are suitable. You need something designed for motion.
Best options:
1. Locking TV Mounts
These include a locking mechanism that prevents the TV from swinging while driving.
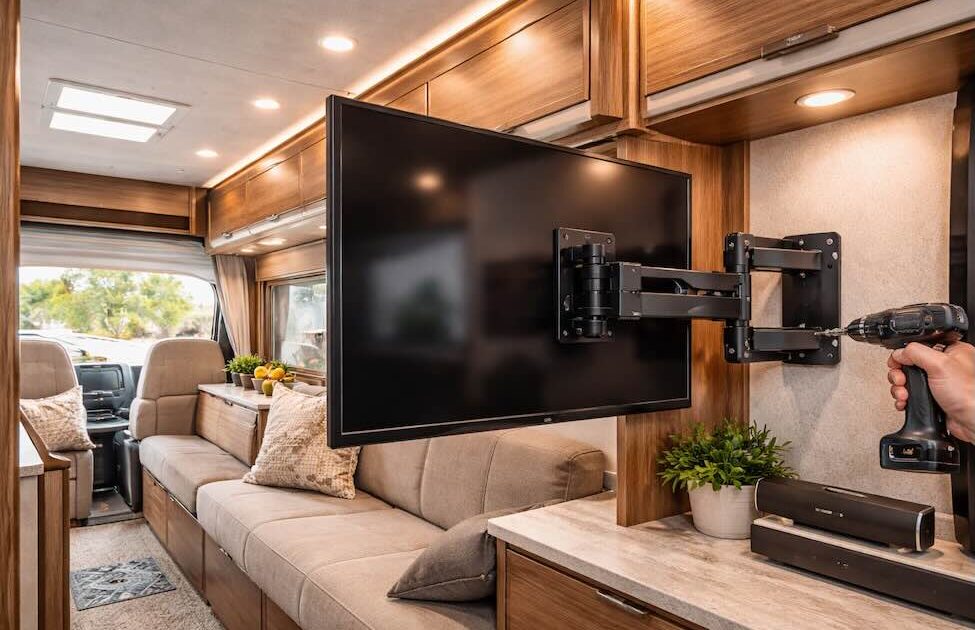
2. Articulating (Swivel) Mounts
Great for small spaces where you want to adjust viewing angles from bed, dinette, or kitchen.
3. Quick-Release Mounts
Useful if you want to remove the TV during travel or store it safely.
What You Need Before Installation
Don’t start drilling blindly. Preparation saves you from broken walls.
Tools:
- Stud finder or manual probing
- Drill with proper bits
- Screws and anchors (RV-rated)
- Level
- Measuring tape
Materials:
- Backing plate (very important for weak walls)
- Mount bracket
- Cable management clips
Finding a Strong Mounting Point
This is the most critical step.
RV walls are often hollow, so you need to locate:
- Aluminum framing
- Wooden studs
- Reinforced panels (sometimes behind factory TV locations)
If you can’t find a solid point, use a backing plate to distribute the load across a larger area.
Skipping this step is the main reason mounts fail.
Installation:
Step 1: Plan the Position
Choose a location that:
- Is visible from key areas
- Doesn’t block cabinets or windows
- Allows ventilation for the TV
Step 2: Mark and Test
Mark your holes and double-check alignment with a level.
Before drilling fully, test a small pilot hole to confirm material strength.
Step 3: Install the Backing Plate
If the wall is weak, mount a backing plate first.
This spreads the load and prevents tearing over time.
Step 4: Attach the Mount
Secure the bracket tightly using proper screws.
Avoid overtightening, RV walls can strip easily.
Step 5: Mount the TV
Attach the TV to the bracket and check:
- Stability
- Movement range
- Locking mechanism
Step 6: Manage Cables
Loose cables in an RV are a nightmare.
Use:
- Clips
- Cable sleeves
- Hidden routing behind panels if possible
Mistakes to Avoid:
This is where most DIY installs go wrong:
- Mounting directly into thin paneling
- Using standard drywall anchors
- Ignoring vibration and road shock
- Choosing a mount without a locking feature
- Poor cable management
Power and Electrical Considerations
Installing a TV is not just about the mount.
Think about:
- 12V vs 120V TVs
- Inverter load if using standard TVs
- Battery capacity
- Surge protection
Many modern RV setups include solar and lithium batteries, so planning your electrical system matters.
When It’s Better to Go Custom
Some layouts are just tricky.
At Custom Way RV Services, we often redesign entire entertainment areas instead of just adding a mount.
Typical upgrades include:
- Hidden wiring inside walls
- Reinforced mounting structures
- Custom cabinets around the TV
- Integration with sound systems and lighting
This gives a factory-level finish instead of a DIY look.
Best Placement Ideas for Small RVs
If space is limited, these locations work best:
- Opposite the bed
- Above the dinette
- On a swivel arm near the kitchen area
- Fold-down mounts for multi-use spaces
Installing a TV mount in an RV is not complicated, but it requires a different mindset compared to home installation.
Focus on strength, vibration resistance, and smart layout. Do it right once, and your setup will survive thousands of miles without issues.