
A leaking or outdated shower faucet in your RV can lead to water waste and frustration. Fortunately, replacing it is a straightforward job that can make a big difference in your RV’s bathroom. At Custom-way, we’ve helped many RV owners upgrade their shower faucets, and here’s a guide to help you do it too.
Why Replace Your RV Shower Faucet?
- Fix Leaks – A worn-out faucet can cause water leaks, leading to potential water damage.
- Improve Water Flow – A new faucet can provide better water pressure and control.
- Upgrade the Look – Modern faucets come in stylish designs that enhance your RV bathroom.
Tools & Materials You’ll Need
✔ New RV shower faucet ✔ Adjustable wrench ✔ Plumber’s tape ✔ Screwdriver ✔ Towels or rags ✔ Bucket (for catching excess water)
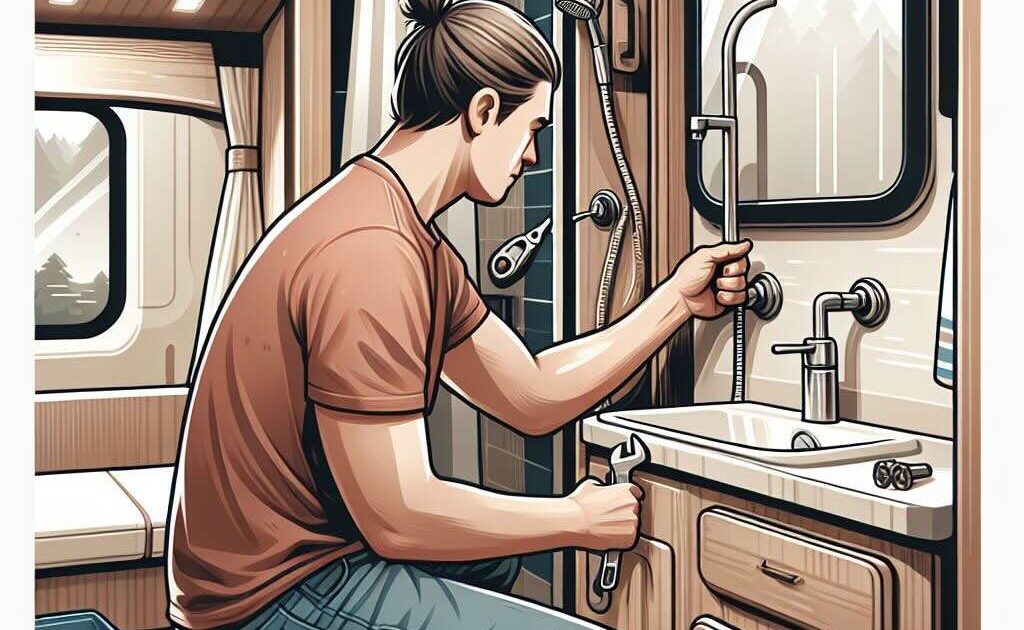
Step-by-Step Replacement Process
- Turn Off the Water Supply – Before starting, make sure your RV’s water pump is off and the water lines are depressurized.
- Remove the Old Faucet – Use a wrench to disconnect the water supply lines. Then, unscrew the mounting nuts holding the old faucet in place.
- Prepare the New Faucet – Wrap the threaded connections with plumber’s tape to prevent leaks.
- Install the New Faucet – Secure it in place with the mounting nuts and reconnect the water supply lines.
- Turn On the Water & Test – Slowly turn the water back on and check for leaks. Tighten connections if necessary.
- Enjoy Your New Faucet! – With a new, functional shower faucet, you’ll have a better RV shower experience.
Need Professional Help?
If you’d rather have an expert handle the job, Custom-way is here to help! We specialize in all types of RV repairs and upgrades. Contact us today for professional RV plumbing services!