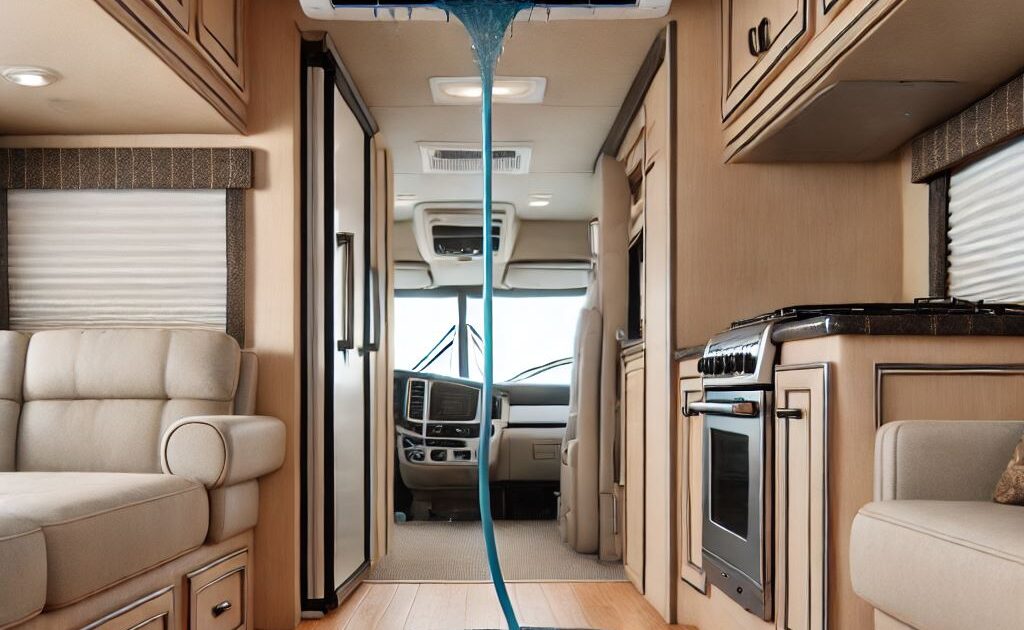
Experiencing water leaks from your RV air conditioner can be frustrating and concerning. Understanding the common causes and solutions can help you address the issue effectively.
Common Causes of RV AC Water Leaks
Clogged Drain Line or Drain Pan:
- Cause: Over time, dirt, dust, and debris can accumulate in the drain line or drain pan, preventing proper drainage.
- Solution: Clean the drain line and pan regularly to ensure water flows out properly.
Frozen Evaporator Coils:
- Cause: If the evaporator coils freeze, they can’t remove moisture from the air effectively, leading to water accumulation.
- Solution: Check for proper airflow and clean or replace the air filter. Ensure the refrigerant levels are adequate.
Damaged or Worn-Out Seals:
- Cause: Seals around the AC unit can deteriorate over time, allowing water to leak inside.
- Solution: Inspect and replace any damaged seals to prevent leaks.
Improper Installation:
- Cause: A newly installed AC unit might leak if not installed correctly.
- Solution: Ensure the unit is installed according to the manufacturer’s instructions. Consider professional installation if needed.
Blocked Condensate Drain:
- Cause: The condensate drain can become blocked, causing water to back up and leak inside.
- Solution: Clear any blockages in the condensate drain to allow water to flow out.
Roof Gasket Issues:
- Cause: The gasket between the AC unit and the roof can become compressed or damaged, allowing water to seep in.
- Solution: Tighten the mounting bolts or replace the gasket if necessary.
Steps to Fix an RV AC Water Leak
Turn Off the AC Unit:
- Ensure the AC unit is turned off and unplugged before starting any maintenance.
Inspect and Clean the Drain Line and Pan:
- Remove the shroud and access the drain line and pan.
- Use a brush or compressed air to clear any debris blocking the drain.
Check the Evaporator Coils:
- Inspect the coils for ice buildup. If frozen, allow them to thaw and check for proper airflow.
- Clean the coils with a recommended cleaner if they are dirty.
Replace Damaged Seals:
- Inspect the seals around the AC unit and replace any that are worn or damaged.
Ensure Proper Installation:
- Verify that the AC unit is installed correctly. Tighten any loose bolts and ensure the unit is level.
Test the System:
- After performing maintenance, turn the AC unit back on and monitor for any leaks.
Preventive Maintenance Tips
- Regular Cleaning: Clean the air filters, drain lines, and evaporator coils regularly.
- Professional Inspections: Have your AC unit inspected by a professional annually.
- Monitor for Leaks: Regularly check for signs of water leaks and address them promptly.
By following these steps, you can identify and fix common causes of water leaks in your RV AC unit, ensuring a comfortable and dry environment inside your RV

