Materials Needed
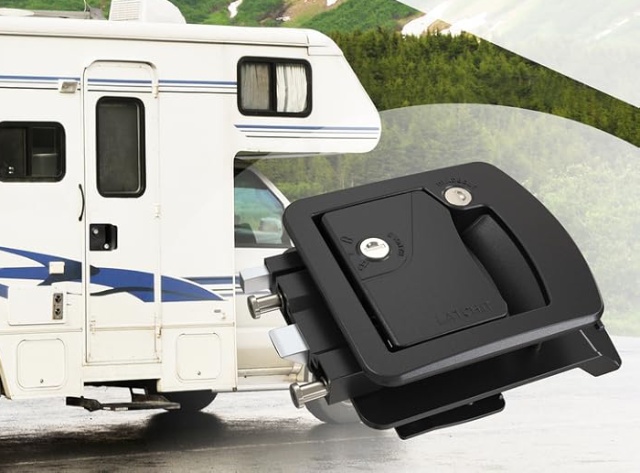
-New RV door lock (ensure it matches the size of your existing lock)
-Screwdriver (Phillips head)
-Utility knife
-Cleaning supplies (soap, water, cloth)
-Tape measure
Steps to Replace the Lock
Remove the Old Lock:
-
- Open the RV door and locate the screws on the interior side of the door lock.
- Use a Phillips head screwdriver to remove the screws.
- Carefully pull the interior and exterior parts of the lock apart and remove them from the door.
Prepare the Door:
-
- Clean the area around the lock opening with soap and water to remove any dirt or debris.
- Use a utility knife to remove any old sealant or adhesive.
Measure the Lock Opening:
-
- Measure the dimensions of the lock opening to ensure the new lock will fit properly.
- Compare these measurements with the new lock to confirm compatibility.
Install the New Lock:
-
- Insert the exterior part of the new lock into the opening from the outside of the door.
- Align the interior part of the lock with the exterior part and secure them together using the provided screws.
- Tighten the screws with a Phillips head screwdriver, ensuring the lock is firmly in place.
Test the Lock:
-
- Close the door and test the new lock to ensure it operates smoothly.
- Check both the handle and the deadbolt to make sure they function correctly.
Additional Tips
Keyless Entry Options: Consider upgrading to a keyless entry lock for added convenience. These locks often come with a keypad or remote fob for easy access.
Regular Maintenance: Periodically check the lock for any signs of wear and tear. Lubricate the moving parts with a silicone-based lubricant to keep the lock functioning smoothly.