How Do You Paint Camper Cabinets? A Step-by-Step Guide
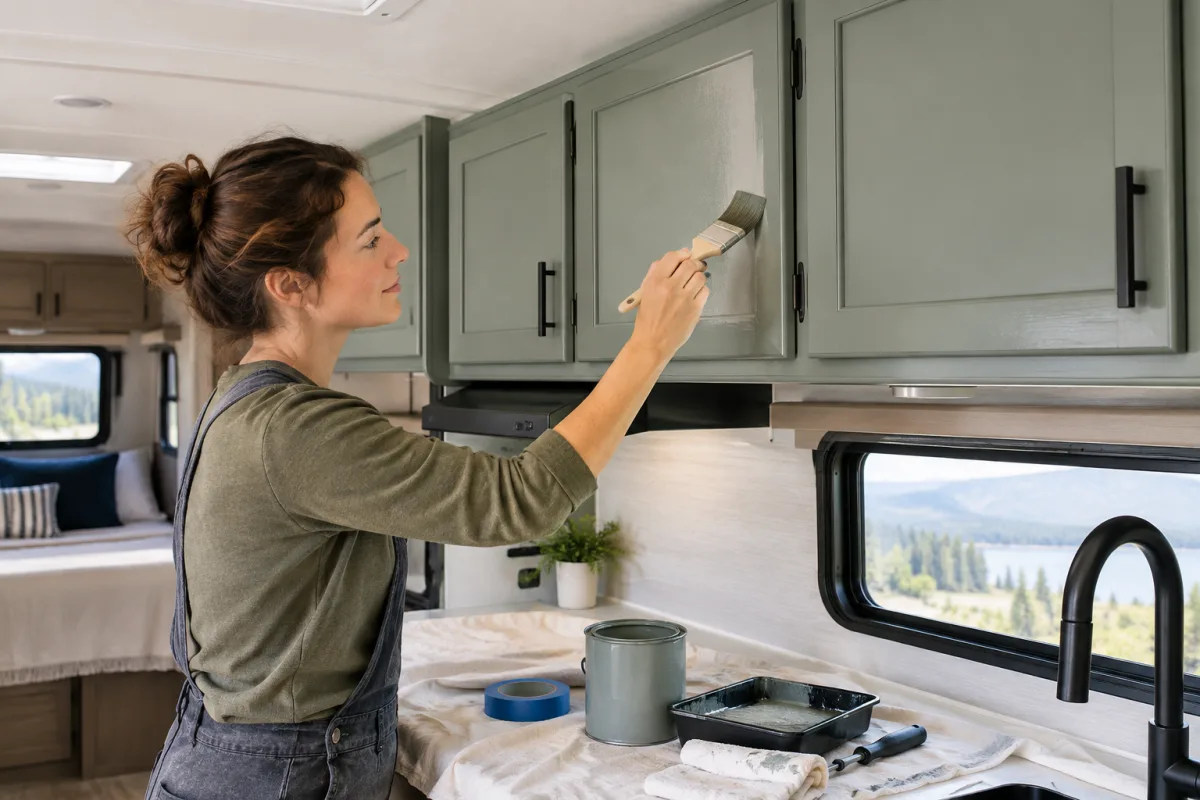
The best way to paint camper cabinets is to remove the doors and hardware, clean and lightly abrade every surface, use a primer compatible with the cabinet material, and apply a durable cabinet or trim enamel in thin coats. Proper preparation matters more than rushing the painting stage, especially in an RV where cabinets experience vibration, frequent handling, and temperature changes.
Custom way repairs and renovates RVs and camper vans in California, including renovation work for customers in Orange County, Los Angeles, and Riverside County. For a larger renovation or cabinets affected by water damage, professional assessment can help prevent a new finish from hiding underlying problems.
1. Identify the cabinet surface
Camper cabinets may be made from solid wood, wood veneer, laminate, melamine, vinyl-wrapped panels, or a previously painted or varnished material. The surface determines which preparation method and bonding primer are suitable.
- Wood or veneer: Clean thoroughly, repair damage, and sand carefully without removing a thin veneer layer.
- Laminate or melamine: Degrease and scuff the surface, then use a primer designed to bond to slick surfaces.
- Vinyl-wrapped panels: Test the coating system in a hidden location first. Loose or damaged vinyl should be addressed before painting.
- Previously painted or varnished cabinets: Remove loose material, dull the gloss, and check that the existing finish is firmly attached.
2. Remove doors, drawers, and hardware
Take off cabinet doors and drawer fronts whenever possible. Label hinges and hardware so everything returns to its original position. Remove knobs, pulls, latches, and other fittings. Painting the doors flat makes it easier to create an even finish and reduces drips around edges.
3. Clean the cabinets thoroughly
Paint will not adhere reliably to grease, cooking residue, dirt, mildew, or loose material. Wash the cabinet surfaces with a suitable cleaner, then remove any cleaner residue and allow the panels to dry completely. Pay special attention to areas around handles and near the kitchen or bathroom.
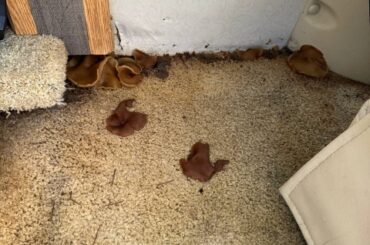
If you find swelling, soft wood, staining, or a musty odor, investigate for water intrusion before painting. Custom way also handles RV water damage repair, which may be more appropriate than applying a cosmetic coating over damaged material.
4. Sand or degloss the existing finish
Lightly scuff-sand glossy or previously painted surfaces until the sheen is dulled. The goal is to improve adhesion, not to remove every layer of the original finish. Use extra care on veneer and vinyl-wrapped panels, since aggressive sanding can damage them.
After sanding, remove all dust. Inspect the panels for loose edges, cracks, dents, and holes. Repair imperfections with a compatible filler, allow the repair to dry, and sand it smooth before priming.
5. Test the coating system
Before treating every cabinet, test the cleaner, primer, and paint on an inconspicuous area or a spare panel. Check adhesion after the coating dries and confirm that the finish does not wrinkle, soften, or lift the existing surface. This is particularly important for laminate, melamine, vinyl-wrapped, and heavily varnished cabinets.
6. Apply the right primer
Use a bonding primer when the surface is slick, previously varnished, laminate, melamine, difficult to sand, or partly repaired. Primer can also improve coverage over dark finishes and bare wood. Select a product whose label specifically supports the cabinet material and follow its preparation and recoat instructions.
Apply a thin, even coat rather than trying to build coverage in one heavy application. Let the primer dry for the period stated on its label, then lightly smooth any rough areas if the product instructions permit it. Remove sanding dust before painting.
7. Choose durable cabinet paint
A durable cabinet, door, or trim enamel is generally a better choice than ordinary wall paint. Camper cabinets are touched, opened, cleaned, and exposed to movement, so the finish needs to resist routine handling.
- Choose a product compatible with the primer and existing surface.
- Use the sheen recommended for the look and cleaning needs of the interior.
- Follow the label for temperature, humidity, ventilation, drying, and recoating requirements.
- Do not assume that a surface is ready for heavy use simply because it feels dry.
8. Paint in thin, even coats
Apply the enamel with a quality brush, small roller, or sprayer appropriate for the product. Work in manageable sections and avoid overworking paint as it begins to set. On wood-grain doors, keep brush strokes in the direction of the grain where practical.
Thin coats usually produce a smoother result than one thick coat and are less likely to sag or remain soft. Allow each coat to dry and cure according to the manufacturer’s instructions. The required number of coats varies with the product, color, primer, and original cabinet finish, so follow the coating system rather than a fixed schedule.
9. Reinstall the cabinets only after curing
Once the paint has reached the cure stage specified by the manufacturer, reinstall the doors, drawer fronts, and hardware carefully. Avoid dragging objects against the new finish and do not load the cabinets heavily until the coating has fully cured.
Common mistakes to avoid
- Painting over grease or dust without cleaning first.
- Skipping scuff-sanding or deglossing on shiny surfaces.
- Using ordinary wall paint where a cabinet or trim enamel is needed.
- Applying primer or paint that is incompatible with laminate, melamine, vinyl, or the existing finish.
- Applying thick coats to save time.
- Reattaching hardware or using the cabinets heavily before the finish has cured.
- Painting over swelling or soft material caused by an unresolved water leak.
When professional RV renovation makes sense
Painting is suitable when the cabinet structure and substrate are sound. Professional help is worth considering when panels are swollen, delaminated, water-damaged, difficult to remove, or part of a larger renovation. Custom way provides RV and camper van renovations, flooring, electrical repair, solar installation, roof repair, window replacement, and water damage repair in Orange County, Los Angeles, and Riverside County.
Custom way is located at 17223 Roseton Ave, Artesia 90701. For an RV cabinet or renovation inquiry, call +1 840-205-7314 or email customway.ca@gmail.com.