How to Install a Roof Vent Cover on a Camper
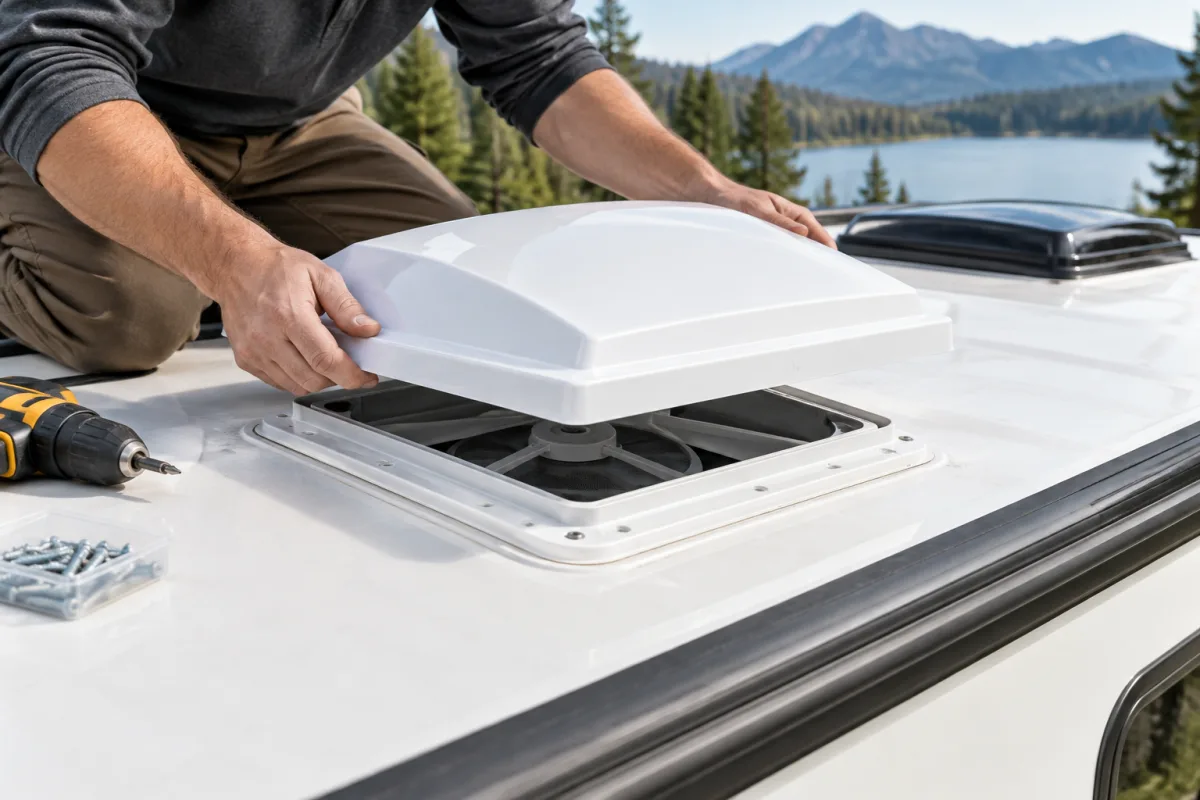
To install a roof vent cover on a camper, first confirm that the cover fits your existing vent or powered fan. Most standard RV vents use a 14 x 14 inch opening, while high-powered units such as MAXXFAN, Fantastic Fan, and Shurflo require a compatible cover, such as the MAXXAIR FANMATE or another manufacturer-approved model.
For RVs in Orange County, Los Angeles, and Riverside County, Custom way also handles roof repair and water damage repair when an existing vent, seal, or roof structure needs professional attention.
What you need
- Compatible RV roof vent cover
- Manufacturer-supplied brackets and fasteners
- Electric drill and the drill bit specified in the instructions
- Marker
- Screwdriver or nut driver
- Safety glasses
- Ladder and suitable roof-access equipment
Do not assume that every cover installs the same way. The MAXXAIR Original Vent Cover is intended for existing 14 x 14 inch vents and is not recommended for high-powered fans. The MAXXAIR II fits standard vents and may work with certain powered fans, while the MAXXAIR FANMATE is designed for both standard vents and high-powered fans.
Installation steps for a standard roof vent
1. Check the vent and roof condition
Inspect the vent lid, flange, brackets, and surrounding roof before fitting the cover. The vent should be securely attached, and the roof should have enough unobstructed space for the cover, hinge, and mounting hardware. Repair loose components or water damage before installing the cover.
2. Position the cover
Place the cover over the existing vent with the louvered side facing the rear of the camper. Center it over the vent so the cover does not interfere with the lid or hinge. Check that the cover has clearance on all sides.
3. Mark the mounting points
Use the cover or its supplied brackets as a template. Mark the mounting-hole locations on the vent sidewalls or flange, depending on the product instructions. Do not mark holes in the RV roof unless the manufacturer specifically requires roof mounting.
4. Drill the pilot holes
Use only the drill-bit size specified for your cover. For example, the MAXXAIR FANMATE installation for a standard vent uses a 3/16 inch bit. Some MAXXAIR II high-powered-fan installations specify a 3/32 inch bit. Drill carefully and only as deep as necessary; excessive drilling can damage wiring or internal fan components.
5. Attach the brackets and cover
Install the supplied brackets, screws, washers, lock washers, nuts, or clips in the order shown in the product instructions. Fasten the cover to the vent structure rather than driving screws directly through the camper roof. Tighten the hardware securely, but do not deform the vent flange or plastic cover.
6. Check drainage and ventilation gaps
Do not seal every opening around the cover with caulk. A gap beneath the cover may be intentional. MAXXAIR states that its standard cover normally has approximately a 1/2 to 1 inch gap to allow condensation and wind-blown water to escape. Blocking this space can interfere with drainage and airflow.
Installing a cover over a powered fan
Powered fans need extra care because their lids, wiring, and internal mechanisms may occupy more space than those of a manual vent. Use a cover approved for the specific fan model. The MAXXAIR Original Vent Cover is not recommended for high-powered fans such as MAXXFAN, Fantastic Fan, or Shurflo. The MAXXAIR FANMATE is designed for standard vents and high-powered fans, while the MAXXAIR II can fit certain powered-fan installations according to its instructions.
Before drilling, switch off the fan and disconnect power if the product instructions require it. Keep the drill clear of the fan housing and wiring. After fastening the cover, operate the fan and open and close the lid to confirm that nothing rubs, catches, or blocks the mechanism.
Final checks
- Confirm that the louvers face the rear of the camper.
- Make sure the vent lid opens and closes fully.
- Run the powered fan, if fitted, and listen for rubbing or vibration.
- Check that all brackets and fasteners are tight.
- Verify that drainage and ventilation gaps remain open.
- Inspect the cover and fasteners periodically, especially after travel or severe weather.
When professional help is appropriate
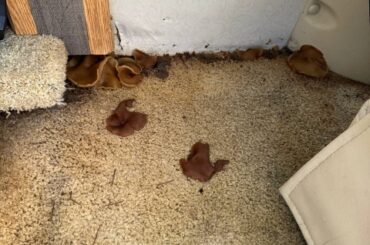
Stop the installation if the vent flange is loose, the roof feels soft, wiring is close to the drilling area, or there are signs of water intrusion. Custom way provides RV roof repair and water damage repair in Orange County, Los Angeles, and Riverside County. The shop is located at 17223 Roseton Ave, Artesia 90701, and can be reached at +1 840-205-7314 or customway.ca@gmail.com.
For a straightforward installation, follow the manual supplied with the exact cover. The model-specific instructions take priority over general steps because drill sizes, brackets, fasteners, and fan compatibility vary between products.