How to Install a Pop-Up Camper Door: Step-by-Step Guide
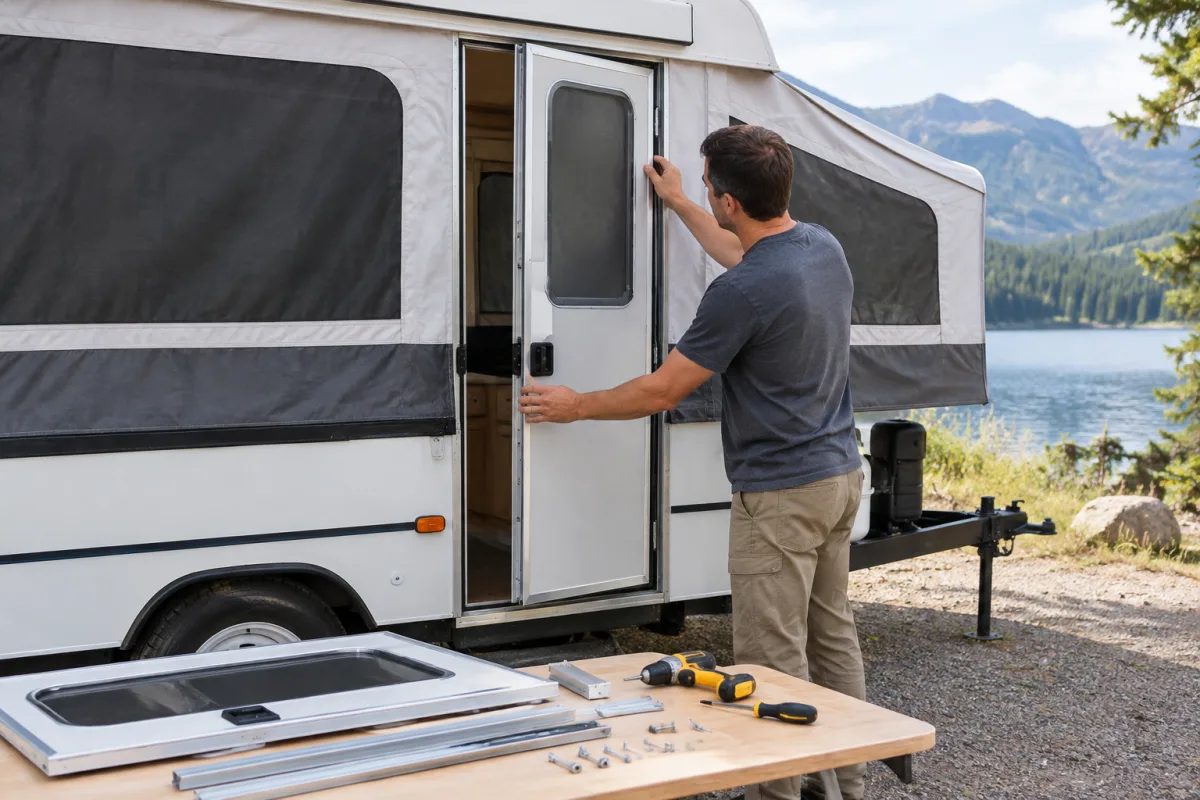
To install a pop-up camper door, first confirm that the replacement assembly matches the camper’s rough-opening size, frame depth, hinge side, swing direction, and wall construction. Then remove the old frame, clean the opening, apply the correct sealing tape, position the new door squarely, fasten it without distorting the frame, and test the latch and perimeter seal.
Pop-up camper doors are not universal. The camper manufacturer’s manual and the door manufacturer’s installation instructions should take priority over any general procedure.
Before ordering a replacement door
Measure the rough opening, not just the visible door slab. Record the following measurements and details:
- Rough-opening width and height
- Door slab thickness
- Frame depth
- Hinge location and swing direction
- Wall construction, such as laminated or wood-framed construction
- Location of the latch and interior handle
Check the pop-up camper owner’s manual for model-specific information. Manufacturers such as Four Wheel Campers publish manuals that may identify the original door arrangement and related components. If the replacement is supplied by Lippert or Dexter, read the door-specific instructions before removing the existing assembly.
Tools and materials
- Replacement door assembly that matches the opening
- Putty tape or closed-cell foam sealing tape specified for the door
- Manufacturer-approved screws or fasteners
- Screwdriver or drill with a clutch setting
- Plastic scraper or putty knife
- Utility knife
- Non-abrasive cleaner and rags
- Level or straightedge
- Compatible exterior sealant, if required by the installation instructions
- Safety glasses and gloves
Have a second person available. A framed camper door can be awkward to lift, and holding the frame square while starting the fasteners is much easier with two people.
How to remove the old camper door
- Open the door and support it so it cannot swing or drop unexpectedly.
- Remove the interior or exterior retaining screws, depending on how the frame is designed.
- Cut through the old caulk around the frame with a utility knife. Work carefully to avoid cutting the camper wall, wiring, or interior finish.
- Gently separate the frame from the wall. Do not pry aggressively against thin camper panels.
- Lift the old door assembly out with assistance.
- Scrape away old putty, adhesive, and loose sealant from the rough opening.
- Clean and dry the mounting surface before installing the replacement.
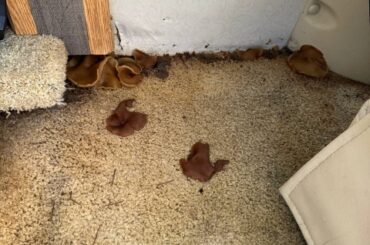
Inspect the opening while it is exposed. Soft wood, swollen panels, staining, delamination, or rust around the frame can indicate water damage. Installing a new door over a weakened opening may not solve the leak and can cause the replacement frame to shift.
Applying the sealing tape
Apply the tape specified for the door and the camper wall construction around the back side of the replacement frame. Keep the tape continuous at the corners, and overlap or join the ends according to the manufacturer’s instructions.
Tape thickness matters. Lippert installation guidance distinguishes tape requirements for different wall constructions, including laminated and wood-framed walls. Excessively thick tape can keep the frame from sitting flush, while insufficient sealing material can allow water behind the frame.
Do not substitute an unapproved household sealant for the specified tape. The correct material must compress properly between the frame and camper wall without preventing the screws from drawing the assembly evenly into position.
Installing the replacement door
- With a helper, place the replacement frame into the rough opening from the correct side of the camper.
- Confirm that the hinge side and swing direction are correct before starting any screws.
- Center the frame in the opening and check that it is level and square.
- Start the recommended fasteners through the frame without fully tightening them.
- Continue installing the screws in the manufacturer’s sequence, alternating around the frame so pressure remains even.
- Use only the specified screw type and length. Fasteners that are too long can damage wiring, interior finishes, or wall components.
- Tighten the screws gradually. Stop when the frame is secure and the sealing tape is compressed evenly.
Avoid overtightening. Excessive pressure can bow or twist the frame, causing the door to bind, leaving uneven gaps, or preventing the latch from engaging.
Aligning and testing the door
Close the door several times before applying any final exterior sealant. Check each of these points:
- The door closes without force.
- The latch engages completely.
- The frame is even against the camper wall.
- The gap around the door is consistent.
- The seal compresses continuously around the perimeter.
- The hinges and latch operate without rubbing.
If the latch-side gap is uneven, loosen the affected fasteners slightly and realign the frame or adjust the door’s camber where the manufacturer’s instructions allow it. Do not force the door closed to compensate for a crooked frame.
After alignment is correct, trim excess sealing material and apply compatible exterior sealant where the door instructions require it. Keep drainage paths and weep areas clear.
When repair is better than replacement
A complete door replacement may not be necessary when the problem is limited to a worn gasket, loose screws, a damaged latch, minor hinge hardware, or a small section of failed sealant. These parts can often be repaired or replaced individually if the door and frame remain straight and structurally sound.
Replace the complete assembly when the door or frame is warped, badly corroded, structurally damaged, or still leaks after correct alignment and sealing. A damaged rough opening should be repaired before the new door is installed.
When to use an RV repair professional
Professional help is advisable if the rough opening contains water damage, the camper wall is delaminated, wiring runs through the work area, or the frame cannot be aligned without force. These conditions may require structural repair rather than a simple door swap.
Custom way repairs and renovates RVs and camper vans in California, including service for customers in Orange County, Los Angeles, and Riverside County. For a door replacement involving a damaged opening or related RV repair, the company can be reached at +1 840-205-7314 or customway.ca@gmail.com. The shop is located at 17223 Roseton Ave, Artesia 90701.
Before booking work, have the camper make, model, year, door dimensions, photos of the frame, and a description of any leak or alignment problem ready. That information helps determine whether the existing door can be repaired or whether a compatible replacement assembly is required.