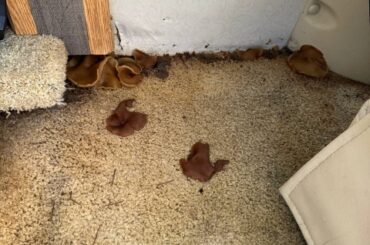
How to Replace a Roof on a Pop-Up Camper
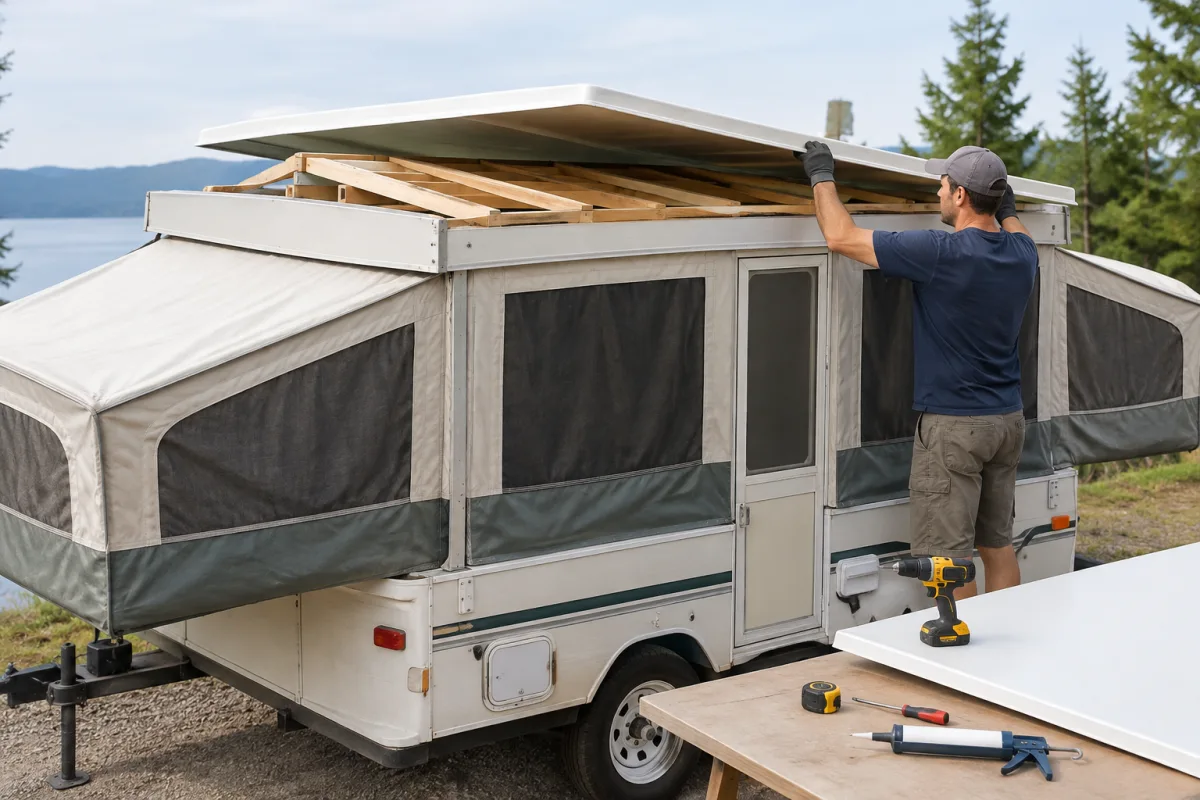
Replacing a pop-up camper roof is a major structural repair, not simply a matter of applying sealant. The correct method depends on the camper’s make, model, year, roof material, lift-system design, and the extent of the damage. Before ordering parts or removing hardware, determine whether you need a complete roof assembly, a replacement panel, or a repair to the existing structure.
Custom way repairs and renovates RVs and camper vans in California, including roof repair and water-damage repair. For campers in Orange County, Los Angeles, or Riverside County, professional assessment can help determine whether the roof can be repaired or must be replaced.
Determine whether the roof needs replacement
Inspect the roof from the outside and inside. Look for:
- Cracks or splits in the outer skin
- Soft or sagging areas
- Delamination between roof layers
- Water stains, mold, or damaged ceiling panels
- Leaks around fasteners, vents, roof edges, or accessories
- Damaged lift mounts or roof framing
- Distorted roof edges that prevent the seals from contacting evenly
A small, localized leak may be repairable. A roof that is structurally soft, badly delaminated, cracked across large areas, or damaged around the lift mounts may require a replacement panel or complete roof assembly.
Identify the roof type and camper documentation
Common pop-up camper roofs use aluminum or other metal panels, fiberglass or Filon-type panels, or ABS plastic assemblies. Materials and adhesives are not interchangeable. ABS roofs require products designed to bond with ABS and careful surface preparation; an ordinary roof coating or incompatible adhesive may fail to bond or damage the plastic.
Record the exact make, model, and year before disassembly. Coleman and Fleetwood owners can use model-specific repair documentation covering ABS roofs, metal roof leaks, seals, braces, and replacement top assemblies. Aliner states that large replacement parts such as roof panels must be ordered through an authorized dealer. These examples show why parts availability and installation requirements vary by manufacturer.
Tools and replacement materials
The exact list depends on the camper, but a roof replacement commonly requires:
- Solid support props or correctly rated temporary supports
- Basic hand tools for trim, fasteners, wiring, and lift attachments
- Replacement perimeter seals and compatible fasteners
- Material-compatible adhesive and sealant
- Replacement roof panel or complete roof assembly
- Protective coverings for the camper interior and exterior
- Labels or containers for organizing removed hardware and wiring
Do not select sealants, adhesives, or roof panels solely by appearance. Confirm that each product is compatible with the roof material and the manufacturer’s construction.
How to replace the roof
1. Prepare and support the camper
Park the camper on a level surface and secure it before raising the roof. Disconnect power as appropriate for the work, remove loose interior items, and protect the canvas and furnishings.
Raise the roof and install solid support props before disconnecting lift posts or servicing the lifting mechanism. The lift system should not be treated as the only support for the roof. Coleman and Fleetwood lift-system guidance specifically emphasizes leveling the camper and using solid supports during service.
2. Document and remove attached components
Photograph each connection and label wiring before removing it. Depending on the design, you may need to remove:
- Perimeter seals and roof-edge trim
- Canvas-track components
- Interior trim and ceiling panels
- Lighting or other roof wiring
- Awning rails, vents, braces, or other roof accessories
- Lift-post attachments and related hardware
Keep fasteners separated and record their locations. Hardware that looks similar may have different lengths or purposes.
3. Separate the damaged roof
With the roof fully supported, remove the fasteners or attachment points connecting it to the camper body. Work carefully around the canvas, lift posts, wiring, and roof edges. Do not force a roof section that remains attached; hidden wiring, sealant, or brackets may still be holding it in place.
A complete roof assembly may require several people or suitable lifting equipment because the panel can be large, awkward, and easily bent. If the roof is heavy or the lift system is under tension, professional removal is safer than attempting it alone.
4. Inspect the camper body and lift structure
Before installing the replacement, inspect the roof supports, lift mounts, body rails, insulation, ceiling, and areas affected by water. Repair damaged supporting structure before fitting the new roof. Installing a new outer panel over wet or weakened framing can allow the problem to return.
5. Transfer compatible hardware
Move only hardware that is undamaged and compatible with the replacement roof. Check the fit of lift attachments, braces, seals, tracks, wiring, vents, and accessory rails before applying permanent sealant. A replacement roof may require different components or a dealer-supplied part.
6. Install and seal the replacement roof
Position the roof carefully and align it with the camper body, lift posts, canvas tracks, and door opening. Install the manufacturer-specified fasteners and avoid overtightening, which can distort panels or damage plastic.
Apply compatible sealant to the joints, fasteners, roof edges, and installed accessories according to the product and roof manufacturer’s requirements. Create a continuous seal without leaving gaps or trapping water beneath trim.
7. Test the roof and door alignment
Before towing or camping, raise and lower the roof several times. Watch for binding, uneven movement, unusual resistance, or contact between the roof and body. Check that:
- The lift system moves smoothly
- All lift attachments remain secure
- The perimeter seals contact continuously
- The canvas is not pinched
- The entry door fits and latches correctly
- Wiring and roof accessories work as intended
Test for leaks after the sealant has cured as required by the product instructions. Recheck the roof after the first trip because movement can reveal alignment or sealing problems that were not visible during installation.
When professional roof replacement is the better option
Professional service is advisable when the roof has damaged lift mounts, extensive water damage, severe delamination, a large or heavy replacement assembly, or a lift system that must be disconnected. The exact procedure cannot be confirmed without the camper’s make, model, year, roof material, and damage description.
Custom way serves Orange County, Los Angeles, and Riverside County with RV roof repair, water-damage repair, and camper renovation services. The company is located at 17223 Roseton Ave, Artesia, California 90701. For an assessment, call +1 840-205-7314 or email customway.ca@gmail.com.