How to Replace an Interior Wall in a Camper
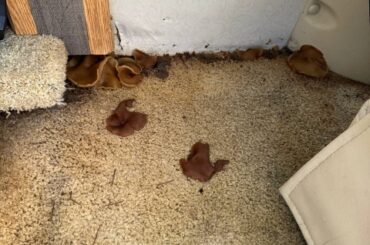
Replacing an interior wall panel in a camper starts with finding and repairing the source of any water intrusion. Installing a new panel over an active leak can lead to renewed swelling, rot, mold, or delamination.
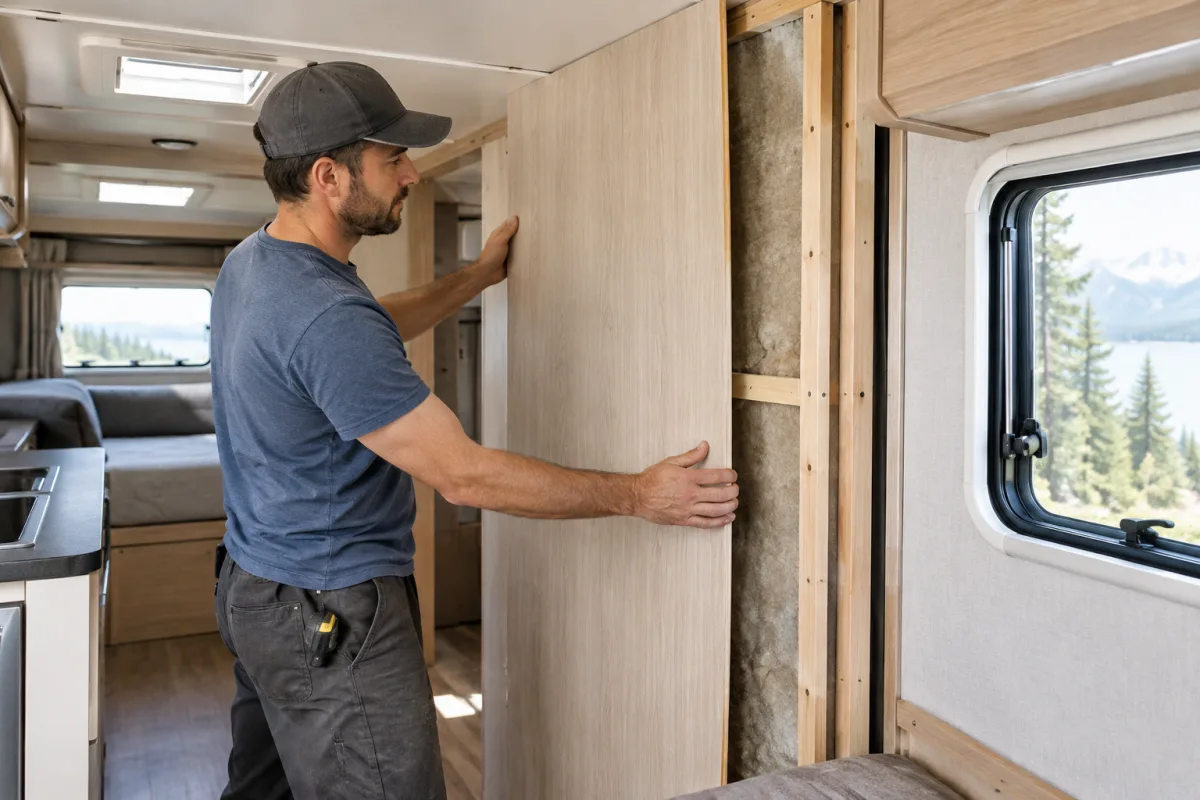
The exact method depends on the wall construction. Conventional camper walls usually have framing, insulation, and a separate interior panel. Bonded laminated walls may combine an outer skin, foam core, framing, and interior finish in a structural assembly. Cutting into the latter without identifying the construction can cause more damage.
Before removing the damaged wall panel
- Identify the wall construction. Check the camper’s service information and inspect an accessible edge, cabinet opening, or trim section. Determine whether the panel is attached to framing or forms part of a bonded wall assembly.
- Find the moisture source. Inspect nearby windows, roof seams, marker lights, vents, doors, plumbing, and exterior joints. Repair the leak before installing replacement materials.
- Check for hidden systems. Locate electrical wiring, plumbing, slide-out components, and structural reinforcement. Do not cut until you know what is behind the panel.
- Document the original installation. Photograph trim positions, seams, fasteners, wiring routes, and the direction of the panel grain or surface pattern.
Tools and replacement materials
Typical tools include a trim-removal tool, utility knife, oscillating multi-tool or fine-tooth saw, pry tool, straightedge, measuring tape, drill, clamps, and protective equipment. Use care around wiring and plumbing.
Possible replacement panels include thin vinyl-covered lauan plywood, PVC foam board, fiberglass-reinforced plastic, MDF, and hardboard. The replacement must match the original panel’s thickness, weight, flexibility, moisture resistance, and finish. A heavier or more rigid panel can put stress on the wall or prevent trim from fitting correctly.
Use an adhesive or adhesive-sealant specifically compatible with the panel and substrate. RV wall systems may require specialized panel-bonding products; a generic household construction adhesive is not automatically suitable. Follow the product’s preparation, application, curing, and ventilation requirements.
Step-by-step replacement process
1. Remove trim and fittings
Remove corner molding, battens, cabinet edges, outlet covers, window trim, and other pieces that overlap the damaged panel. Label each part and keep fasteners together. Avoid bending trim that must be reused.
2. Cut out the damaged panel
Mark the smallest practical removal area. Cut through the interior panel only, stopping before nearby framing, wiring, plumbing, or the outer wall skin. If the panel is bonded to a laminated wall, removal may require a model-specific repair method rather than simple prying.
3. Inspect the wall cavity
After removing the panel, check the framing, insulation, substrate, and surrounding materials. Soft wood, staining, crumbling material, persistent dampness, or delamination indicates that the damage extends beyond the visible panel.
Replace compromised framing or insulation and allow the area to dry fully. Do not cover wet materials. If the outer skin, foam core, or a large section of the frame is damaged, replacing only the decorative interior panel will not restore the wall’s strength.
4. Prepare and dry-fit the new panel
Transfer the old panel’s dimensions only after checking that the surrounding structure is sound. Cut the replacement panel slightly conservatively, then test-fit it with all adjacent trim. Mark openings for outlets, windows, switches, and other fittings carefully.
Confirm that the replacement sits flat, does not pinch wiring or plumbing, and leaves the correct clearance for trim. Match the original surface direction, color, texture, and seam placement as closely as the available material allows.
5. Bond or fasten the panel
Clean and prepare the substrate as specified by the adhesive manufacturer. Apply the approved panel-bonding adhesive or use the fasteners required by the original wall design. Do not substitute products when the camper manufacturer specifies a particular adhesive or adhesive-sealant.
Position the panel accurately, then use suitable clamps, temporary bracing, or evenly distributed pressure while the adhesive cures. Keep pressure even so the panel does not bow or develop loose sections.
6. Reinstall trim and seal vulnerable areas
Once the panel is secure, reinstall the original trim and fittings. Replace damaged trim rather than forcing it back into position. Seal joints and penetrations according to the camper’s original design, especially around windows and other areas exposed to moisture.
7. Test the repair
Check that outlets, lights, switches, plumbing fixtures, windows, cabinets, and slide-out components operate normally. Inspect the repaired area for movement, gaps, adhesive failure, and trim distortion. After the exterior leak repair, monitor the area during later wet weather for signs of renewed moisture.
When a panel-only repair is not enough
A decorative panel replacement is not an adequate repair when the wall has damaged framing, a wet or crushed foam core, delamination, extensive rot, or damage around a window, door, or slide-out opening. These areas can affect the wall’s structural integrity and water resistance.
Repairs involving bonded laminated walls, structural members, hidden electrical or plumbing systems, or extensive water damage should be matched to the camper manufacturer’s service information. The available research does not support one universal panel thickness, adhesive, or cutting method for every camper.
Professional RV wall repair in Southern California
For campers and RVs in Orange County, Los Angeles, and Riverside County, Custom way repairs and renovates RVs and camper vans, including water damage repair and renovations that may involve damaged interior wall areas.
Visit Custom way at 17223 Roseton Ave, Artesia 90701, call +1 840-205-7314, or email customway.ca@gmail.com to discuss an RV wall problem before cutting into a bonded or moisture-damaged assembly.