How to Use the Black Tank Flush on a Camper
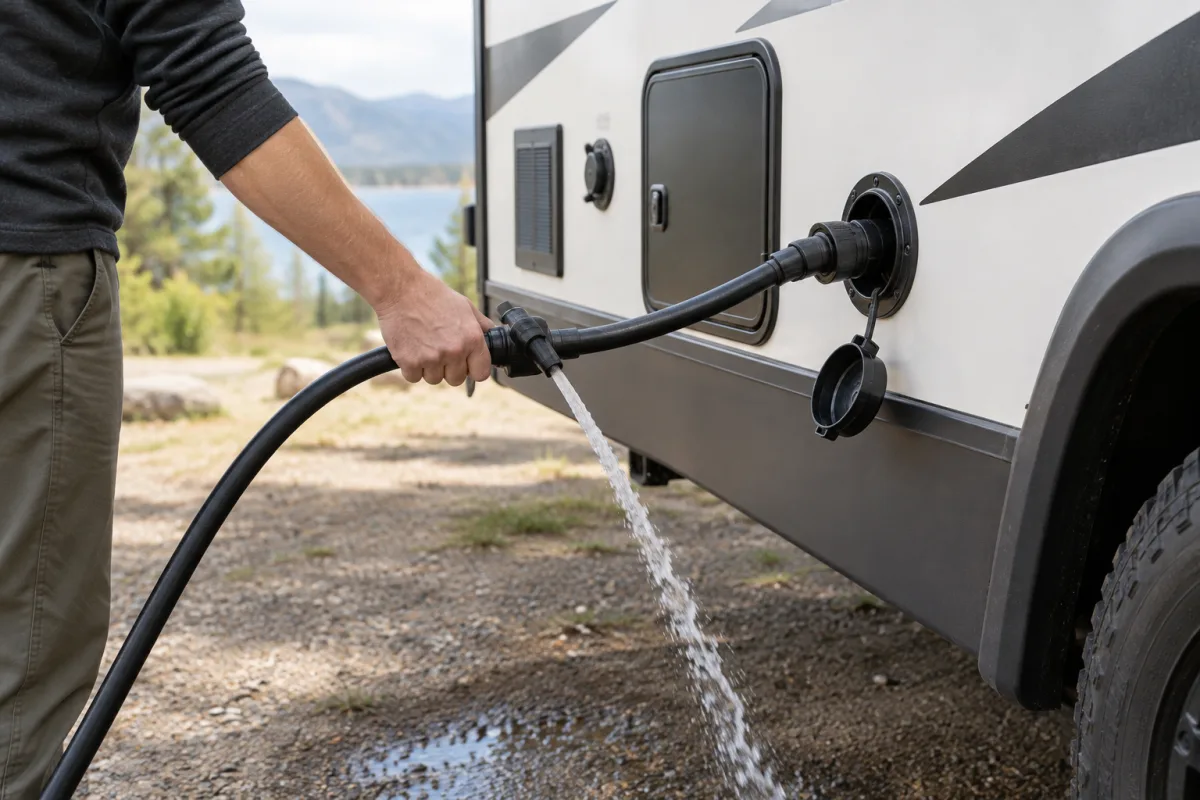
A camper’s black tank flush rinses waste from the holding tank after you empty it. The basic procedure is to connect the sewer hose, open the black tank valve, connect a separate garden hose to the flush inlet, and run water until the discharge becomes clear. Your camper’s owner’s manual takes priority because valve sequences, pressure limits, and controls vary by model.
What you need
- A securely connected sewer hose
- An approved dump station or sewer inlet
- A separate garden hose dedicated to tank flushing
- Access to the inlet labeled “Black Tank Flush,” “Tank Flush,” or “Sani-Flush”
Never use the hose connected to your drinking-water or fresh-water system for black tank flushing.
Step-by-step instructions
- Park at an approved dump station. Securely connect the sewer hose to the camper and route the other end into the sewer inlet. Check that the connection cannot come loose.
- Open the black tank valve. Pull the black tank gate valve before turning on the flush water. Do not close this valve while water is entering the tank, because water can accumulate and potentially damage the system.
- Connect the dedicated flush hose. Attach the separate garden hose to the camper’s black tank flush inlet. Confirm that the connection is secure.
- Start the water slowly. Turn on the water gradually, unless the manufacturer gives different instructions. Avoid exceeding the pressure limit specified for your camper’s flush system.
- Watch the discharge. Let the water run through the tank while waste and debris leave through the sewer hose. Continue until the discharge becomes clear or contains substantially less debris.
- Turn off the water. Shut off the water supply when the tank has been adequately rinsed.
- Allow the system to drain. Wait for the remaining water to leave through the sewer hose before disconnecting the flush hose. Do not leave the flush hose attached when the system is not in use.
- Close the black tank valve. Once draining is complete, close the valve and follow the camper manufacturer’s instructions for adding water to the tank before travel or storage.
- Disconnect and sanitize the equipment. Disconnect the sewer hose and flush hose carefully. Clean and sanitize the hoses as appropriate, keeping them separate from drinking-water equipment.
Important safety precautions
- Keep the black tank valve open while the flush is running.
- Use only a dedicated non-potable-water hose for flushing.
- Do not leave the flush system unattended while water is running.
- Do not disconnect hoses until the tank and lines have finished draining.
- Follow the owner’s manual for pressure limits, special controls, and any required backflow-prevention equipment.
How long should you run the flush?
There is no universal time that applies to every camper. Continue until the discharge is clear or has very little visible debris, then shut off the water and let the system drain. A simple fixed spray inlet may work differently from a Nautilus, Sani-Flush, or electronically controlled system, so check the manual for model-specific instructions.
Common mistakes to avoid
- Turning on the flush water before opening the black tank valve
- Using the fresh-water hose for tank cleaning
- Closing the black tank valve during flushing
- Running the system at excessive water pressure
- Disconnecting the flush hose immediately after shutting off the water
- Leaving water connected to the flush inlet after cleaning
When professional RV service is useful
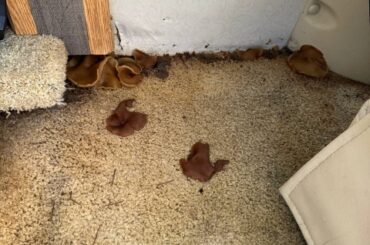
If the flush inlet leaks, the tank does not drain properly, the valve will not operate, or water appears inside the camper, professional inspection may be appropriate. Custom way repairs and renovates RVs and camper vans in California, including water damage repair and related RV repairs. The company serves Orange County, Los Angeles, and Riverside County.
For service, contact Custom way at +1 840-205-7314 or customway.ca@gmail.com. The shop is located at 17223 Roseton Ave, Artesia 90701.