How to Add More Storage to an RV Without Overloading It
Adding storage to an RV is usually possible without sacrificing living space, but every shelf, bin, rack, and accessory adds weight. The goal is to increase usable storage while keeping the loaded RV within its gross vehicle weight rating (GVWR), axle limits, hitch limits, and available cargo-carrying capacity.
Custom way repairs and renovates RVs and camper vans in California, including renovations, flooring, electrical repair, roof repair, water damage repair, solar installation, and RV window replacement. For storage-related renovation work in Orange County, Los Angeles, or Riverside County, the company can be contacted at +1 840-205-7314 or customway.ca@gmail.com.
Check the RV’s cargo capacity first
Find the label showing the RV’s unloaded vehicle weight and cargo-carrying capacity before buying storage hardware. Cargo capacity is based on weight, not on the amount of empty cabinet or compartment space. It includes passengers, fresh water, luggage, optional equipment, accessories, and any storage systems added later.
Permanent shelves, exterior bins, roof equipment, batteries, solar components, and racks all reduce the remaining payload. The fully loaded RV must stay within its GVWR, while individual axles and the hitch must also remain within their applicable limits.
Reorganize existing space before adding hardware
The lightest way to gain storage is often to use existing space more efficiently:
- Place labeled bins under beds and inside dinette benches.
- Add cabinet organizers to create separate levels for small items.
- Use hanging organizers for lightweight clothing, toiletries, or cleaning supplies.
- Store rarely used items in deep exterior compartments instead of living-area cabinets.
- Replace several small, heavy containers with lighter stackable bins where practical.
- Keep frequently used items in accessible locations so storage does not become cluttered.
Measure each compartment before purchasing organizers. A system that uses the full height and depth of a cabinet can create more usable space without modifying the RV’s walls, floor, roof, or frame.
Use under-bed and dinette storage
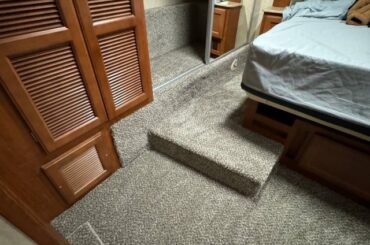
Many RVs have unused space beneath beds, benches, and dinette seats. Flat containers, divided boxes, and soft-sided bags can turn these areas into organized storage for bedding, clothing, tools, or outdoor equipment.
Keep heavier items low and distribute them rather than placing all the weight on one side. Secure containers so they cannot move while traveling, and avoid blocking ventilation, electrical equipment, plumbing access, or inspection panels.
Consider under-chassis storage
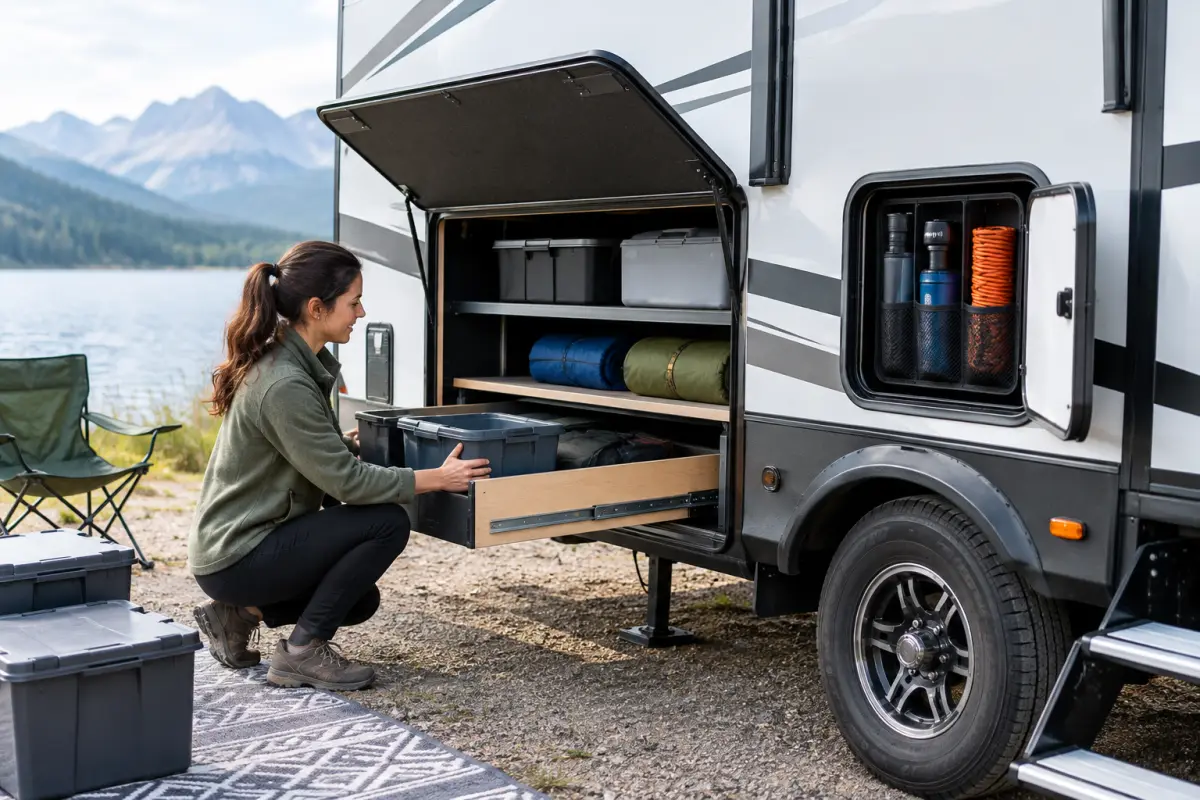
Under-chassis storage can add exterior capacity while preserving interior living space. The Lippert RV Underchassis Storage System uses detachable bins that bolt to the RV chassis and is available in standard and large sizes. The system is intended for items such as cables, cleaning supplies, and other camping equipment.
Lippert’s under-chassis storage systems also include spare-tire storage options, and the listed bins can hold up to 100 pounds per bin. The actual suitability of a system depends on the RV’s frame, clearance, axle loading, ground clearance, and approved mounting locations. Confirm those factors before installation.
Use exterior compartments carefully
Exterior compartments are useful for bulky equipment that does not need to remain inside the living area. Cables, hoses, leveling equipment, outdoor mats, and cleaning supplies can often be stored there, provided the compartment is rated and sized for the load.
Do not concentrate heavy items in one rear compartment, hitch-mounted carrier, or cabinet. Uneven loading can affect handling and may place too much weight on a single axle or the hitch. Follow the RV manufacturer’s loading guidance and secure all items against movement.
Remember that fresh water counts as cargo
Fresh water uses a significant part of an RV’s available payload. Forest River states that one gallon of fresh water weighs approximately 8.3 pounds. Traveling with only the water needed for the route or campsite can leave more capacity for equipment, provided the arrangement is practical and safe.
Water, passengers, food, propane, accessories, and storage hardware should all be considered together when estimating the loaded weight. Empty storage space does not compensate for a vehicle that is already close to its weight limits.
Install shelves, racks, and organizers without weakening the RV
Before drilling or fastening anything, identify wiring, plumbing, structural members, tanks, insulation, and exterior panels behind the installation area. The correct mounting method varies by RV type, make, model, year, and floor plan.
- Use lightweight materials where strength requirements allow.
- Fasten shelves and bins securely so they cannot become projectiles during braking.
- Avoid unsupported attachments to thin wall or roof panels.
- Do not block emergency exits, ventilation, service panels, or appliance access.
- Account for the weight of the hardware as well as the items stored on it.
Permanent equipment or structural storage can reduce the RV’s certified load-carrying capacity. If a modification changes that capacity, the appropriate modification information and labeling requirements should be considered.
Have major storage renovations evaluated
For a built-in storage renovation, a professional RV inspection can help identify safe mounting areas and prevent damage to wiring, plumbing, flooring, or exterior panels. Custom way serves Orange County, Los Angeles, and Riverside County from 17223 Roseton Ave, Artesia 90701.
Contact Custom way at +1 840-205-7314 or customway.ca@gmail.com to discuss an RV or camper-van renovation that includes storage-related changes. Any proposed installation should be matched to the vehicle’s available payload, axle ratings, hitch limits, and manufacturer guidance.